Most people assume you need art training to paint something worth putting on a wall. You really don’t.
I’ve been making DIY canvas art for over ten years, and I still remember my first attempt. It was a lopsided abstract piece that somehow became my favorite thing in the room.
Canvas art costs almost nothing, takes an afternoon, and gives you something no store-bought print ever could.
This guide covers the supplies, ideas, techniques, and finishing steps that actually work.
What Is DIY Canvas Art?
DIY canvas art means creating your own artwork on canvas using different techniques and materials.
You’re not limited to painting. People make collage art, textured wall pieces, yarn art, photo transfers, and geometric designs. Each style works for a different skill level.
Beginners usually start with simple painted abstractsor geometric tape designs. More experienced crafters move into textured techniques that involve layering and longer drying times.
All of them are genuinely doable at home with basic supplies.
Supplies You Need Before You Start
You don’t need much to get started with DIY canvas art. A few basics cover almost every project on this list.
1. Canvas Types and Sizes: A 16×20-inch pre-stretched cotton canvas is a solid choice for a first project. Cotton works well with acrylic paints. Pre-primed surfaces save you one step. If you want more control over texture, a raw canvas lets you add your own primer.
For something smaller and easier to manage, an 11×14-inch canvas is a better starting point. Less surface area means less room for the project to feel overwhelming.
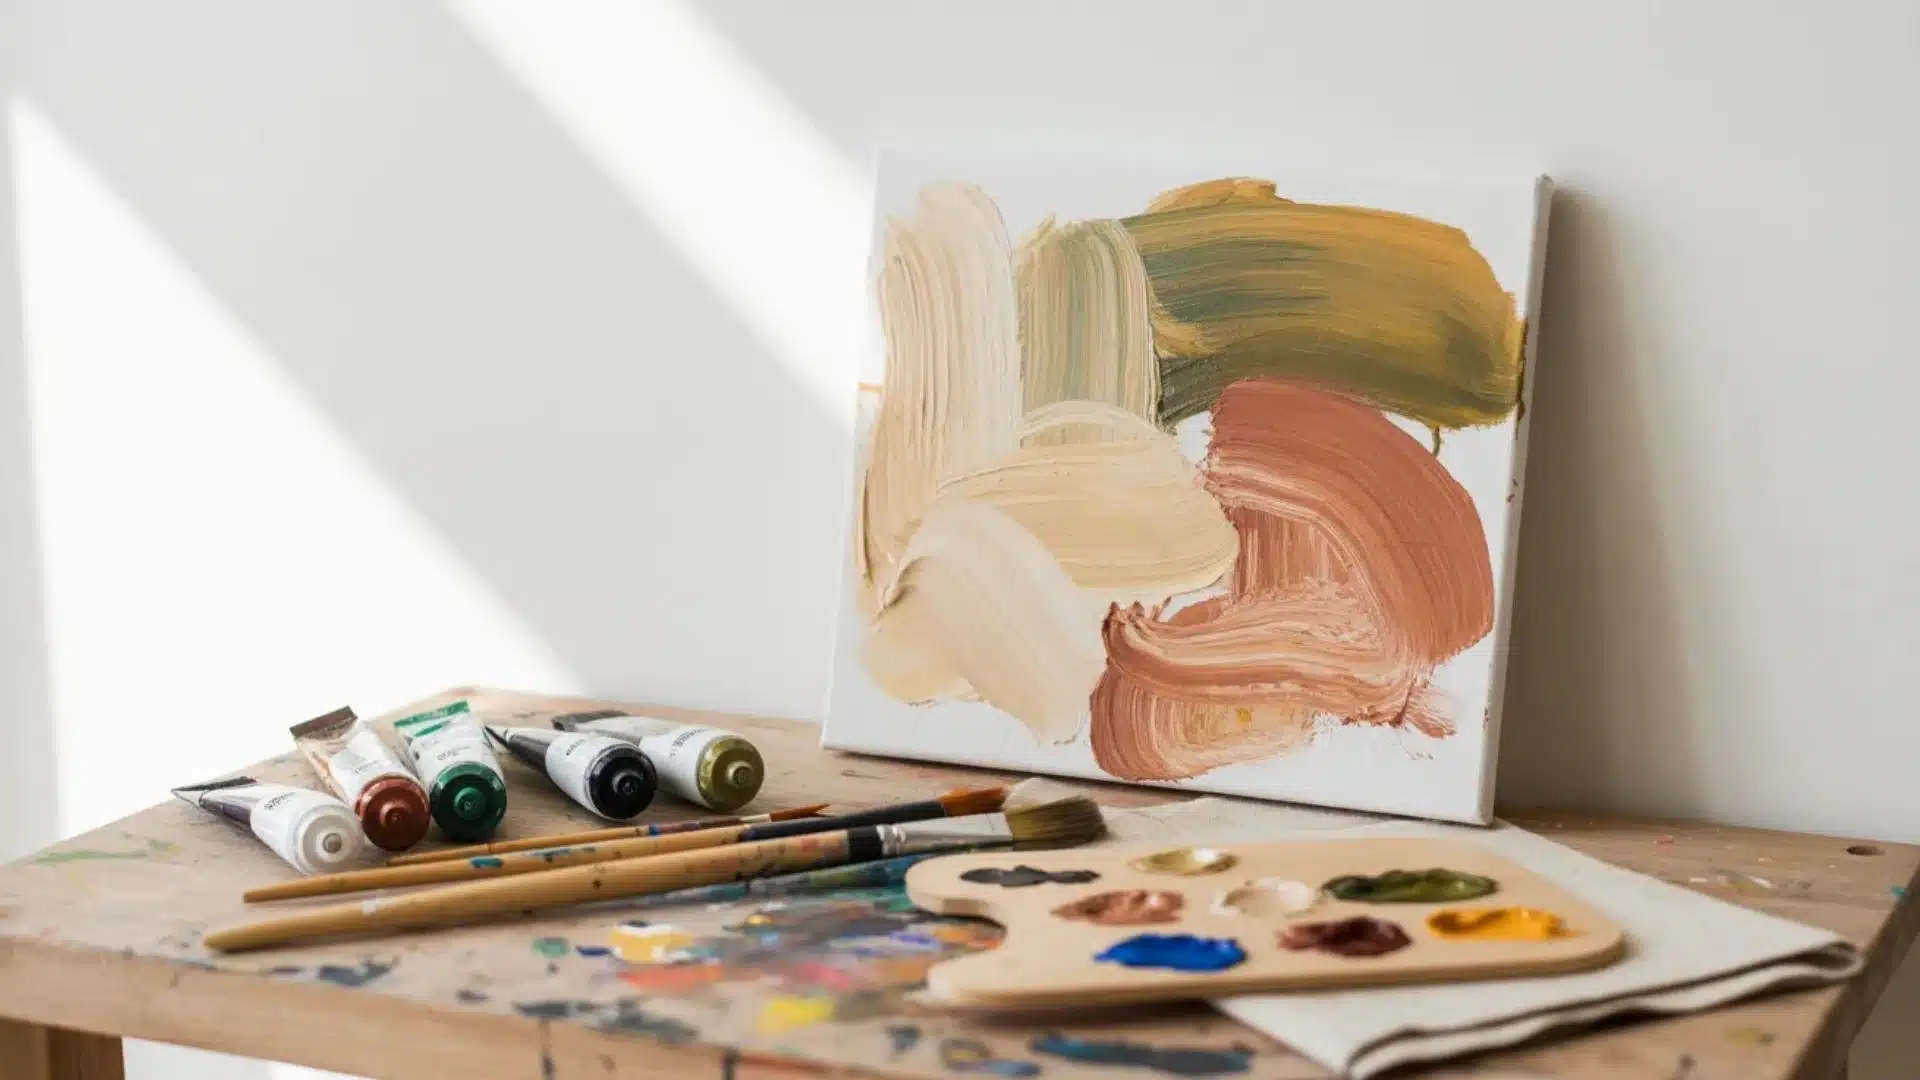
2. Paints, Brushes, and Tools: Acrylic paint is what I recommend for anyone starting out. It dries fast, layers well, and cleans up with water.
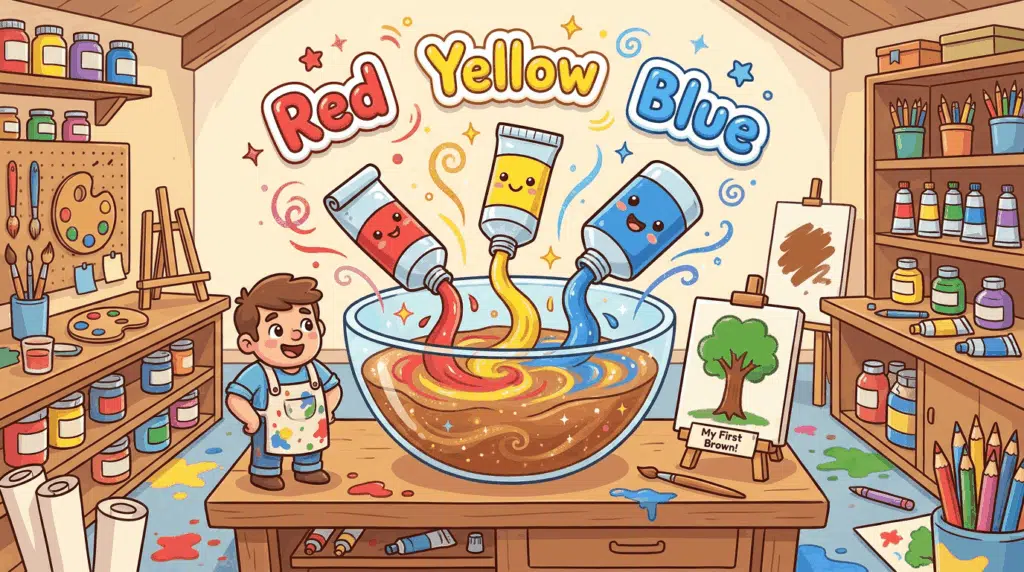
A basic set with red, blue, yellow, black, and white is enough to mix most shades you’ll ever need. Student-grade paint costs less and works just fine.
You’ll also need a few brushes in different sizes, a palette or old plate for mixing, a cup of water, and paper towels. That’s honestly it for most projects.
3. Workspace Setup: Good lighting makes a real difference. Natural light helps you see colors the way they actually look, not how they look under a warm lamp.
Cover your table and floor with newspaper or a drop cloth. Keep water and paper towels close. Wear something you don’t mind ruining.
6 DIY Canvas Art Ideas Worth Trying
Staring at a blank canvas is the hardest part. These ideas give you a clear starting point.
1. Abstract Painting
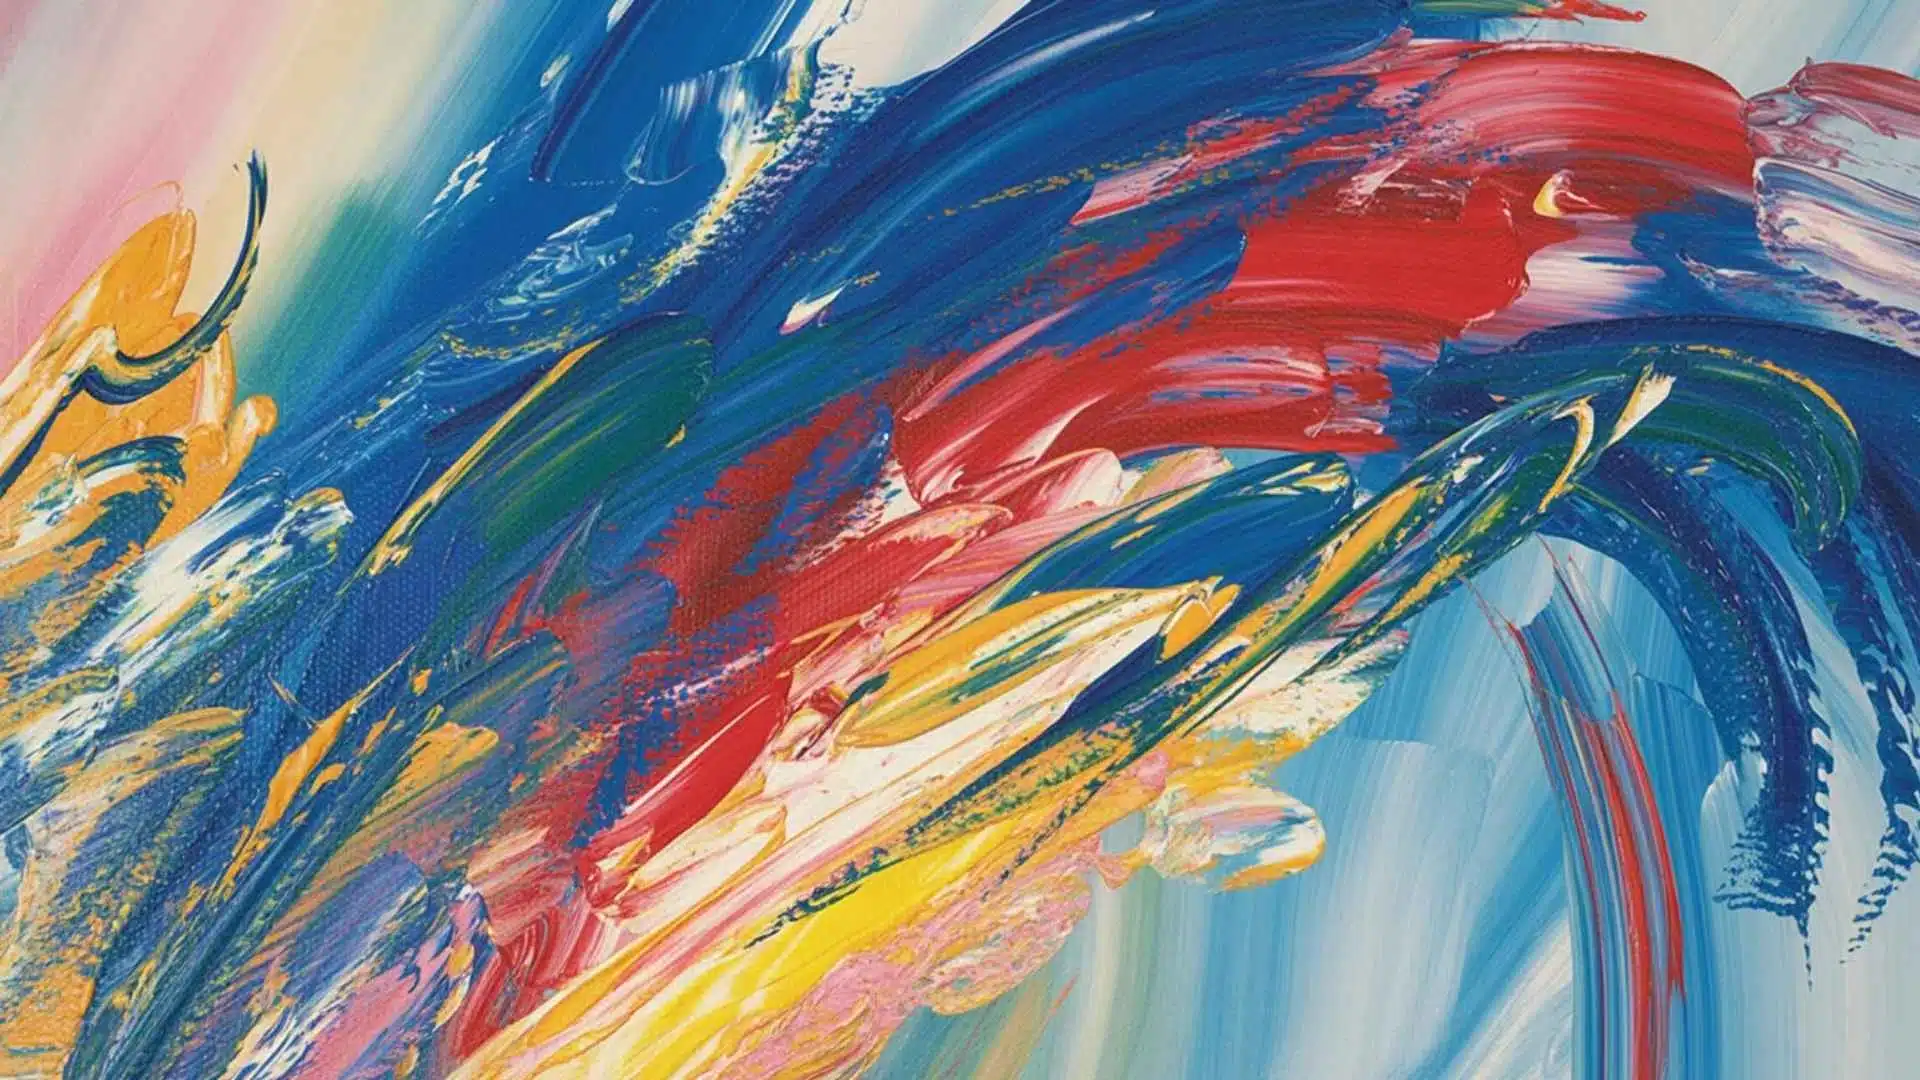
This is where most beginners should start. There are no rules. Pick two to four colors that go well together, paint loose shapes or strokes, and let some edges bleed into each other.
One base color, let it dry, then add bold contrasting strokes on top.
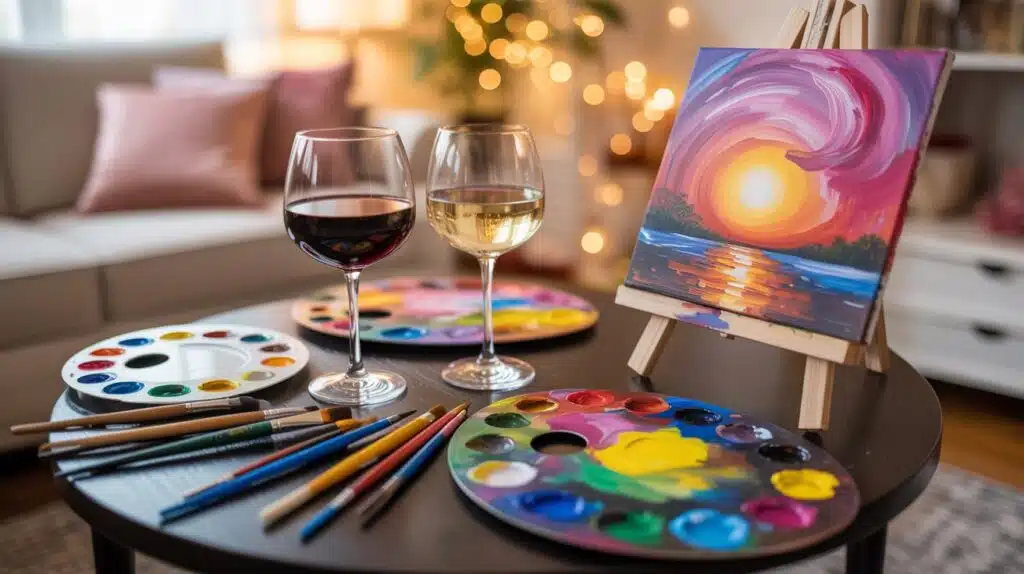
It’s also the style most people reach for when doing casual painting sessionsat home with friends. Step back often to check balance.
2. Geometric Tape Art
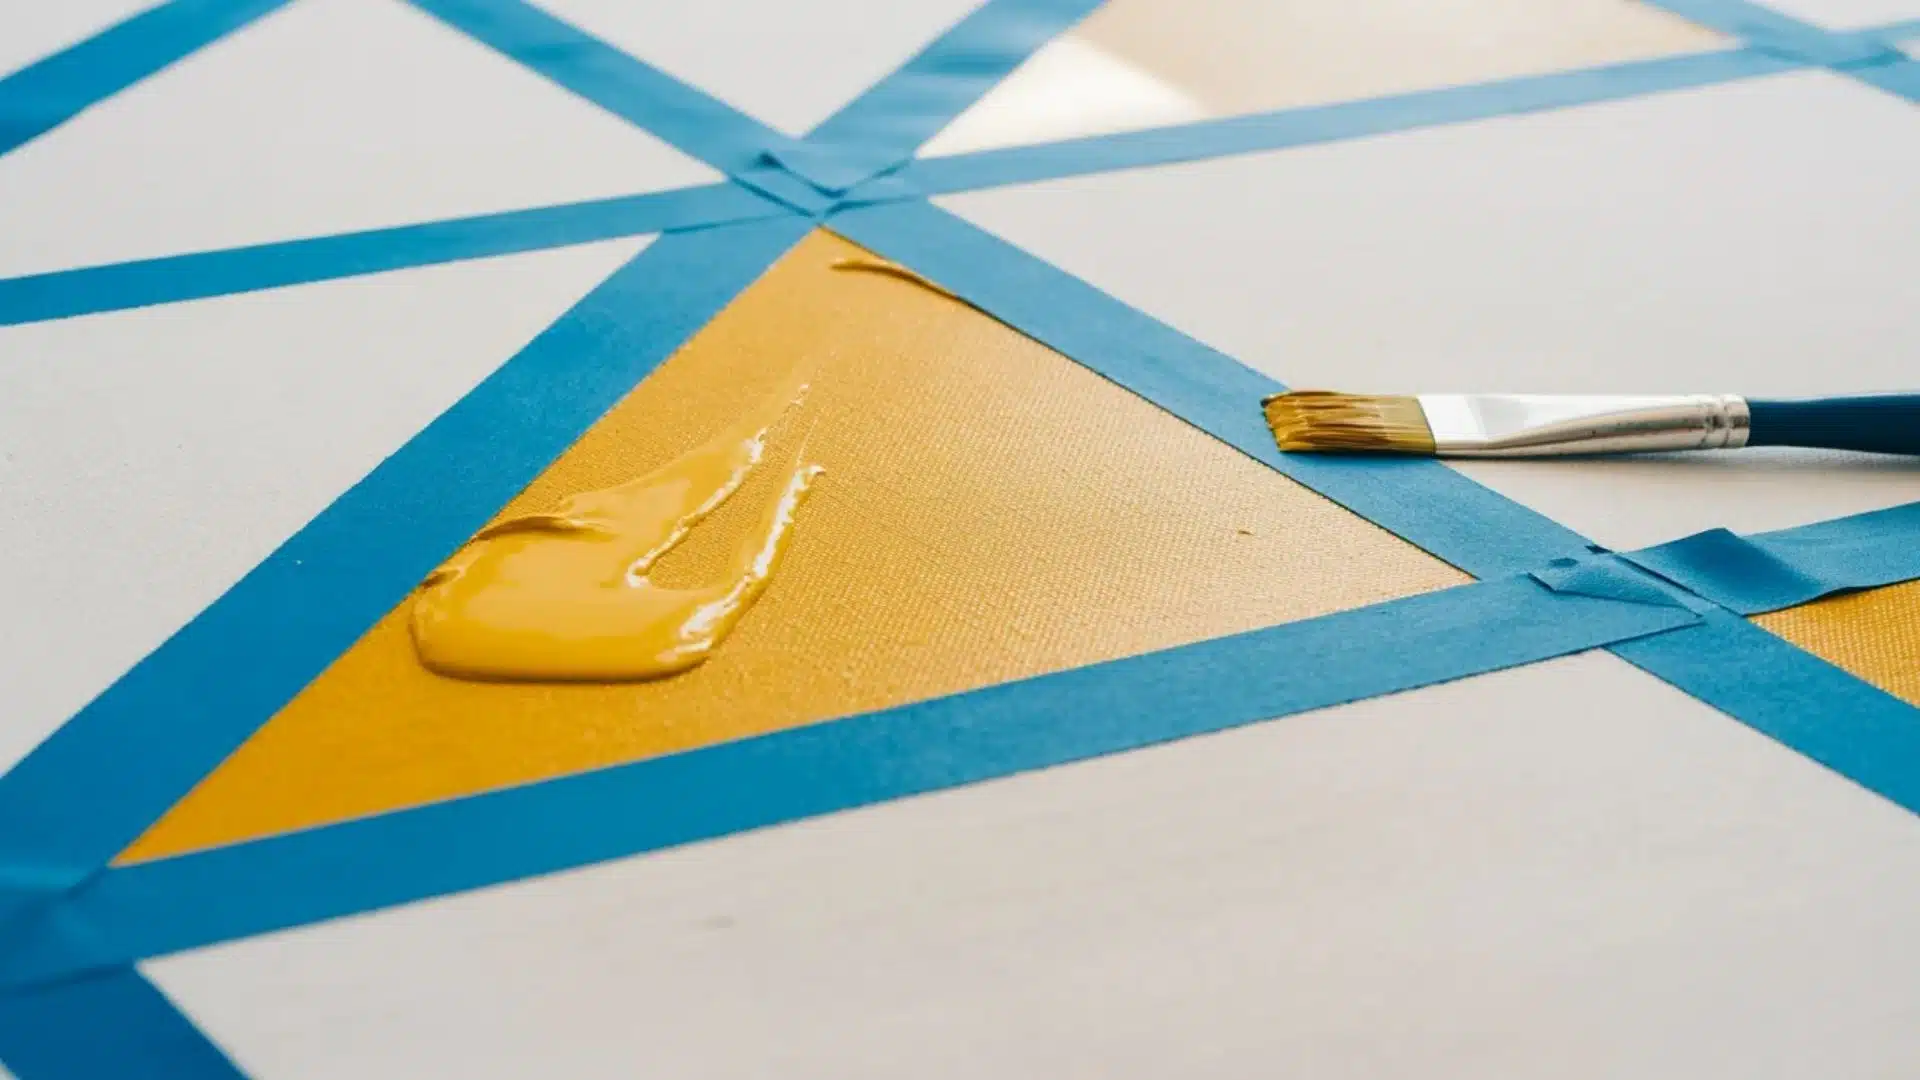
Use painter’s tape to map out triangles, rectangles, or diagonal lines across the canvas.
Paint over everything, let it dry fully, then pull the tape off. The crisp edges underneath look clean and intentional, even on a first try.
This is one of the most satisfying techniques I know.
3. Textured Canvas with Joint Compound
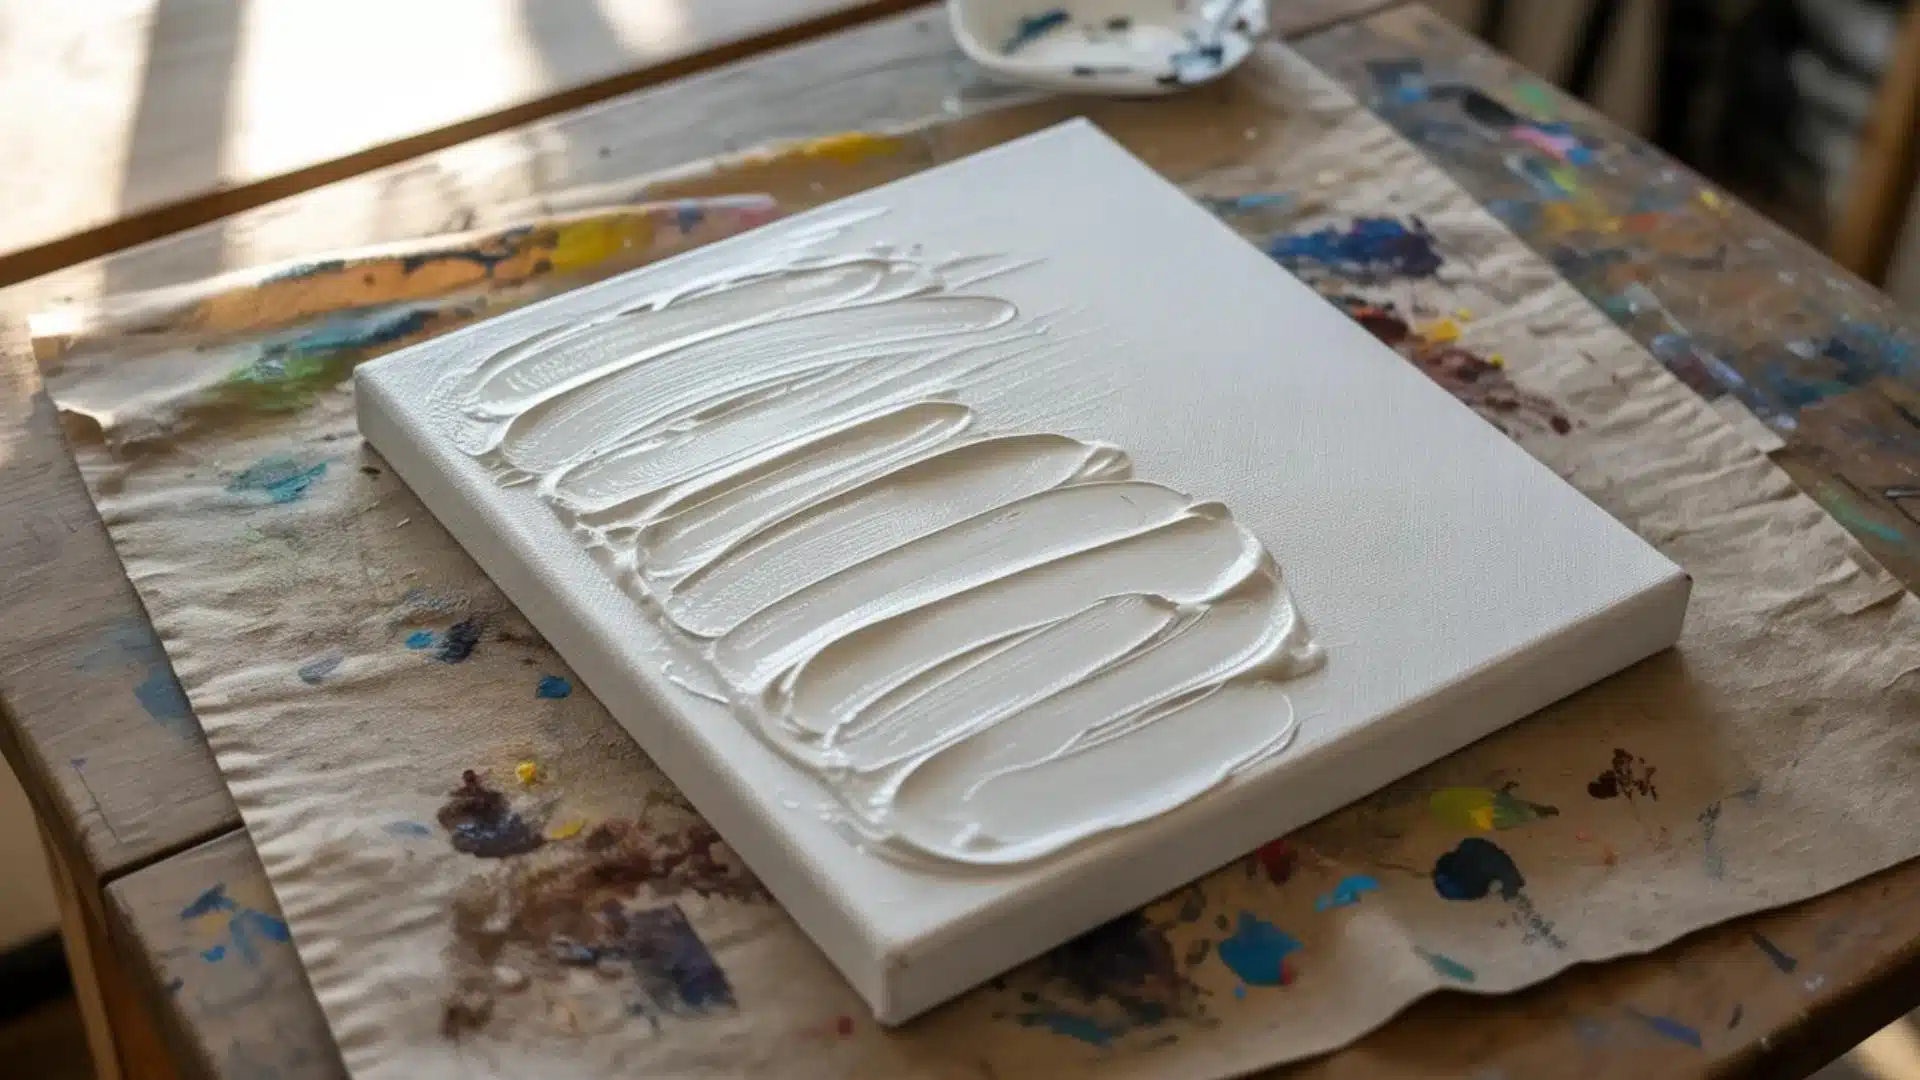
This is the most popular DIY canvas project right now, and it’s easy to see why. Textured art looks far more expensive than it is. Most projects cost between $15 and $30 per canvas.
Joint compound from a hardware store gives you a raised, plaster-like surface. Spread it with a trowel, create patterns or smooth waves, let it dry overnight, then paint over it.
The raised areas catch light differently throughout the day, which makes the piece feel more alive than flat-painted art.
For smaller canvases, joint compound is perfect. For larger pieces, plaster of Paris also works well. Once it dries, light sanding smooths any rough spots before you paint.
4. Nature-Inspired Painting
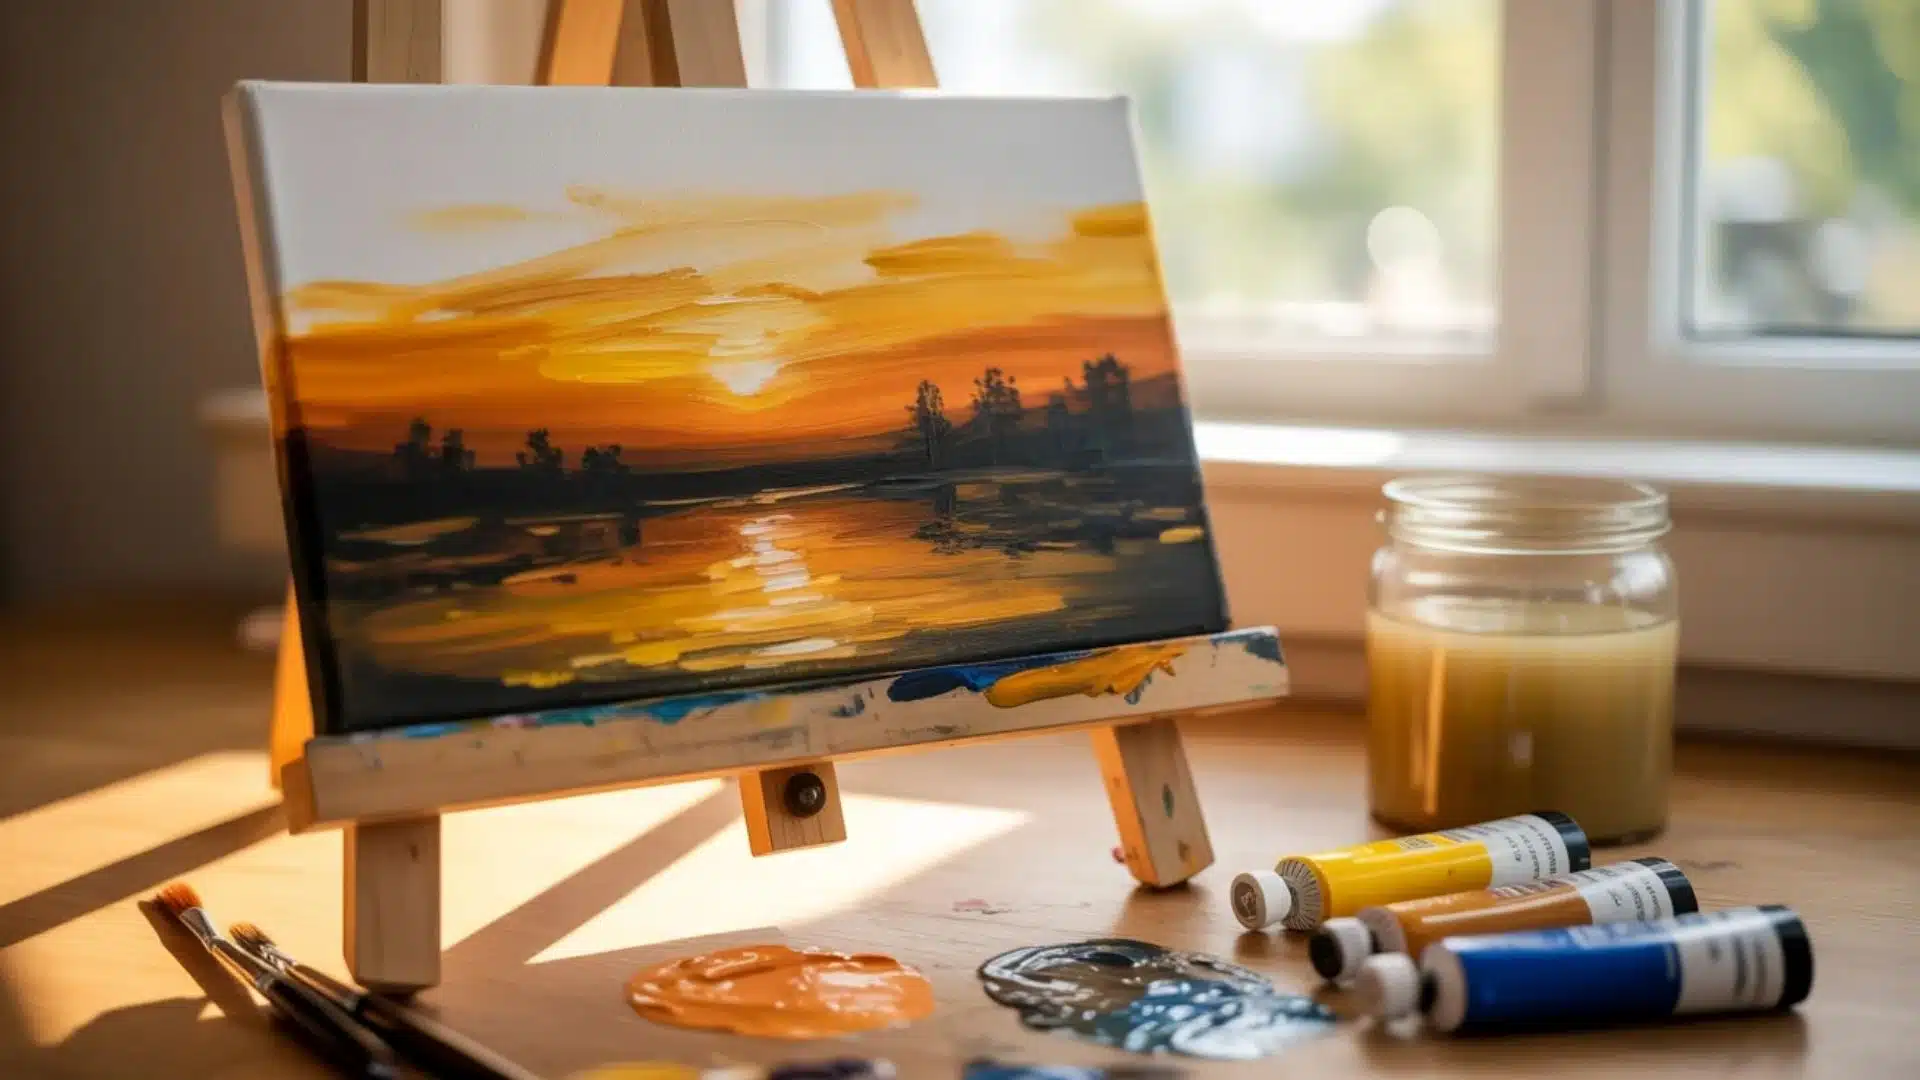
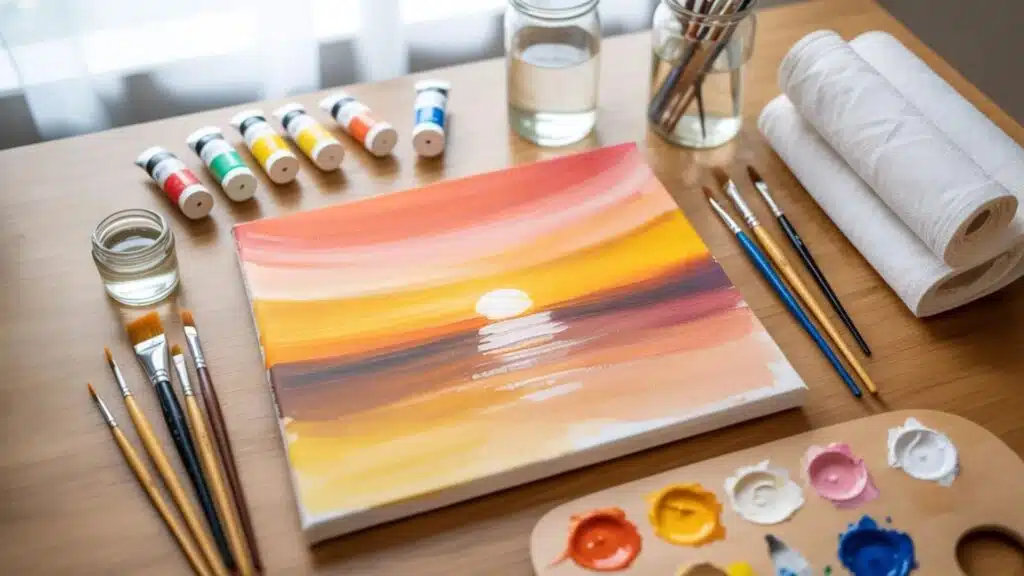
I’ve painted plenty of scenes from photographs rather than imagination. It works. Pull up a photo on your phone, set it next to your canvas, and use it as a reference. You’re not copying it exactly.
You’re getting the proportions and colors roughly right. Venetian buildings, forest lines, a simple sunset horizon.
These all look good on a large canvas and are far less daunting when you have a visual to work from.
5. Yarn Canvas Art
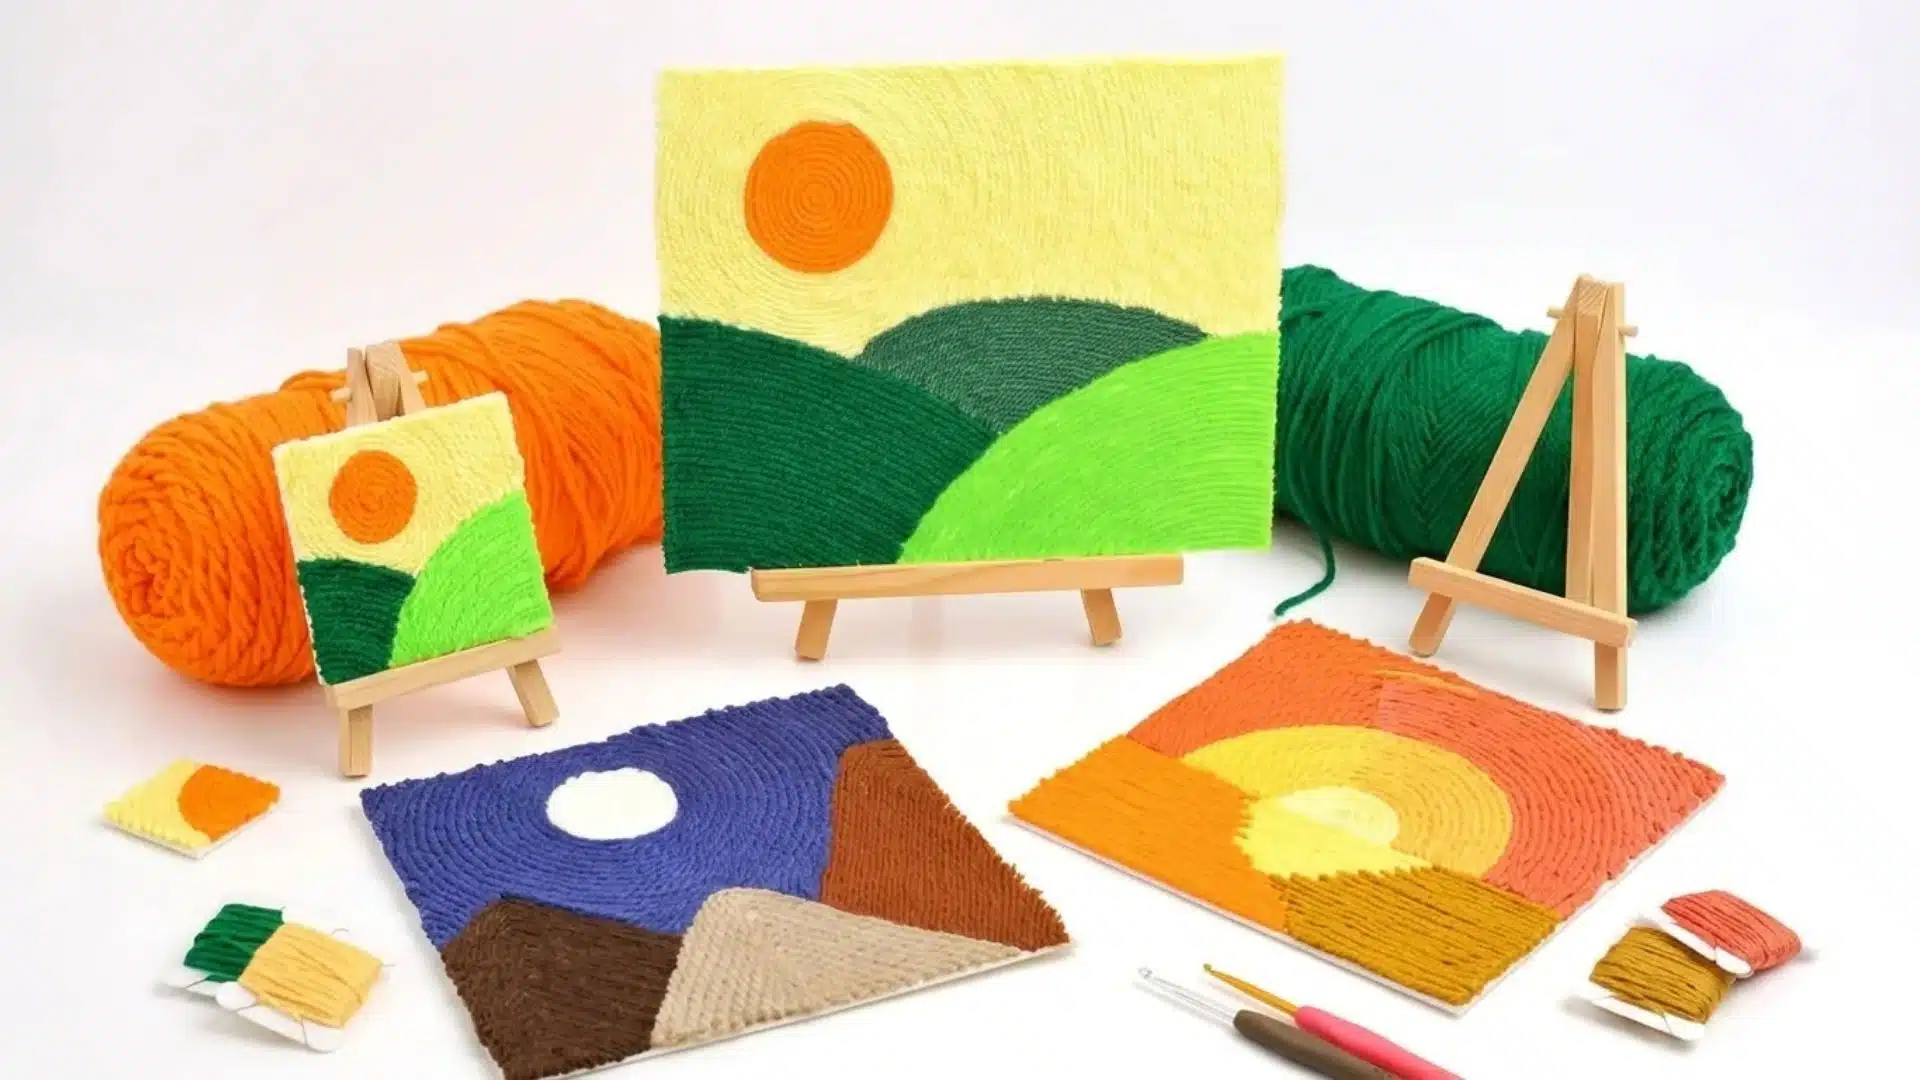
Yarn art blends painting with fiber work. You paint a base on the canvas, then press lengths of yarn into it while the paint is wet, or glue it down once dry.
The contrast between flat paint and raised yarn texture creates a bold, graphic look. No special skill needed. Just patience and a clear-drying PVA glue.
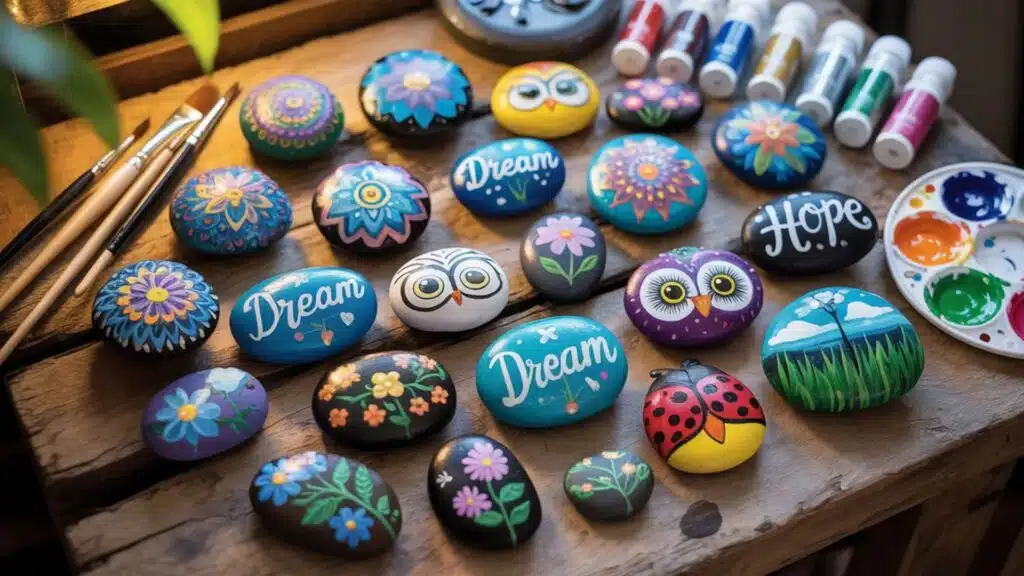
6. Quote or Word Canvas
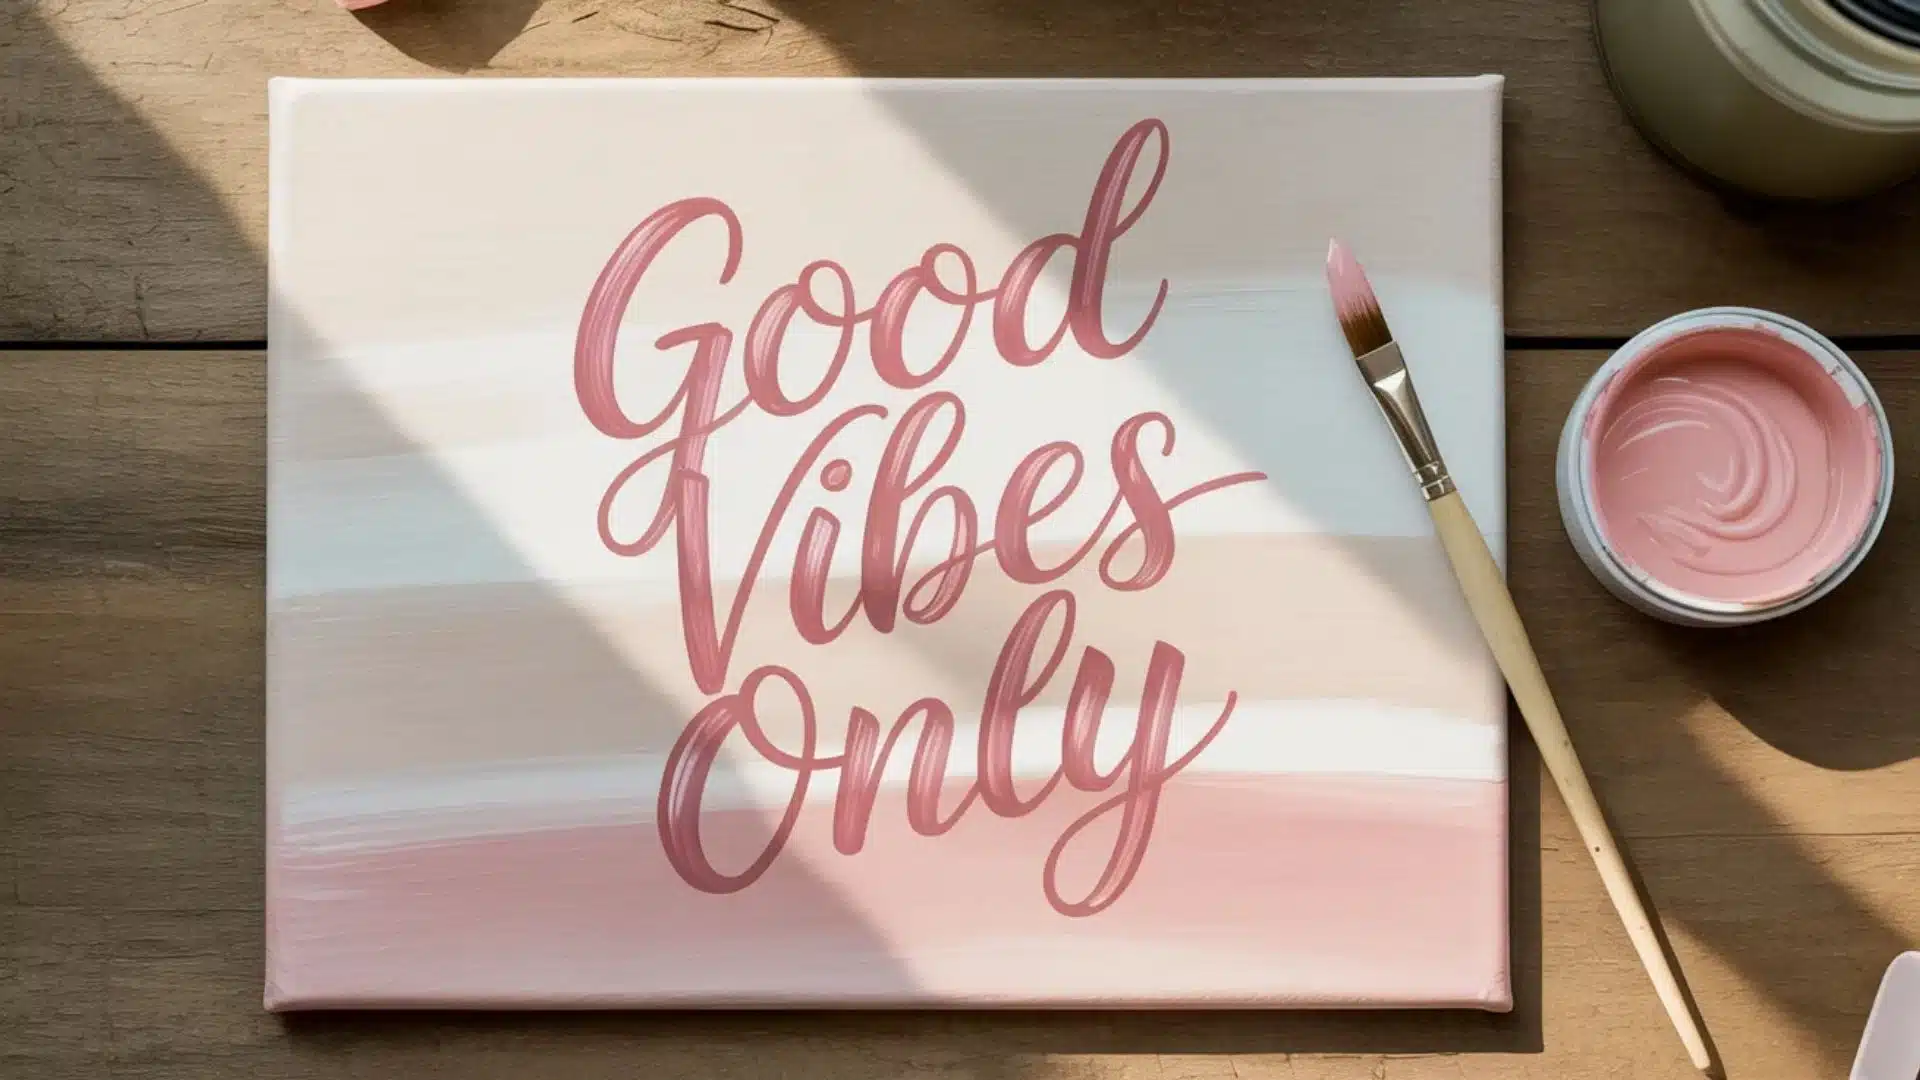
Use a stencil or freehand lettering to add words to your canvas. Keep the background simple, one solid color or a soft gradient, so the text reads clearly.
This works well as a gift because it feels personal in a way a printed quote never does.
Key Techniques That Improve Your Results
Knowing what to do with a brush matters more than how long you’ve been holding one. These four techniques are the ones I keep coming back to.
1. Basic Brush Moves: Four simple techniques cover most of what you’ll ever need:
- Dabbingcreates leaves, clouds, and flowers.
- Blendingmixes two colors directly on the canvas for soft, gradual transitions.
- Dry brushinguses a nearly dry brush to add rough texture or edges.
- Dottingwith just the brush tip makes stars, petals, or fine details.
These aren’t advanced skills. A few minutes of practice before starting your actual piece makes a noticeable difference.
2. Building Texture: With a palette knife, you can create three distinct types of texture.
Drag it in straight lines for a linear effect. Dab a stiff brush or sponge for a stippled, bumpy surface. Press crumpled plastic wrap into wet compound and lift for an organic, irregular pattern.
Mixing two of these across the same canvas adds visual interest without extra effort.
3. Base Coats and Layering: Start with an underpainting. Mix a small amount of color into white paint, then brush it randomly over the canvas without fully blending.
It gives you a varied background with some depth before you add your actual design. From there, build up layers. Let each one dry before adding the next.
4. Drying Times for Textured Work: Thin layers of compound require 4 to 6 hours. Medium layers need 24 to 48 hours. Thick layers need 48 to 72 hours or more.
Rushing this step ruins the texture. A warm, dry room speeds things up. A cool or humid room slows them down.
Step-by-Step: How to Make Your First Canvas
Making your first canvas does not have to be complicated. These five steps keep things simple and in order.
Step 1: Prep: Wipe the canvas with a dry cloth. If it’s not pre-primed, apply a coat of gesso and let it dry.
Step 2: Set up your space: Good light, drop cloth on the floor, water, and paper towels within reach.
Step 3: Base layer: Use a wide brush to cover the canvas with your background color. Keep it even. Let it dry fully.
Step 4: Build the design: Add layers using smaller brushes or a palette knife. Vary your strokes. Alternate between dry brushing for texture and wet blending for softer areas.
Step 5: Seal it: Once everything is fully dry, apply a clear acrylic varnish. This protects the surface from dust and fading and makes the colors look slightly richer.
A Few Tips That Actually Help
These aren’t rules. They’re just habits I’ve built over time that make the process smoother and the results better.
- Start with one or two colors on your first project. More colors increase the risk of muddy results.
- Use parchment paper over a damp paper towel as a makeshift palette. It slows the drying time of acrylic paint while you work.
- A thrifted canvas painted over with gesso works just as well as a new one. I’ve done this many times.
- Mistakes are mostly fixable. Let the paint dry, paint over it, and try again.
Conclusion
DIY canvas art doesn’t ask much from you. A few basic supplies, a couple of hours, and a willingness to see what happens.
I’ve made pieces with no plan at all that turned out better than anything I carefully sketched out.
The wall space in your home deserves something personal, and nothing is more personal than something you made yourself.
Pick one idea from this guide, gather your supplies, and get started. Drop your results in the comments. I’d genuinely love to see what you create.
Frequently Asked Questions
Is It Cheaper to Make Your Own Canvas or Buy One?
If you’re looking to save money and don’t mind putting in some extra effort, stretching your own canvas can be a more economical choice.
Does Canvas Look Better, Framed or Unframed?
Framed canvas prints offer a polished, professional look and added protection, making them ideal for formal settings. Unframed canvases create a minimalist, modern vibe with an artistic edge.
How to Make Canvas Art Look Expensive?
Apply a matte gel medium or Mod Podge to create textured brushstrokes, add a high-quality frame (especially a floating frame), and use proper lighting.