Your baby just grabbed the spoon from your hand and flung the sweet potato across the kitchen. Welcome to solid foods.
Starting purees feels overwhelming. Store-bought jars cost a fortune. You’re not sure what’s actually inside them. And let’s be honest, making baby food sounds like one more thing you don’t have time for.
Here’s the truth: homemade baby purees are easier than you think. With basic kitchen tools and 15 minutes, you can make a week’s worth of nutritious meals. No fancy equipment needed. No complicated recipes.
This guide gives you 7 simple puree recipes, a mix-and-match system for endless combinations, and a complete 7-day meal plan. By the end, you’ll feel confident feeding your baby healthy homemade food without the stress.
Let’s get started.
Before Starting: Quick Readiness and Safety Checklist
Is your baby ready for purees? Most babies are set to go around 6 months old.
Look for these signs:
- Sits up with some support
- Holds head steady
- Watches you eat with big, curious eyes
- Opens its mouth when food comes close
- Stops pushing food out with the tongue
See these signs? Your baby’s ready.
Start thin and smooth. Think soup consistency. Your little one is learning how to swallow something other than milk. It takes practice.
After a week or two, use less liquid to make it thicker. By month 7 or 8, add tiny soft lumps. This teaches them to chew.
Here’s something important about allergies. Doctors used to say wait on peanuts and eggs. Not anymore. Research shows that introducing allergens early (between 4 and 6 months) can actually prevent allergies.
Give one new food at a time. Wait 3-5 days. Watch for rashes, upset stomach, or trouble breathing. Family history of allergies? Check with your pediatrician first.
One hard rule: No honey before 12 months, ever. Honey can make babies very sick. Save it for after their first birthday.
The It Factor: The Mix and Match Puree System
Okay, here’s the game-changer.
Most baby food posts give you recipes. You make them once. Then you’re back searching for more ideas next week. Frustrating, right?
This is different. I’m teaching you a system. Once you get it, you can whip up dozens of different purees without ever looking at another recipe. Seriously. You’ll be creating meals like a pro.
Think of it like Lego blocks. Grab one piece from each category, blend them together, and done.
Step 1: Pick Your Base
This is your main ingredient. The star of the show.
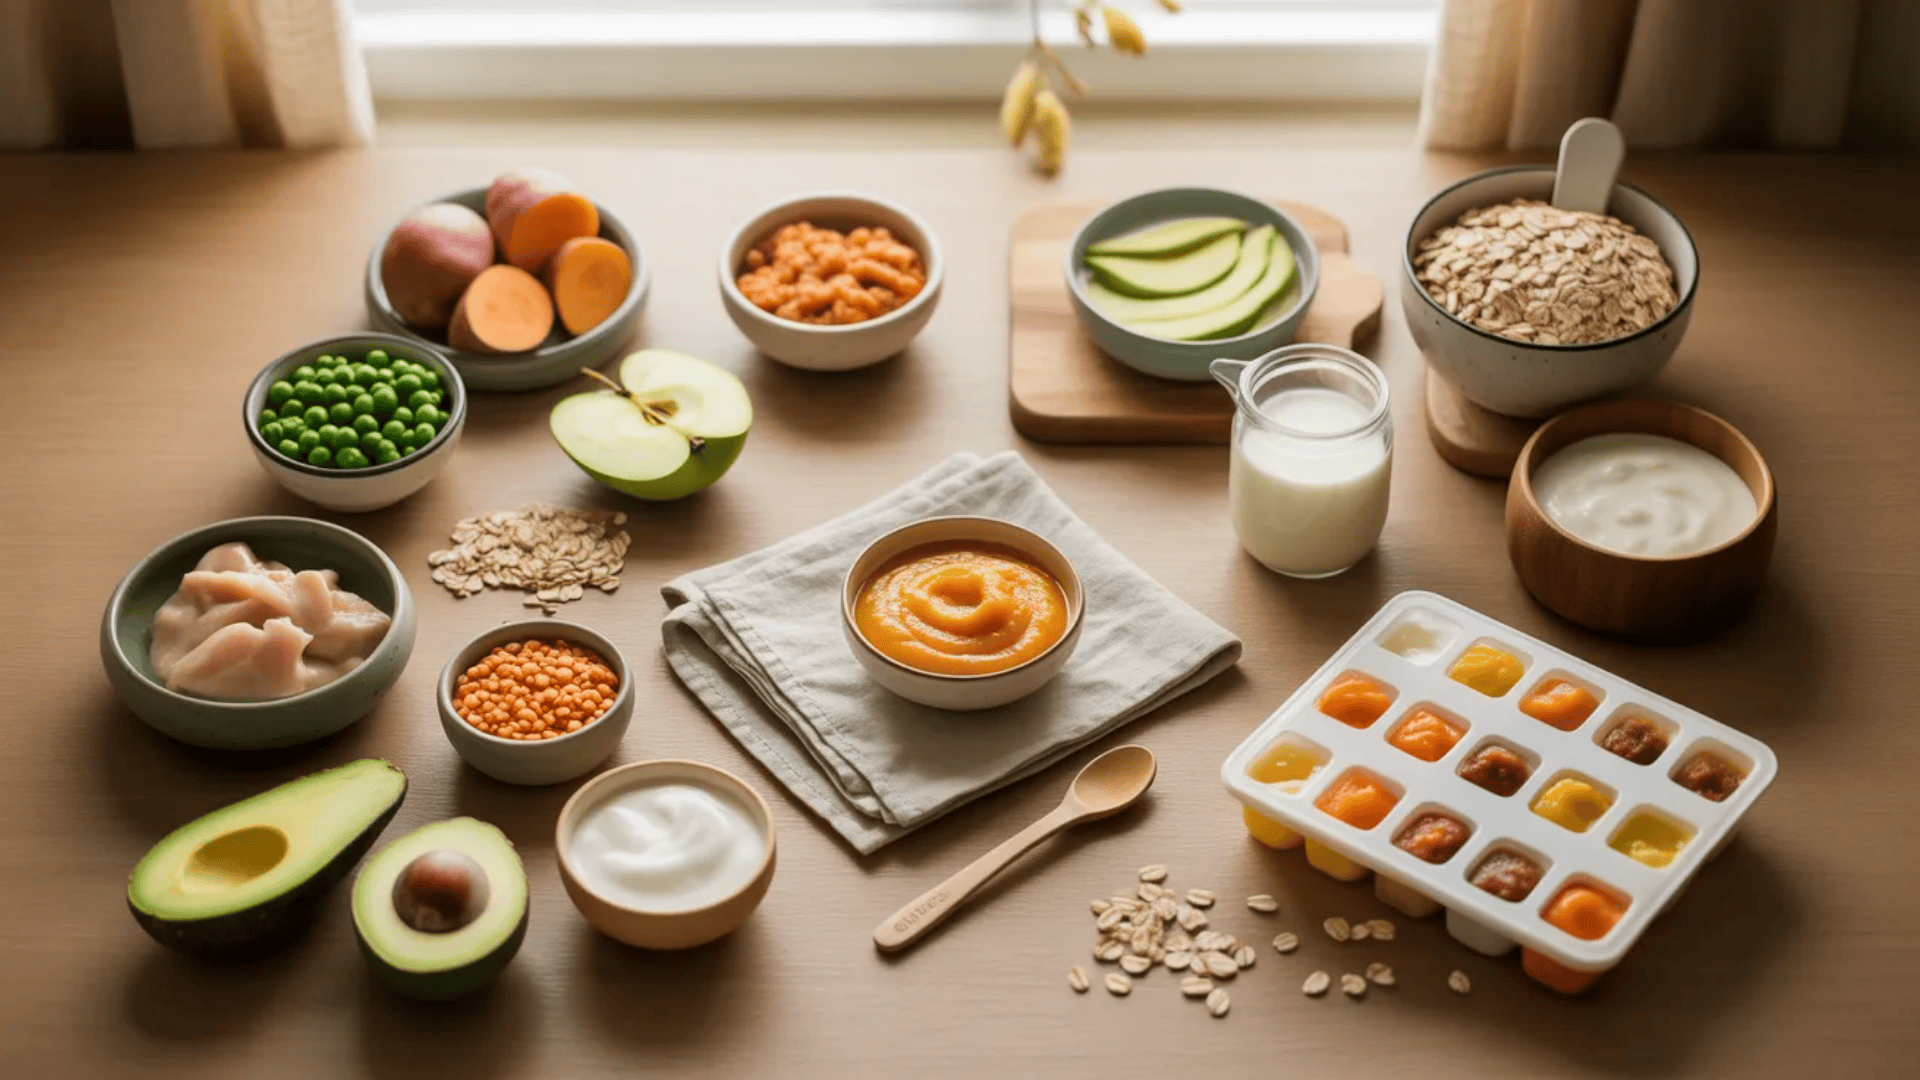
You’ve got produce options like sweet potato, carrot, peas, butternut squash, pear, apple, banana, or mango. Or go with grains like oatmeal, brown rice cereal, or quinoa.
Just pick one. Steam it soft. That’s your foundation.
Step 2: Add a Booster
Here’s where nutrition gets real. Your baby needs more than just fruits and veggies.
Around 6 months, something important happens. The iron your baby stored from birth? It’s running out. Breast milk doesn’t have enough to keep up with their rapid growth.
Their brains are developing rapidly and need iron to carry oxygen throughout the body. That’s why iron-rich boosters matter so much right now.
Try red lentils, black beans, chicken, beef, or iron-fortified cereal. These pack the iron punch.
Want healthy fats instead? Avocado is perfect. Or stir in a teaspoon of olive oil. Full-fat plain yogurt works great after 6 months, too. Babies need fat for brain development.
Protein boosters like chicken, lentils, beans, or tofu are solid choices as well.
Mix one booster into your base. Now you’ve built a complete meal.
Step 3: Control the Texture
Your baby’s texture needs to change fast. Start super thin and gradually thicken things up.
First two weeks? Go thin. Use breast milk or formula to blend. Your baby recognizes these flavors. It makes the transition easier.
Weeks 3 through 8? Try medium thickness. The water left over from steaming vegetables works beautifully. Plain whole milk yogurt or unsalted bone broth are great too.
After two months of eating solids? Time to go thick. Mash in a banana, mix in cooked oat cereal, or add extra cooked vegetables.
Watch your baby’s cues. They’ll tell you when they’re ready for more texture.
Step 4: Try Allergen Add-Ins When Ready
This part scares many parents. But it’s actually pretty simple.
Let’s say you want to introduce peanut butter. Take a tiny smear. Mix it with warm water until it’s runny like yogurt. Stir one teaspoon into your puree. That’s it.
Now watch for 3-5 days. No rash? No tummy trouble? Great. Try another allergen next week.
You can do the same with scrambled egg (cooled and blended smooth), flaked cooked salmon, or tahini thinned with water.
The key? One allergen at a time. Never rush this.
Your 5-Minute Freezer Cube Plan
Want to know the secret to stress-free baby feeding? Batch cooking.
Cook up your base until it’s super soft. Toss it in the blender with your booster and some liquid. Let it cool for 10 minutes while you clean up.
Then grab clean ice cube trays. Spoon the puree into each section. Each cube is about 1 ounce, which is a perfect baby portion. Cover the tray with plastic wrap or a lid. Pop it in the freezer for 2-3 hours.
Here’s a mom hack: write the food name and date on masking tape. Stick it right on the tray. Trust me, you’ll forget what’s what otherwise.
When you need a meal, pop out 1-2 cubes the night before. Let them thaw in the fridge overnight. Warm gently before serving.
Refrigerated purees last 3-4 days. Frozen ones last 3 months.
The best part? You can make single-ingredient cubes separately. One tray of sweet potato, another of chicken. Mix and match after thawing. Suddenly, you’ve got endless combinations without cooking every day.
No more last-minute panic. No more wondering what to feed your baby. Just thaw, warm, serve. You’ve got this handled.
How to Cook and Blend Baby Food?
Good news. You probably own everything you need already.
A pot with a steamer basket or baking sheet. Any blender, food processor, or immersion blender. A knife and cutting board. Done. No special baby food makers required.
How to Cook and Blend?
The method is simple. Cook until very soft, blend until smooth, and adjust as your baby grows.
| Cooking Method | Why It Works | How Long |
|---|---|---|
| Steaming | Keeps the most vitamins and minerals locked in | 10-15 minutes for most vegetables and fruits |
| Roasting | Brings out natural sweetness, great for picky eaters | 20-30 minutes at 400°F |
Both methods work perfectly. Just cook until a fork slides through with zero resistance.
What to blend with: Save your steaming water because it holds nutrients that leaked out during cooking. Breast milk or formula add familiar taste. Plain water works fine, too. Start with just 2-3 tablespoons and add more if needed.
Texture guide by age:
| Baby’s Age | Blend Time | What It Should Look Like |
|---|---|---|
| First 2 weeks eating | 2-3 minutes, scrape sides halfway | Thick cream, absolutely no lumps |
| Weeks 3-8 | 1-2 minutes | Smooth but slightly thicker |
| 8+ months | Quick pulse or fork mash | Soft lumps, some texture |
Test your first purees by rubbing them between your fingers. Feel graininess? Blend more. Your baby will gag on chunks they’re not ready for yet.
Now that you’ve got the system down, let’s put it into action. Here are 7 tested recipes you can start making today.
7 Tested Baby Puree Recipes Ready to Make Today
Okay, theory’s over. Time to actually make some food.
These recipes are stupid simple. Some take 10 minutes. Others need 20. None of them requires chef skills or fancy ingredients. Just fresh produce, a pot, and a blender.
I’ve organized them from easiest to slightly more involved. Recipe 1 is perfect for your very first attempt. Recipe 5 barely requires cooking. By the time you hit recipe 7, you’re making full protein-packed meals like a pro.
Each one follows the same format, so you always know what to expect. Age range, ingredients, method, storage tips, and a couple of variations in case your baby decides they hate something.
Pick whichever sounds easiest and make it this week. Seriously, just pick one and do it.
1. Sweet Potato Puree
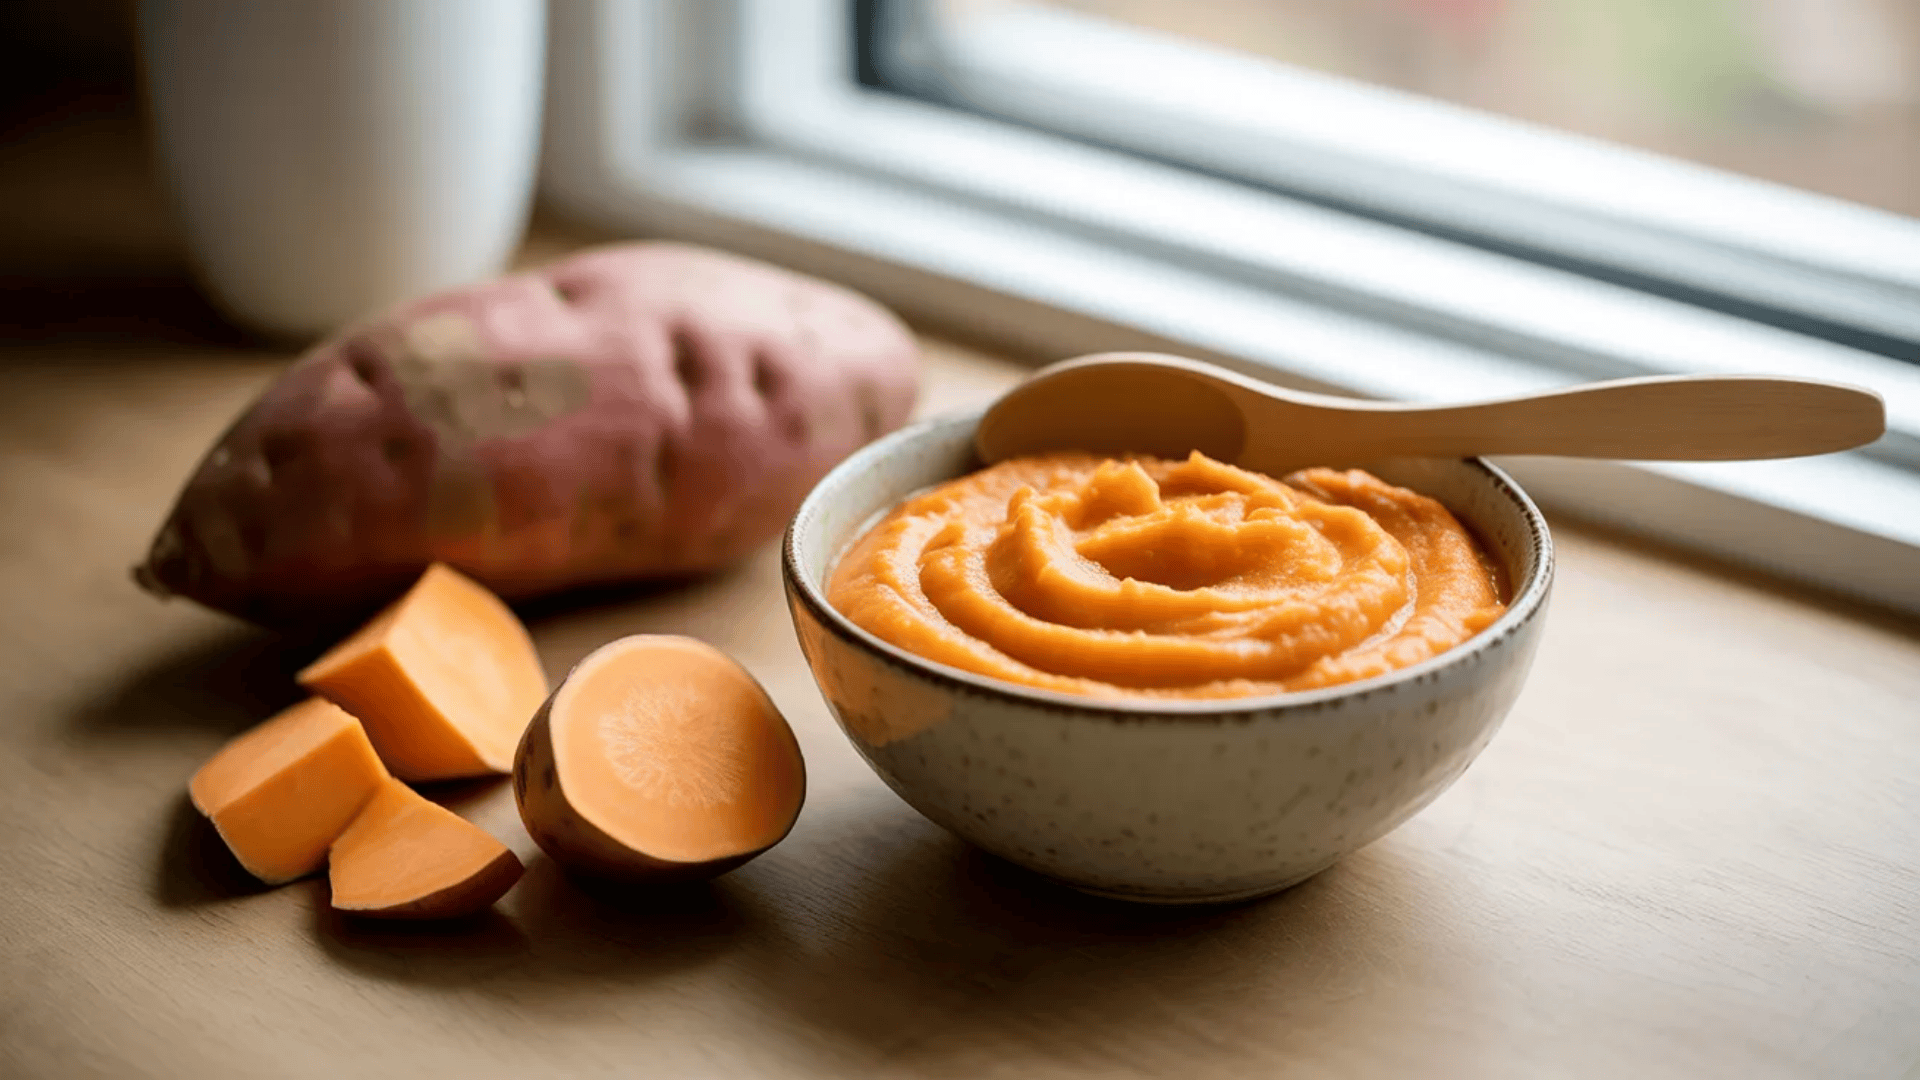
Best for: 6 months+, Stage 1
Ingredients:
- 1 medium sweet potato
- 2-4 tablespoons water, breast milk, or formula
- Optional: tiny pinch of cinnamon or nutmeg (completely optional, for variety after baby accepts plain version)
Method:
Peel and chop the sweet potato into 1-inch cubes. Steam for 12-15 minutes until fork-tender, or roast at 400°F for 25-30 minutes. Let cool slightly.
Add to blender with 2 tablespoons of liquid. Blend for 2-3 minutes until silky smooth. Add more liquid if needed to reach soup-like consistency.
Optional boosters: Stir in 1 teaspoon olive oil for healthy fats, or mix with mashed avocado.
Storage: Refrigerate in an airtight container for 3-4 days. Freeze in ice cube trays for up to 3 months.
Variations:
- Swap sweet potato for butternut squash
- Use a white potato for a milder taste
2. Apple + Carrot + Sweet Potato Combo
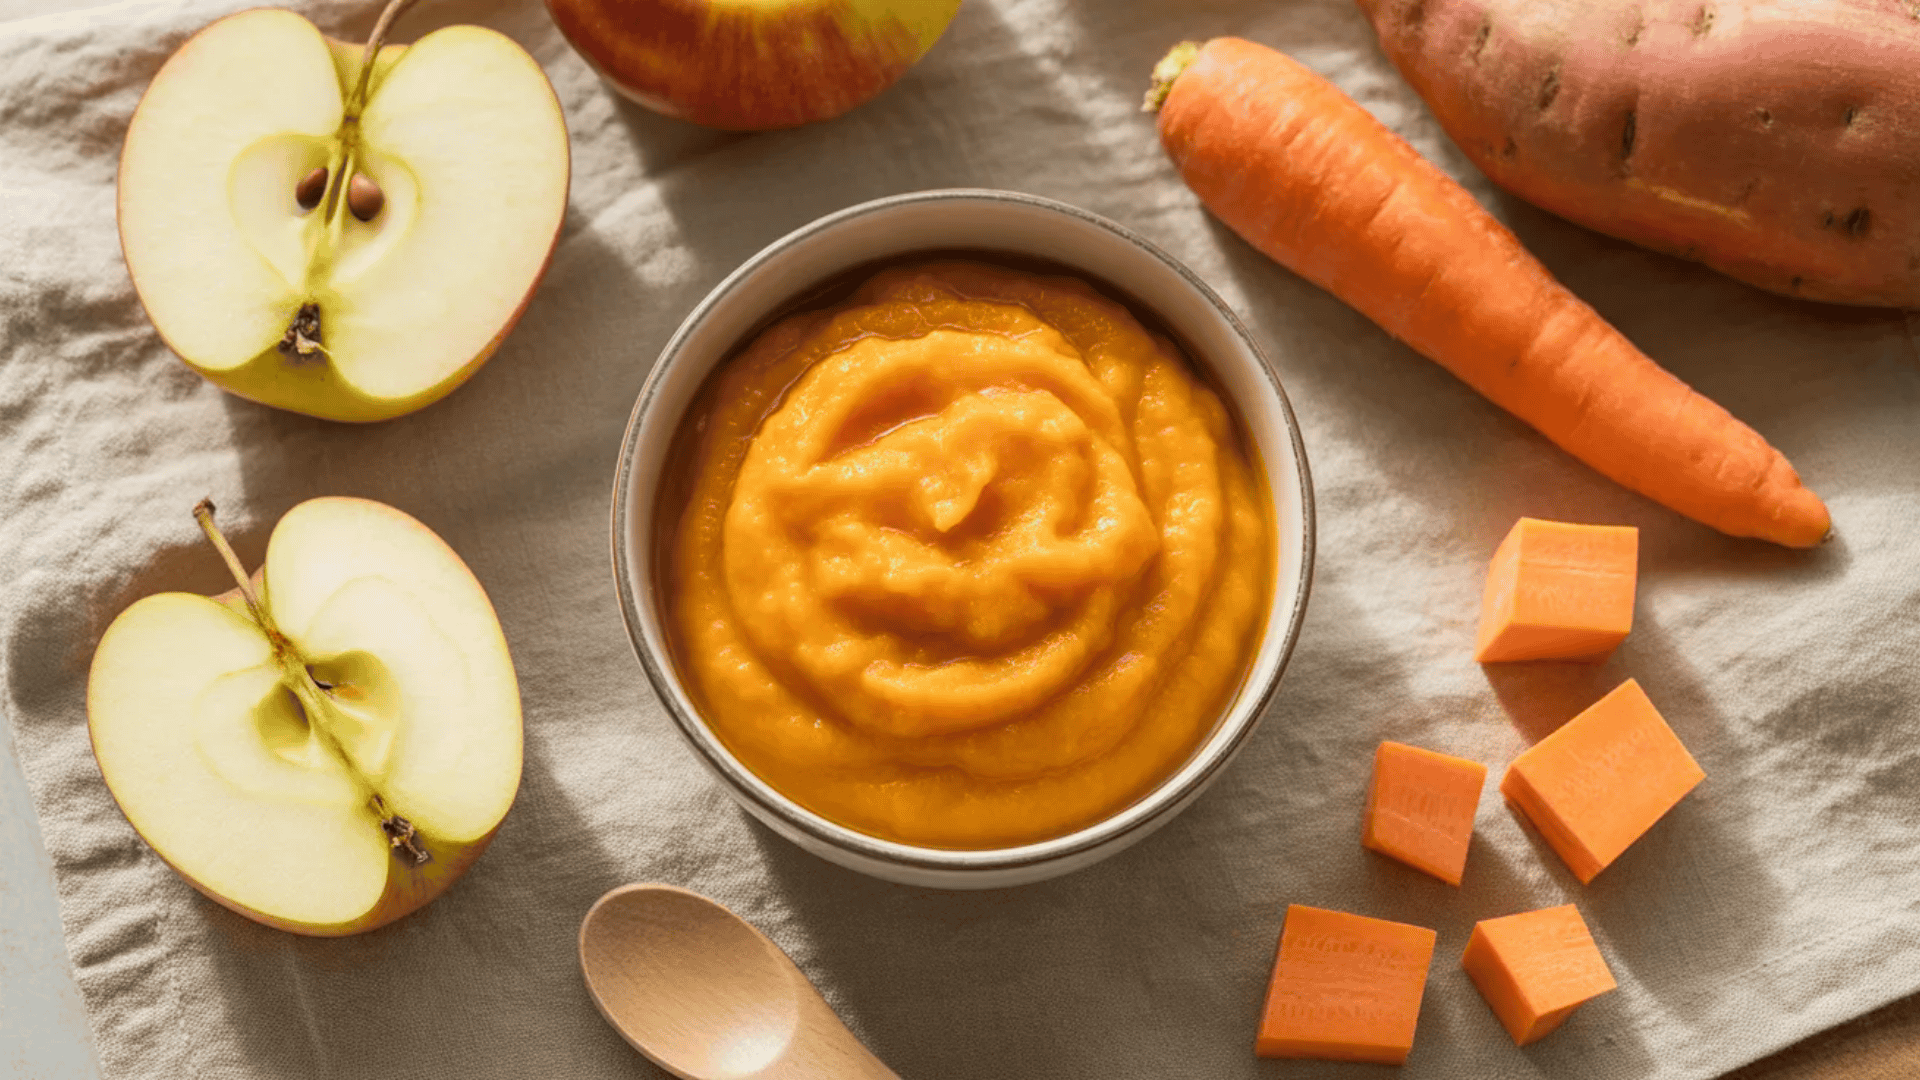
Best for: 6 months+, Stage 2
Why it works: Naturally sweet, bright orange color babies love, and it comes together fast.
Ingredients:
- 1 small sweet potato, peeled and diced
- 1 medium carrot, peeled and diced
- 1 apple, peeled, cored, and diced
- 3-4 tablespoons water or steaming liquid
Method:
Place all diced produce in the steamer basket. Steam for 12-15 minutes until everything is very soft. Transfer to a blender with steaming liquid. Blend smooth for 2 minutes. Scrape sides and blend again if needed.
Optional boosters: Add cooked chicken for protein, or stir in full-fat yogurt.
Allergen add-in: Mix in 1 teaspoon smooth peanut butter thinned with warm water.
Storage: Refrigerate for 3-4 days. Freeze for up to 3 months.
Variations:
- Replace apple with pear for gentler digestion
- Add a handful of spinach for extra iron
3. Pear + Sweet Potato + Carrot Puree
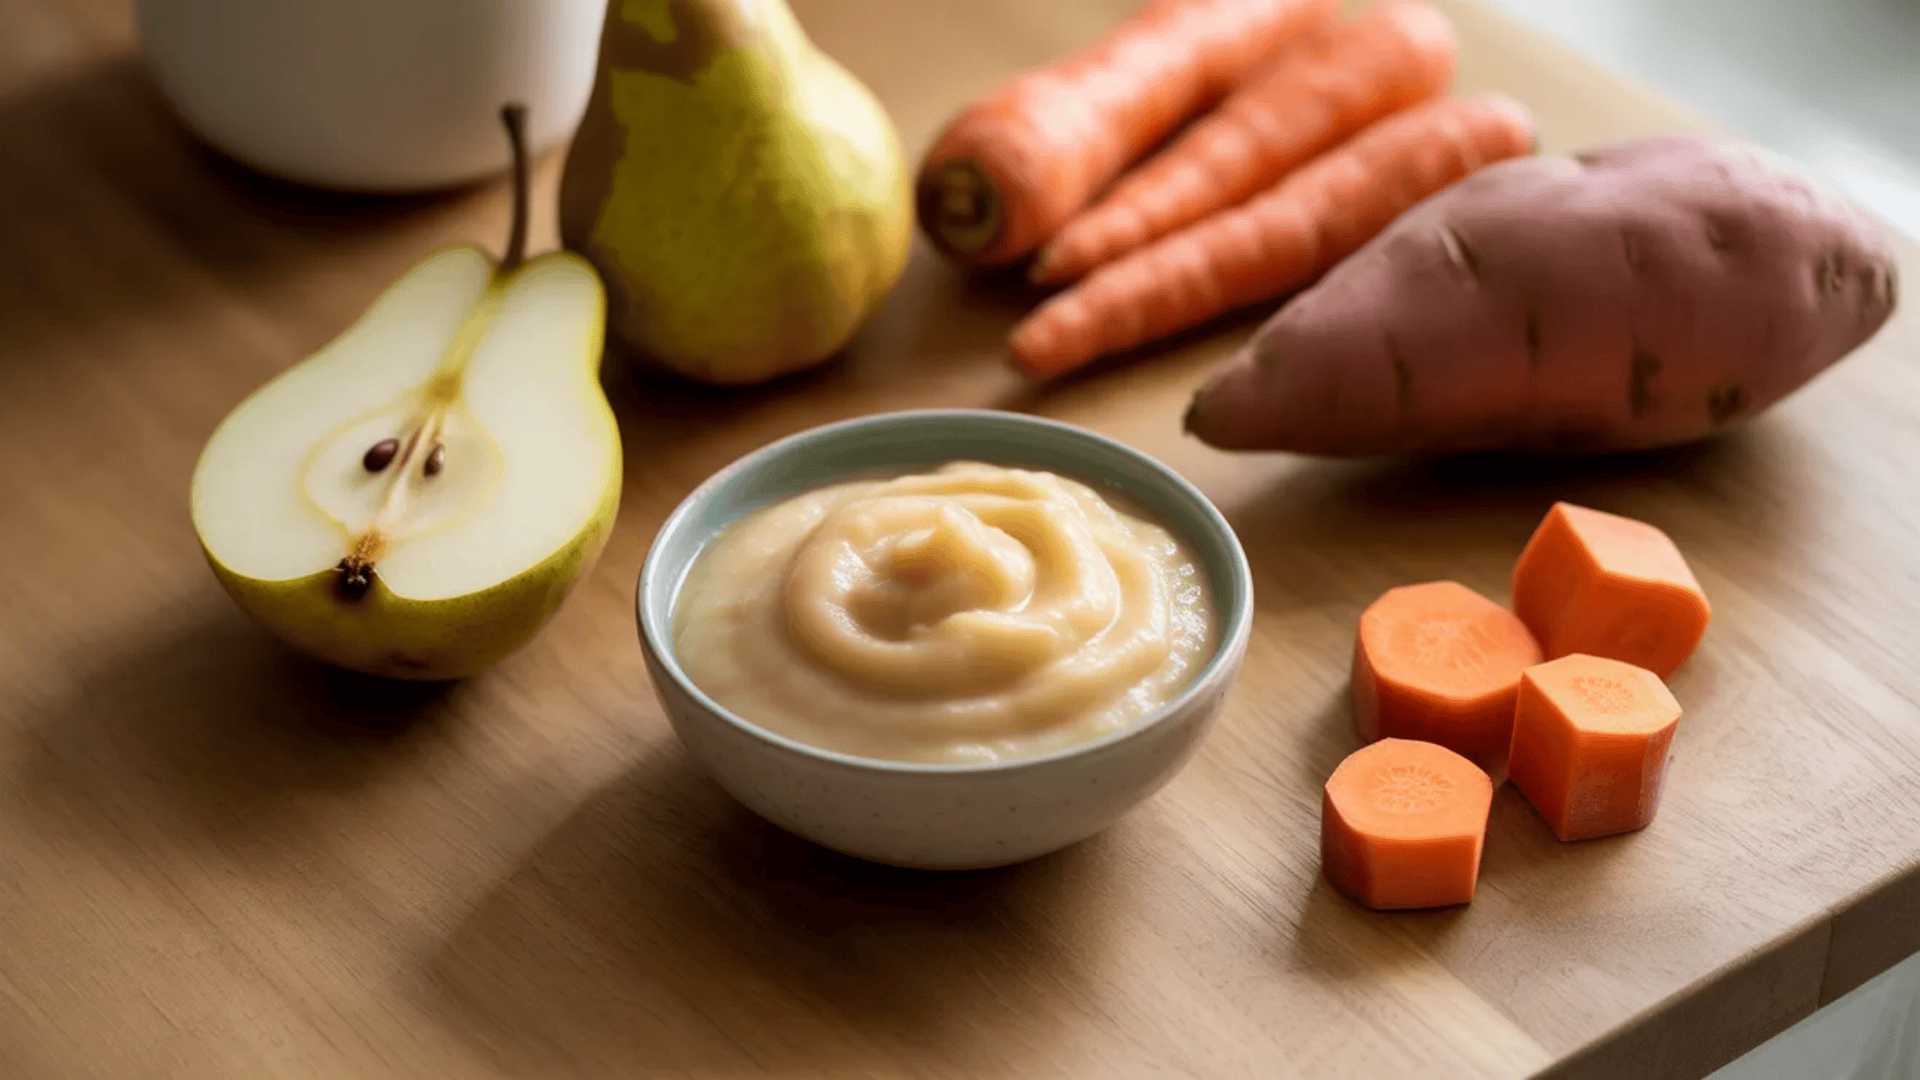
Best for: 6 months+, Stage 2
Ingredients:
- 1 ripe pear, peeled, cored, and diced
- 1 small sweet potato, peeled and diced
- 1 medium carrot, peeled and diced
- 3-4 tablespoons water or breast milk
Method:
Steam all diced produce together for 12-15 minutes until soft. Let cool for 5 minutes. Blend with liquid until completely smooth. This recipe is perfect for batch prep since it freezes beautifully.
Optional boosters: Add a handful of cooked red lentils for iron and protein.
Storage: Refrigerate for 3-4 days. Freeze in portions for up to 3 months.
Variations:
- Use an apple instead of a pear
- Swap carrot for parsnip for a sweeter flavor
4. Pea + Zucchini Puree (Gentle Green Starter)
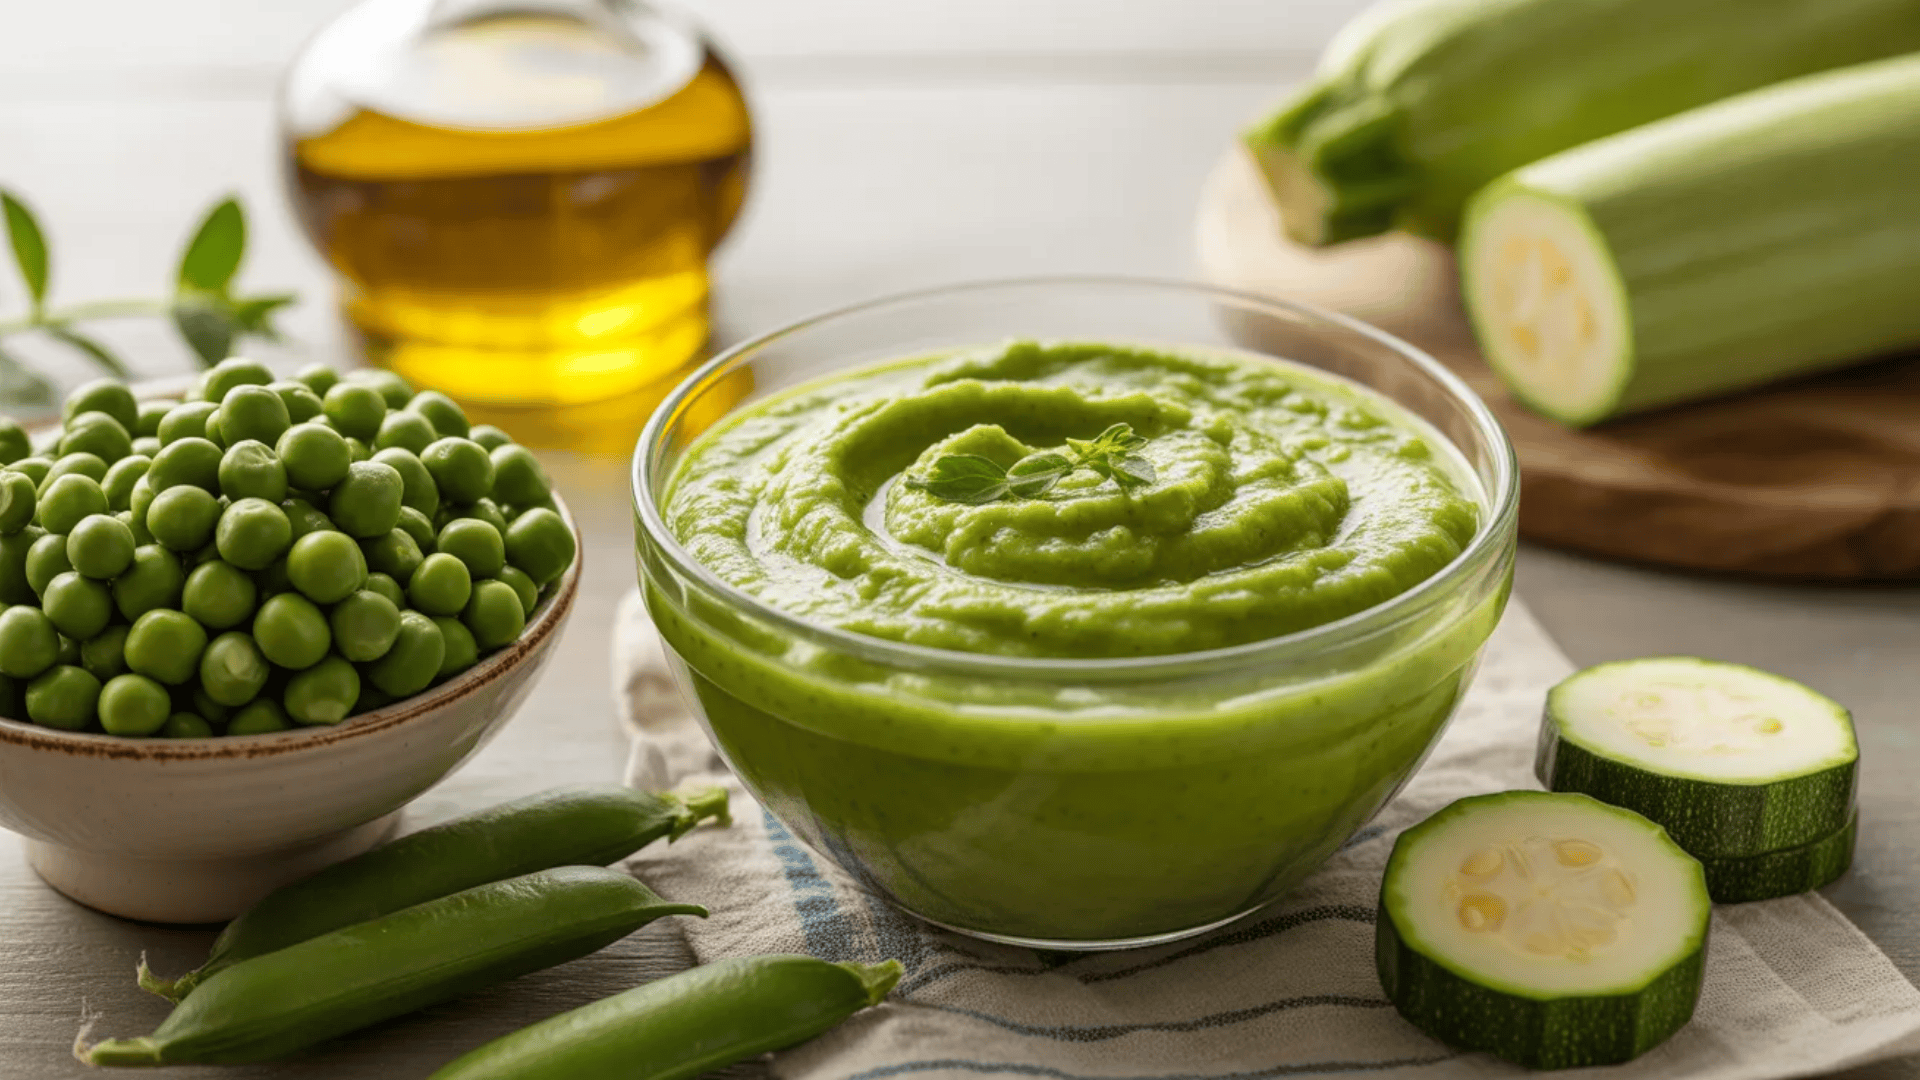
Best for: 6 months+, Stage 1 to 2
Ingredients:
- 1 cup fresh or frozen peas
- 1 small zucchini, peeled and diced
- 3 tablespoons water or steaming liquid
- Optional: 1 teaspoon olive oil
Method:
Steam peas and zucchini for 8-10 minutes until tender. Zucchini cooks fast, so check it early. Blend with liquid until smooth. For older babies around 8 months, blend for less time to leave a slightly thicker texture.
Booster options: Drizzle in 1 teaspoon olive oil or add mashed avocado for healthy fats.
Texture step: Leave it slightly thicker for babies practicing chewing skills.
Storage: Refrigerate for 3 days. Freeze for up to 2 months (peas can get watery after longer freezing).
Variations:
- Add fresh mint for a bright flavor
- Mix in mashed potatoes for creaminess
5. Banana + Apple Puree (No-Cook Option for Busy Days)
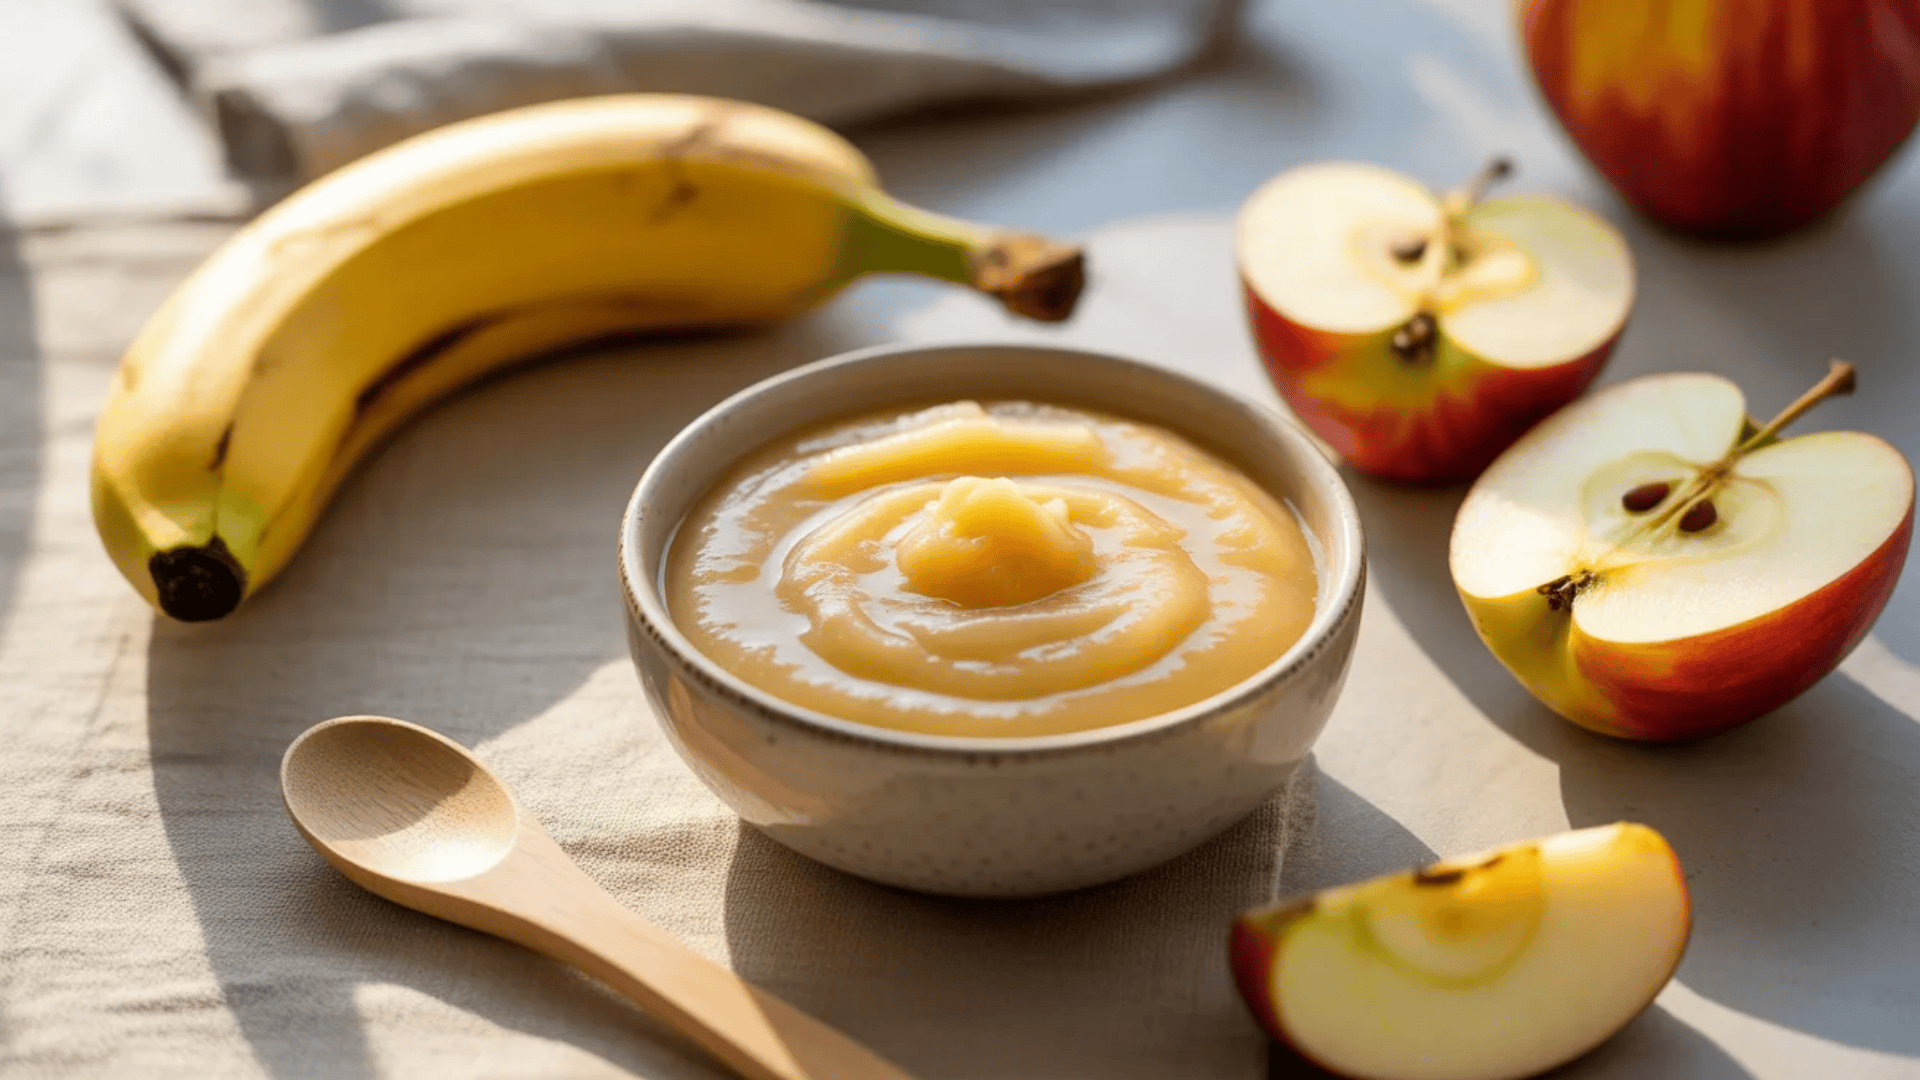
Best for: 6 months+, Stage 1 to 2
Ingredients:
- 1 ripe banana
- 1 apple, peeled, cored, and steamed until soft
- Optional: 2 tablespoons plain whole milk yogurt or cooked oat cereal
Method:
Steam apple slices for 8-10 minutes until very soft. Let cool. Mash the banana with a fork. Add cooled apple and mash together, or blend briefly for a smoother texture. For a thicker consistency, stir in yogurt or oat cereal.
Optional boosters: Add a tiny smear of smooth almond or peanut butter thinned with water.
Storage: This one is best served fresh. Banana browns quickly, even in the fridge. Make small portions and use them within 24 hours. Don’t freeze banana purees as they get mushy and watery.
Variations:
- Use a pear instead of an apple
- Add a pinch of cinnamon for warmth
6. Lentil + Carrot Puree (Iron-Focused)
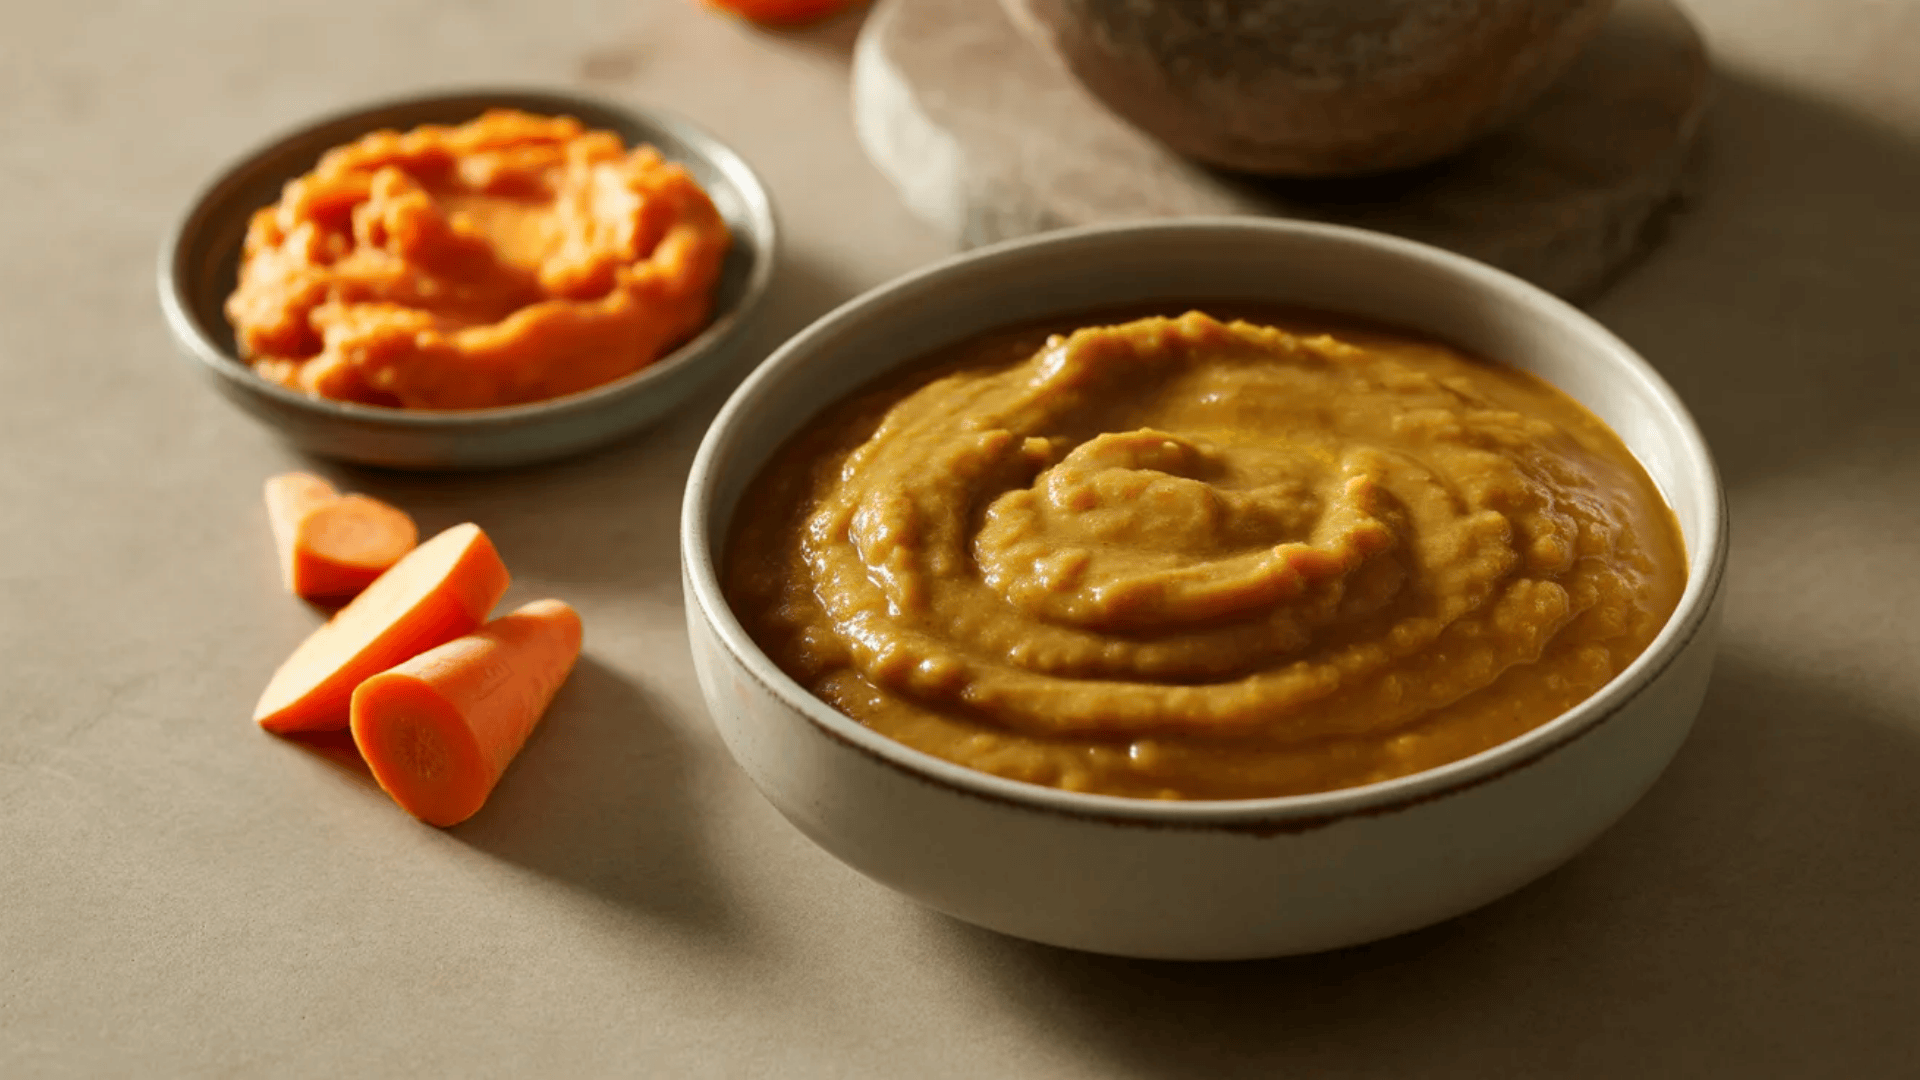
Best for: 6 to 9 months, Stage 2
Why it’s competitive: Lots of baby food posts talk about iron, but fewer actually give you an easy lentil recipe. This fills that gap.
Ingredients:
- 1/4 cup red lentils (no soaking needed)
- 1 medium carrot, peeled and diced
- 1 cup water or low-sodium vegetable broth
- 2-3 tablespoons extra liquid for blending
Method:
Rinse lentils under cold water. Put them in a small pot with water or broth. Bring to a boil, then reduce the heat and simmer for 15-20 minutes until very soft. Meanwhile, steam carrots until tender. Drain lentils (save some cooking liquid). Combine lentils and carrots in a blender. Blend smooth, adding reserved cooking liquid to thin as needed.
Tie-back to iron: Remember how iron stores run low around 6 months? Red lentils pack iron and protein in one shot. This puree helps fill that nutritional gap.
Optional boosters: Mix in sweet potato for natural sweetness, or add a teaspoon of olive oil.
Storage: Refrigerate for 3-4 days. Freeze for up to 3 months.
Variations:
- Use yellow split peas instead of lentils
- Add cumin for a warm, earthy flavor (tiny pinch)
7. Chicken + Sweet Potato + Spinach Puree (Savory, Protein-Forward)
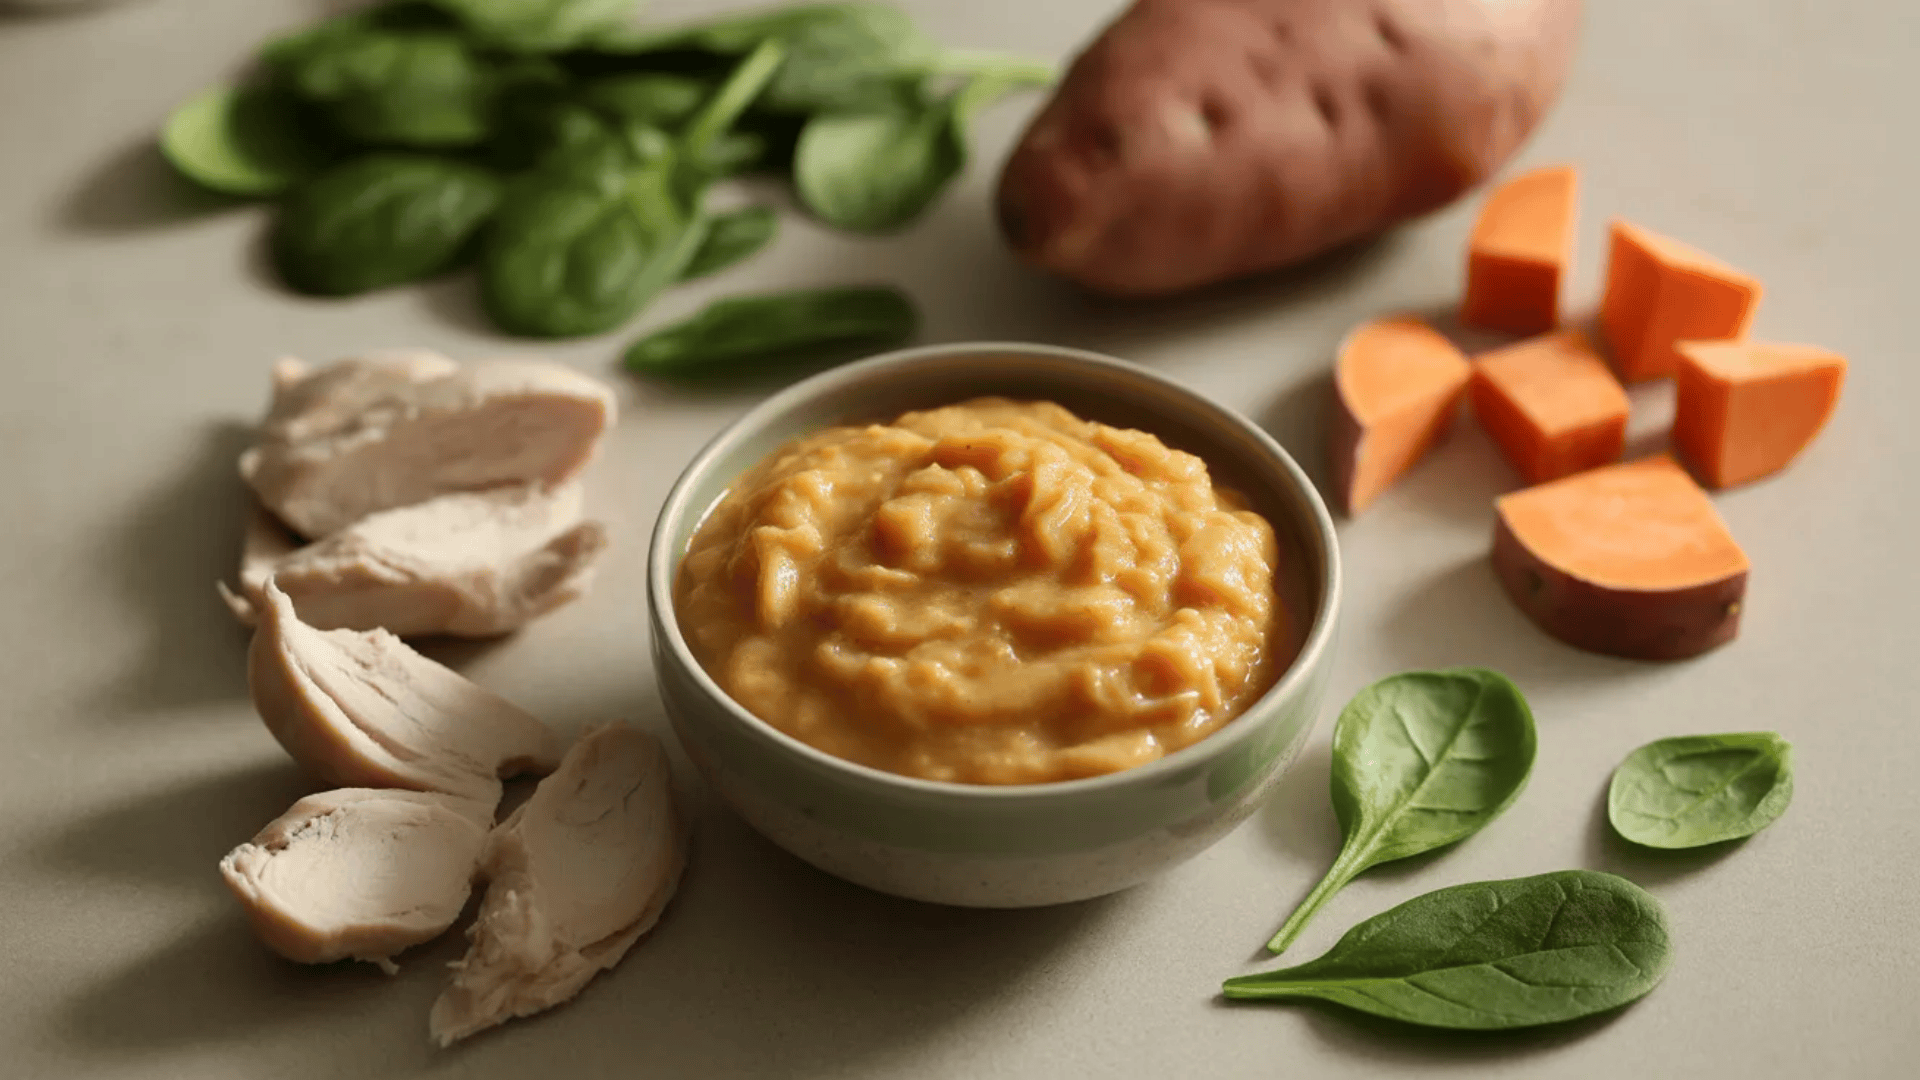
Best for: 7 to 10 months, thicker Stage 2 moving toward Stage 3 textures
Ingredients:
- 1/4 cup cooked chicken (boiled or baked, no seasoning)
- 1 small sweet potato, peeled and diced
- 1/2 cup fresh spinach, wilted
- 3-4 tablespoons water, broth, or steaming liquid
Method:
Cook chicken thoroughly by boiling or baking. Let it cool, then chop into small pieces. Steam sweet potato for 12-15 minutes until very soft. Wilt spinach in a pan with a splash of water for 1-2 minutes or add to a steamer for the last minute. Combine everything in a blender with liquid. Pulse for a thicker, less uniform texture instead of blending smoothly. This helps your baby practice handling texture as they advance.
Texture step: Don’t overblend this one. A few short pulses leave soft lumps that are perfect for babies learning to chew.
Optional boosters: Add cooked quinoa for extra protein and texture.
Storage: Refrigerate for 2-3 days (meat purees don’t last as long). Freeze for up to 2 months.
Variations:
- Swap chicken for turkey or beef
- Replace spinach with kale or peas
7-Day Puree Rotation Plan
Making individual recipes is one thing. Planning a whole week? That’s where most parents get stuck.
Here’s your cheat sheet. Seven days of purees are already planned out for you. No thinking required.
| Day | Puree | Why This Order |
|---|---|---|
| Day 1 | Sweet potato | Start simple with a single ingredient, and your baby will probably love |
| Day 2 | Banana + apple | Still gentle, naturally sweet, builds on what they know |
| Day 3 | Peas + zucchini | Time to introduce green. Don’t worry if they make a face at first |
| Day 4 | Apple + carrot + sweet potato | Back to familiar orange sweetness with a combo twist |
| Day 5 | Pear + sweet potato + carrot | Similar to day 4, but with a pear instead, so they experience slight flavor differences |
| Day 6 | Lentil + carrot | Iron boost day. The carrot sweetness helps balance the earthy lentils |
| Day 7 | Chicken + sweet potato + spinach | Full protein meal to round out the week |
Notice how we keep circling back to familiar flavors? That’s intentional. Babies need to taste something 10-15 times before they decide if they like it. One “no thanks” face doesn’t mean they hate peas forever. Keep offering, stay relaxed, and let them explore at their own pace.
Once you’ve got a week’s worth of purees made, you need to know how to store and serve them properly.
Storage, Thawing, and Serving Portions
Getting the storage right keeps your baby safe and saves you from wasting food you worked hard to make.
Storage basics:
- Refrigerate fresh purees in airtight containers for 3-4 days (meat purees only 2-3 days)
- Freeze in ice cube trays for longer storage
- Pop frozen cubes into labeled freezer bags (write food name and date)
- Frozen purees last 3 months, meat purees last 2 months
Keep these guidelines handy, and you’ll never wonder if something’s still good to use.
Thawing safely:
- Best method: move cubes from freezer to fridge the night before
- Quick method: place sealed container in warm (not hot) water for 10-15 minutes
- Never microwave (creates hot spots that burn baby’s mouth)
- If you must microwave, stir really well and testthe temperature on your wrist first
Always test the temperature before feeding, no matter how you thawed it.
Portion guidance:
- Start with 1-2 tablespoons (one ice cube worth)
- Your baby knows how much they need better than any chart
- Watch their cues: turning their head away means done, leaning forward means more
- Never force them to finish the bowl
- Toss leftovers after the meal (bacteria from saliva contaminates the bowl)
Trust your baby to tell you when they’re hungry and when they’re full. They’ve got this figured out.
Conclusion
You’ve got everything you need now. Seven simple baby puree recipes, a mix-and-match system, a whole week planned out, and all the storage tips to make it work.
Making homemade baby food isn’t complicated. You don’t need special equipment or hours of free time. Just pick a recipe, steam some food, blend it smooth, and freeze what you don’t use. That’s it.
Your baby is going to love some flavors right away and take a while to warm up to others. That’s completely normal. Keep offering, stay patient, and trust yourself.
Start with one recipe this week. Make a batch, freeze the extra, and see how easy this actually is.
Which puree are you making first? Drop a comment below and let us know how it goes!
Frequently Asked Questions
Can I Mix Store-Bought and Homemade Purees Together?
Yes, absolutely. Combine them in the same meal or alternate between days. Just check store-bought labels for added sugar and salt. Choose options with simple, whole ingredients only.
What if My Baby Refuses to Eat Purees?
Don’t panic. Offer the same food 10-15 times across different days. Try mixing it with a favorite flavor. Some babies prefer finger foods over spoon-feeding from the start.
How Do I Know if My Baby Has a Food Allergy?
Watch for rashes, hives, vomiting, diarrhea, or trouble breathing within hours of eating. Stop the food immediately and call your pediatrician. Introduce one new food at a time.
When Should I Stop Giving My Baby Purees?
Most babies move past purees by 9-12 months. Start adding texture around 8 months with mashed foods. Follow your baby’s cues and let them guide the transition naturally.