Most beginners buy their first set of acrylics, sit in front of a blank canvas, and freeze. Not because they lack creativity. Because nobody told them where actually to begin.
I have seen this happen over and over in my craft sessions. Acrylic paint is genuinely one of the friendliest mediums out there for people with zero painting experience.
It dries fast, cleans up with water, and you can paint right over any mistake once the layer dries.
This guide covers supplies, setup, techniques, color mixing, and the specific mistakes that trip up most first-time painters.
What is Acrylic Paint and Why Do Beginners Do Well With it?
Acrylic paint is pigment mixed into acrylic polymer emulsion. That sounds technical, but what it means practically is this: the paint is water-soluble while wet and completely water-resistant once dry.
You clean your brushes with soap and water: no solvents, no fumes, no headaches.
The short version: it behaves like watercolor when wet and dries into a water-resistant surface. No toxic fumes. No special solvents. Soap and water clean your brushes.
Acrylic vs. Oil vs. Watercolor at a glance:
Oil paint is a slow-drying medium made from pigment mixed in oil, known for rich color and smooth blending but requiring solvents like turpentine for cleanup.
Watercolor is a water-based paint made from pigment in a gum arabic binder, producing transparent, light washes that work best on paper.
| Type | Drying Time | Cleanup | Cost | Best For |
|---|---|---|---|---|
| Acrylic | 15-30 min | Water | Low-Mid | Beginners, layering |
| Oil | Days to weeks | Solvents | High | Blending, detail |
| Watercolor | Fast | Water | Low | Washes, transparency |
Acrylics dry fast, which helps beginners build layers quickly. They work on canvas, paper, wood, and fabric. The learning curve is shorter than oil. The cost to get started is low.
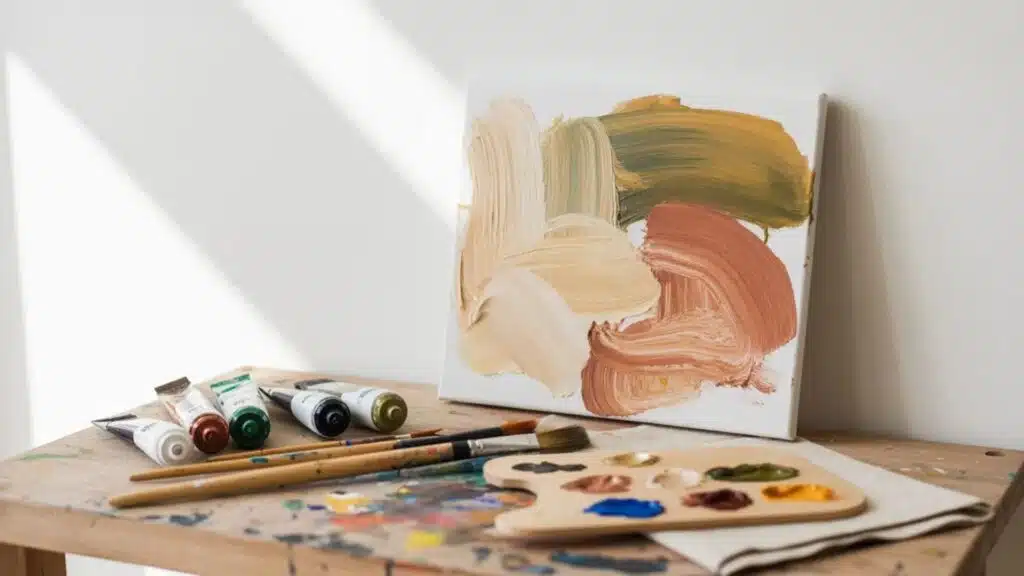
Acrylic Painting Supplies for Beginners
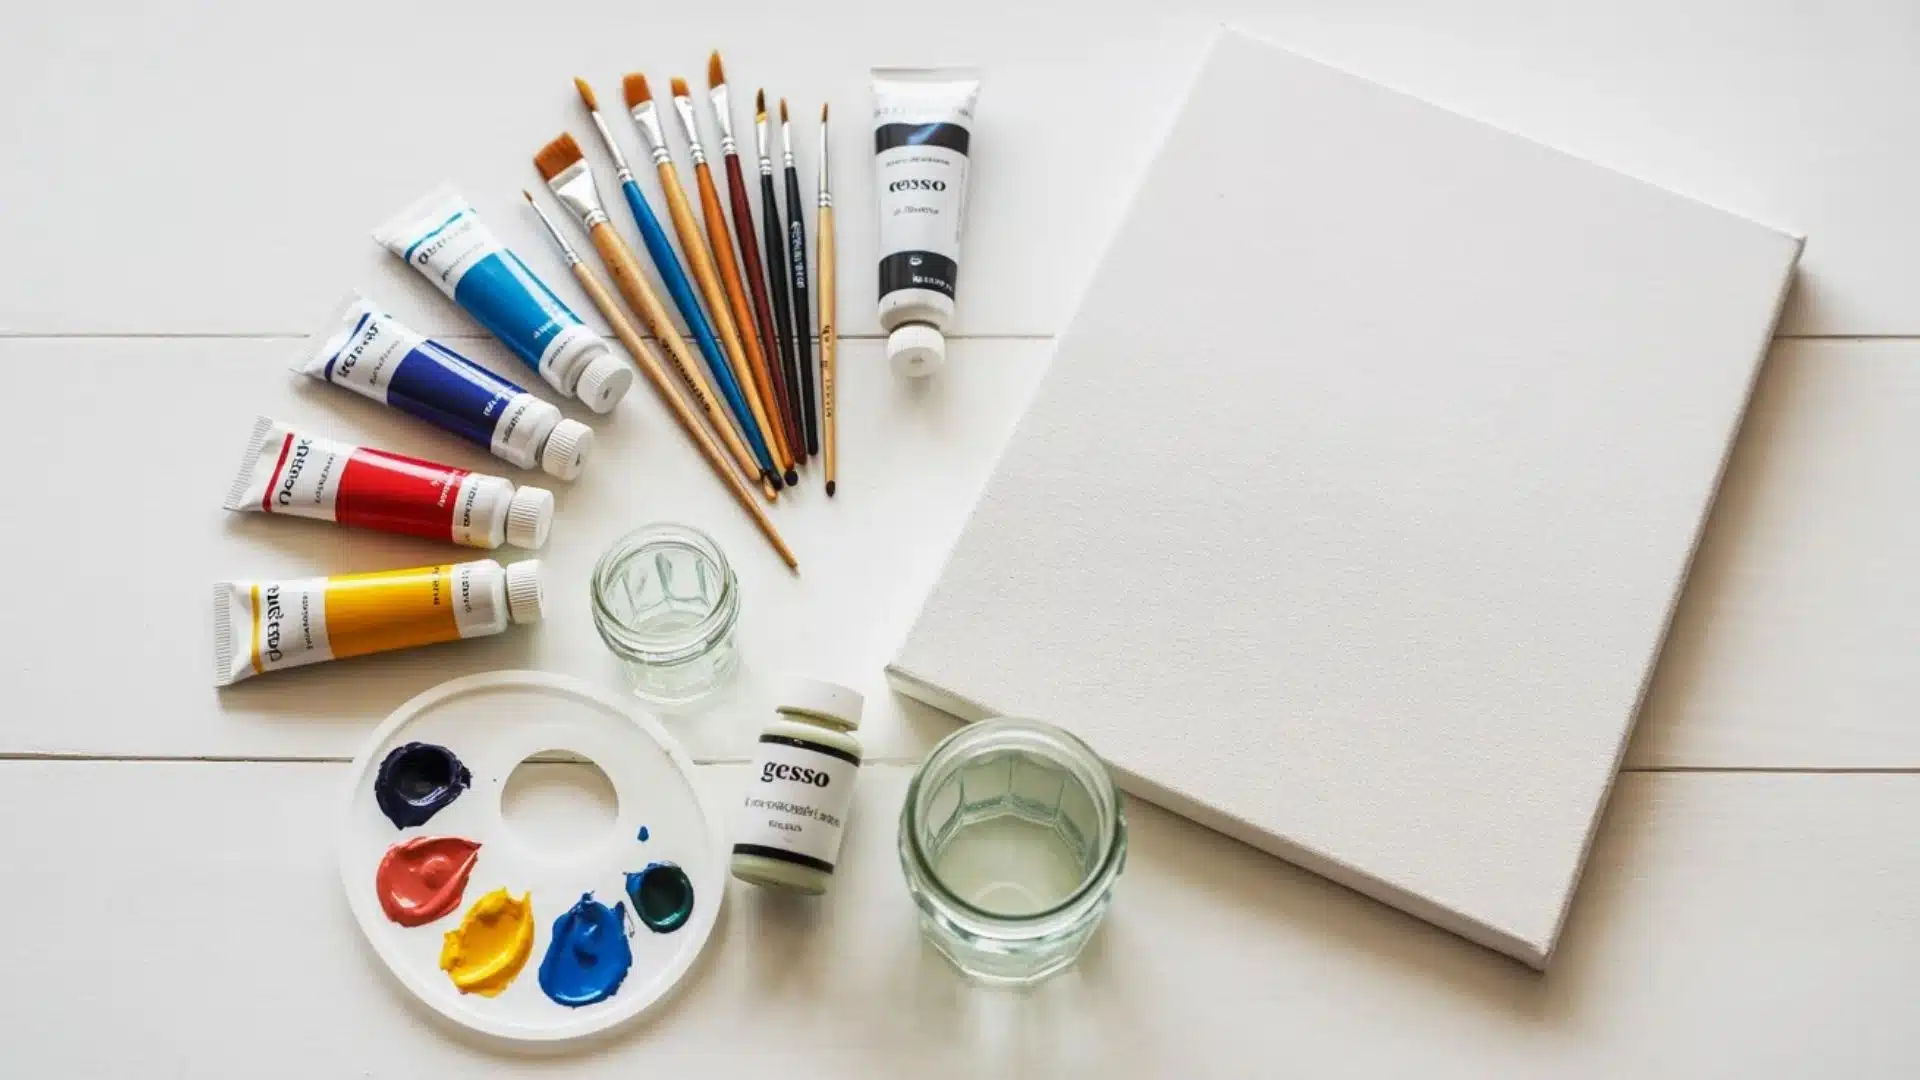
Picking the right supplies from the start saves a lot of trial-and-error. Here is what actually matters before the first brushstroke hits the canvas.
1. Paints: Student Grade vs. Artist Grade: Student-grade paints cost less and have lower pigment levels. That is fine for learning. Liquitex Basics and Plaid FolkArt both perform well for beginners and are priced well.
Artist-grade paints have richer color and better coverage. Worth the switch once the basics feel comfortable.
What to buy first:Red, blue, yellow, white, and black. These five colors let you mix most of the shades you will need.
Buying a full set of 24 colors sounds good until you realize you are not mixing anything and skipping the most useful skill in painting.
2. Brushes:
- Flat brushes for wide areas and backgrounds
- Round brushes for shapes and mid-detail work
- Pointed round for fine lines
Synthetic bristles hold up better with acrylics and cost less than natural hair. Start with a small, medium, and large in each shape. Add more later.
3. Painting Surfaces: Pre-stretched, pre-primed canvas is the easiest starting point. Canvas boards are cheaper and work well, too. Acrylic paper is good for practice sessions without wasting canvas.
Avoid very cheap canvas from discount stores. It absorbs paint unevenly, makes blending hard, and gives a false idea of what the medium actually feels like.
4. Other Supplies:
- Two jars of water: one for rinsing brushes, one for thinning paint. Mixing these muddies the water fast.
- Stay-wet palette: keeps paint workable longer. A standard plastic palette dries paint in minutes.
- Gesso: primes surfaces before painting.
- Paper towels: always nearby.
How to Set Up Before You Start
Getting your space ready before you paint saves a lot of frustration mid-session. A few simple steps make the whole process smoother from the first brush stroke.
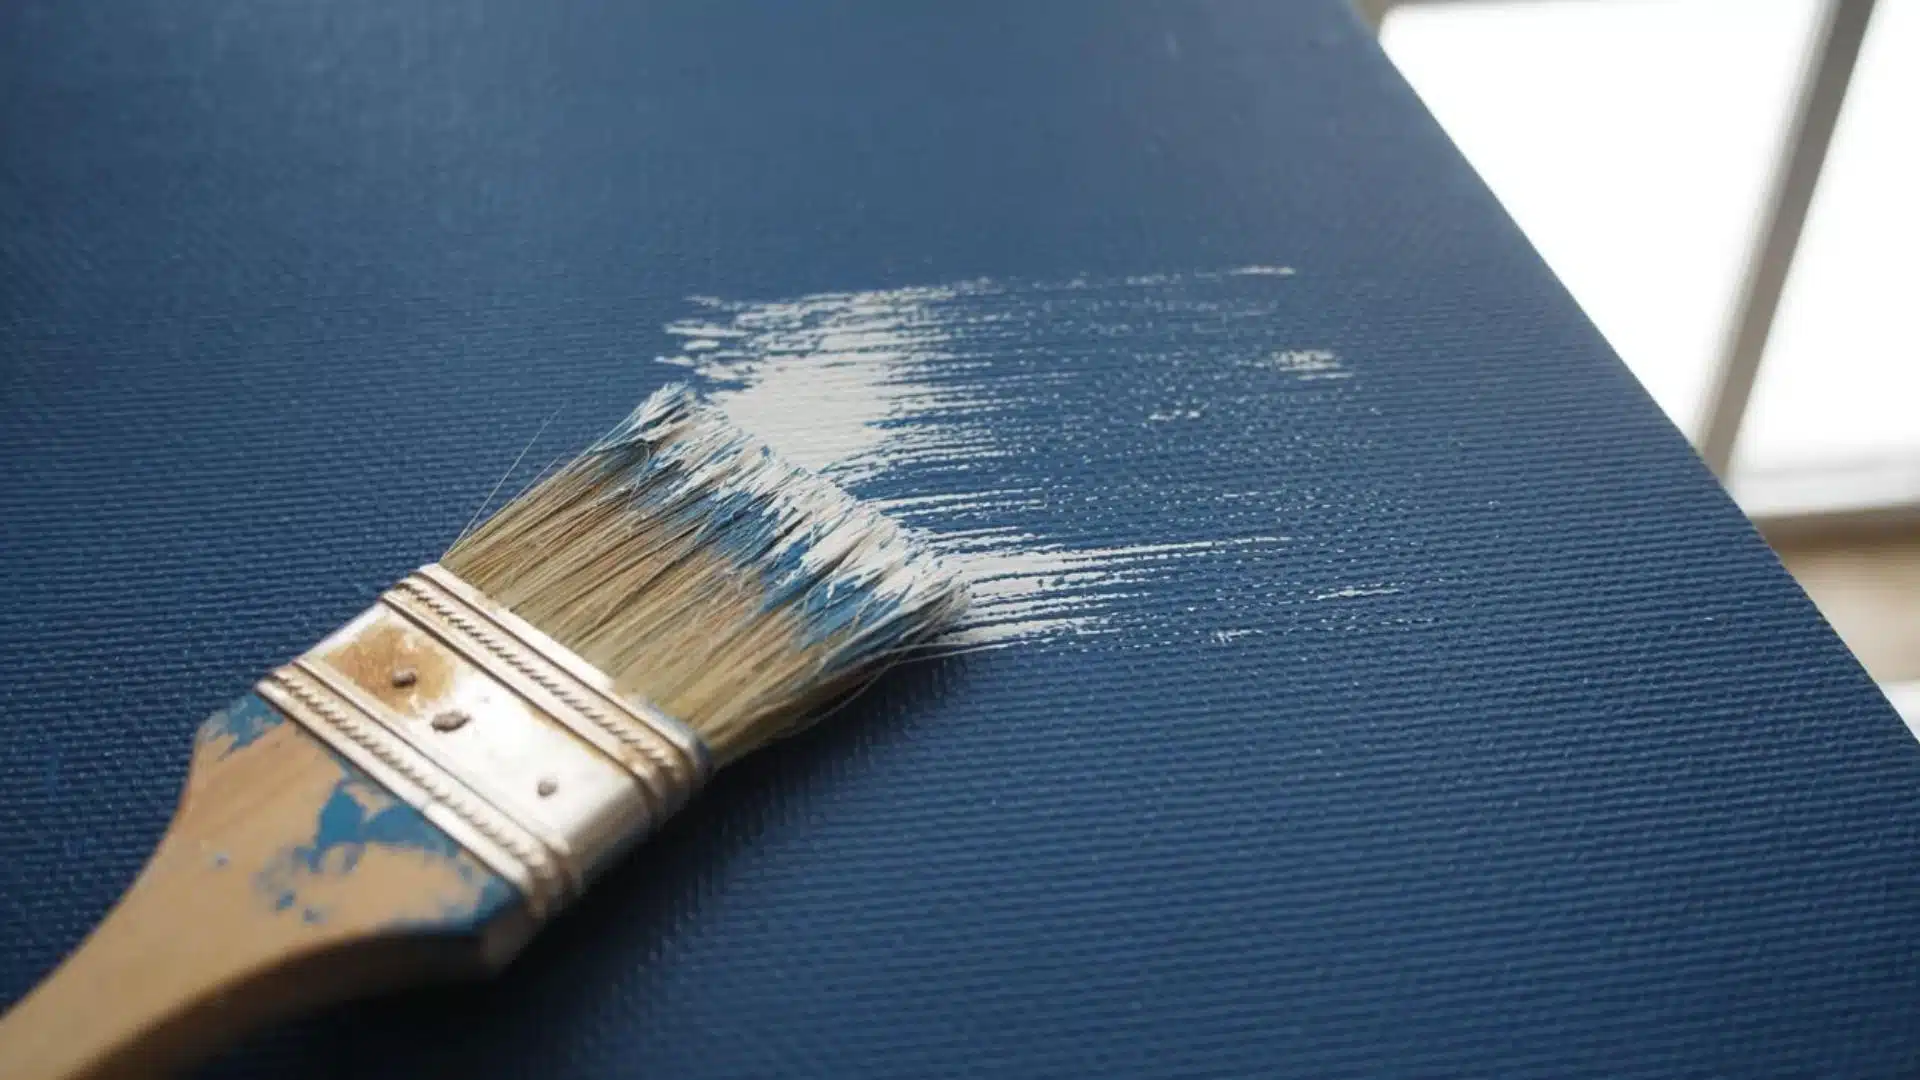
1. Prepare Your Canvas With Gesso: Gesso prevents paint from soaking into the canvas and provides the surface with grip.
Many pre-stretched canvases come labeled “triple primed,” but adding one extra thin layer still improves results. Apply it evenly and let it dry fully before painting.
Some painters add a small amount of paint to the gesso layer. This means the first mark is applied to a toned surface rather than a stark white one, which makes it easier to judge color.
2. Set Up Your Palette and Workspace: Squeeze out small amounts of paint at a time. Acrylics dry fast on the palette, and there is no reason to waste paint that hardens before you use it. Lightly misting the palette with water during a session keeps paint workable.
Good lighting matters more than most beginners expect. It changes how colors read. Consistent lighting means fewer surprises when the painting dries.
Basic Acrylic Painting Techniques to Learn First
Knowing the right techniques from the start saves a lot of wasted paint and frustration. Here are the core ones worth learning before anything else.
1. Layering
Build a painting from the ground up. Start with thin layers, let each one dry, then add thicker layers on top.
Aim for at least three layers: a base to cover the canvas, a mid-tone layer to build shape and value, and a final layer for color and detail.
Trying to finish a painting in one pass almost always results in flat, unfinished work. Layering is what gives acrylic paintings depth.
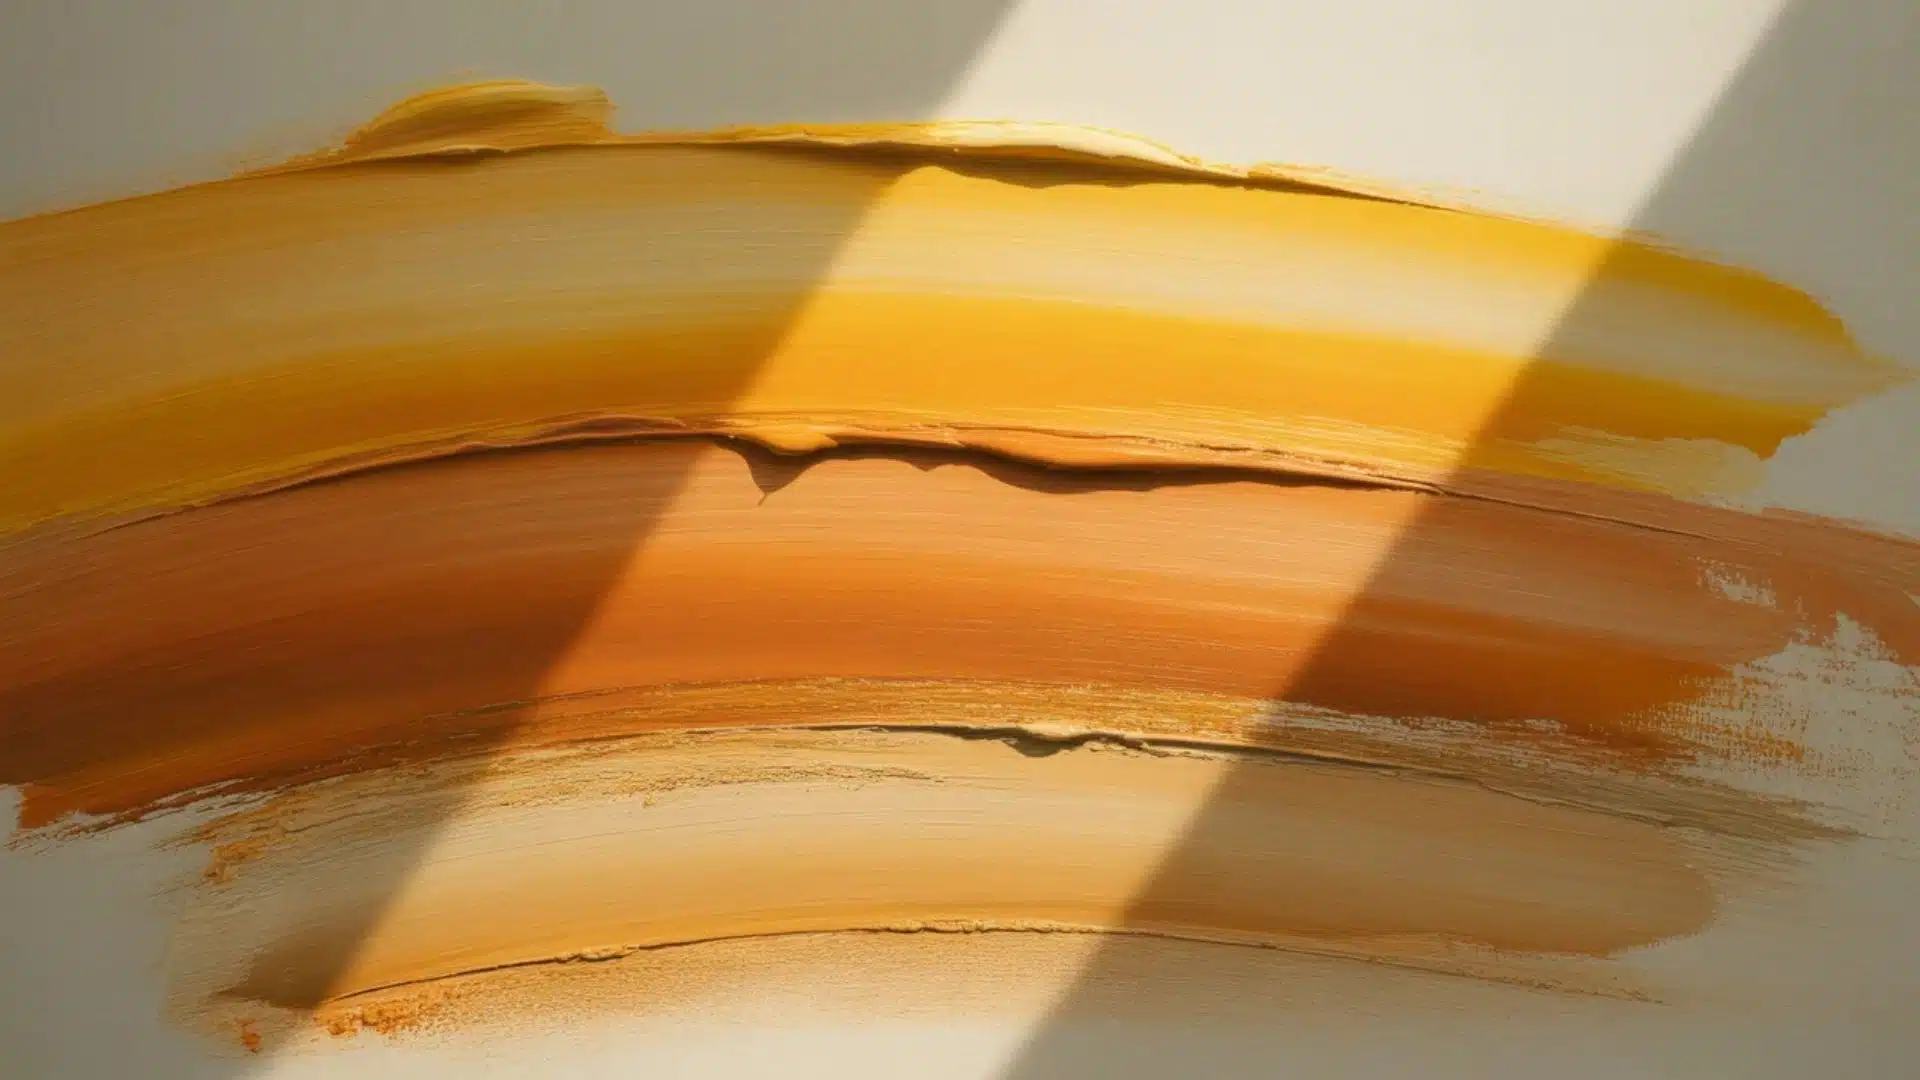
2. Blending

Acrylics dry fast, so blending takes practice. Wet-on-wet blending means applying a second color before the first fully dries.
This works for soft color transitions in skies or backgrounds. For larger areas, a retarder medium slows drying time and gives more working time.
One common mistake: over-blending. Two or three brush strokes are usually enough. More than that pushes paint to the edges and creates muddy results.
3. Dry Brushing
Load a small amount of paint onto a dry brush, wipe most of it off on a paper towel, then drag lightly across the canvas.
It creates texture and is often used for highlights. Beginners reach for this technique too often because it is easy. Use it sparingly and with intention.
4. Acrylic Pouring
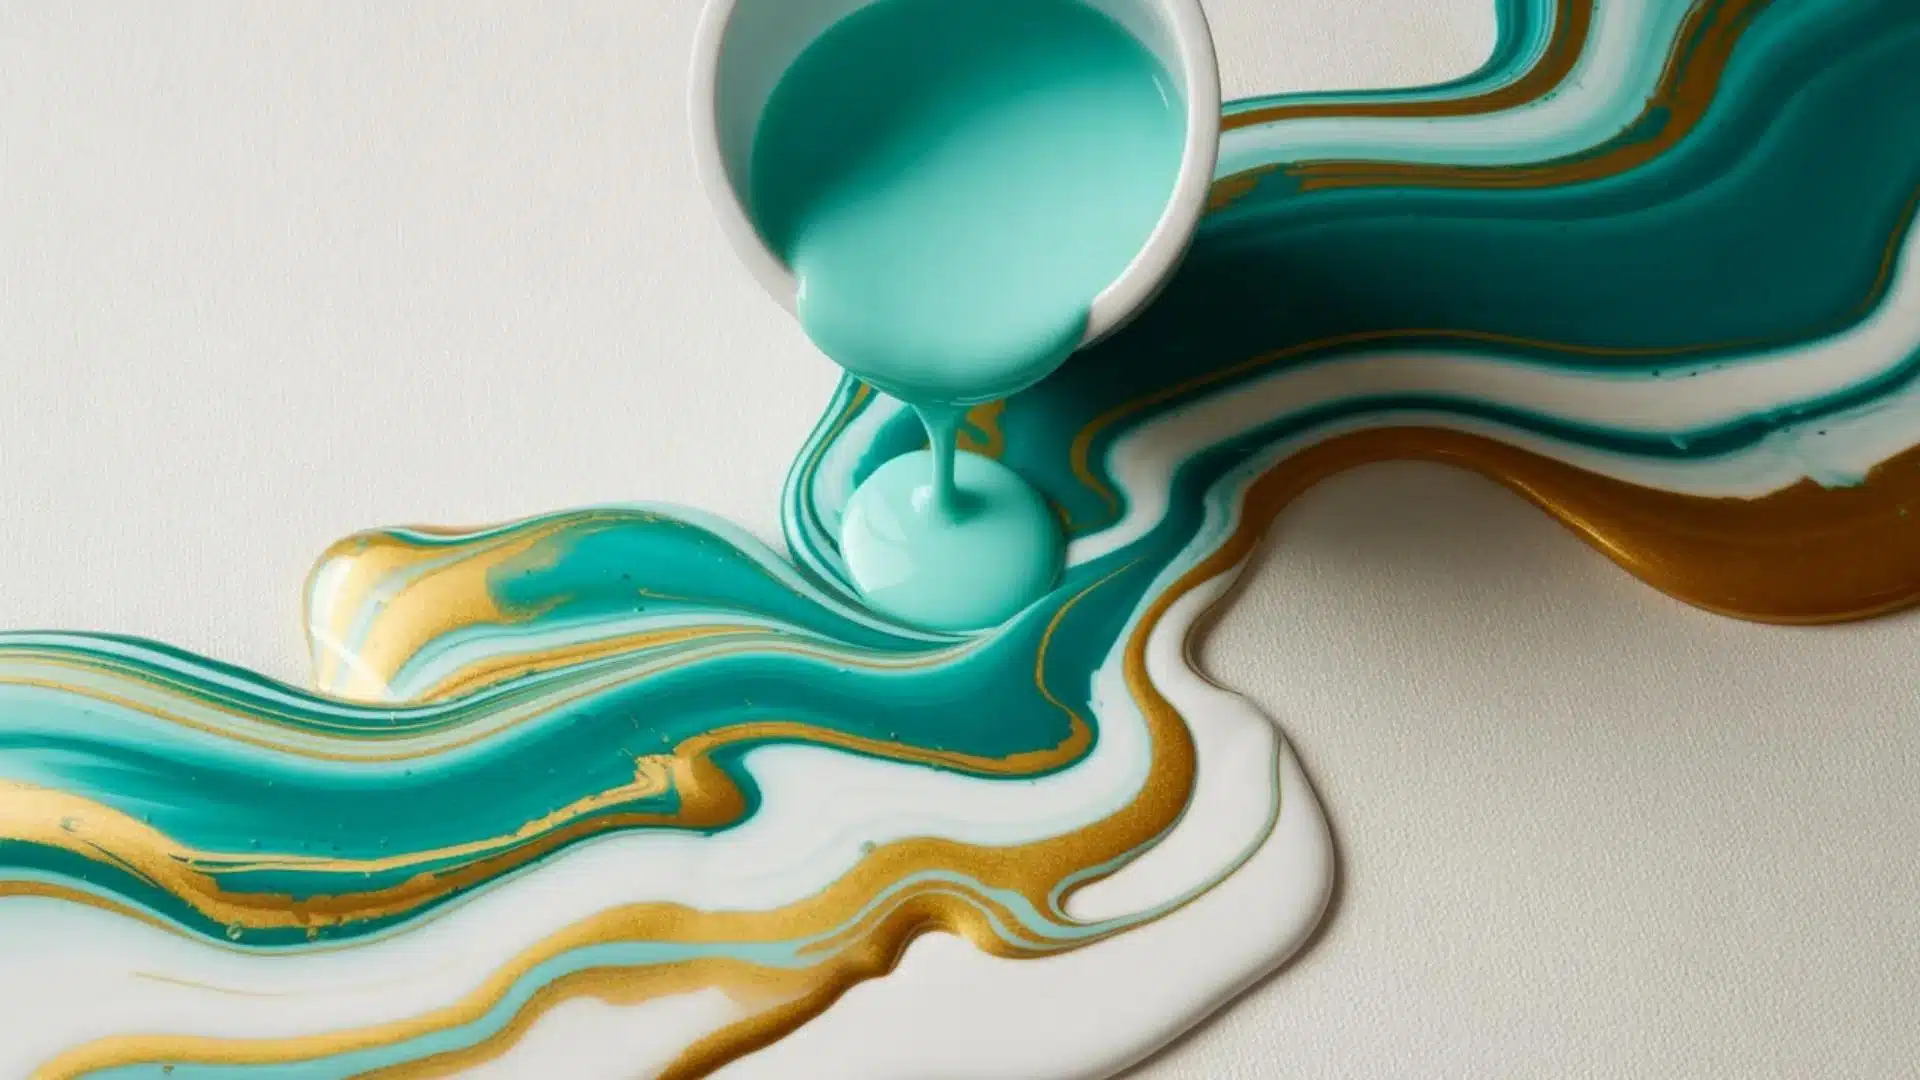
Mix the paint with a pouring medium to achieve a fluid consistency, then pour it directly onto the canvas. Tilt the surface to spread the paint. No drawing skills needed.
The results are abstract and different every time. This is one of the most accessible ways to get comfortable with how acrylic paint moves.
5. Palette Knife
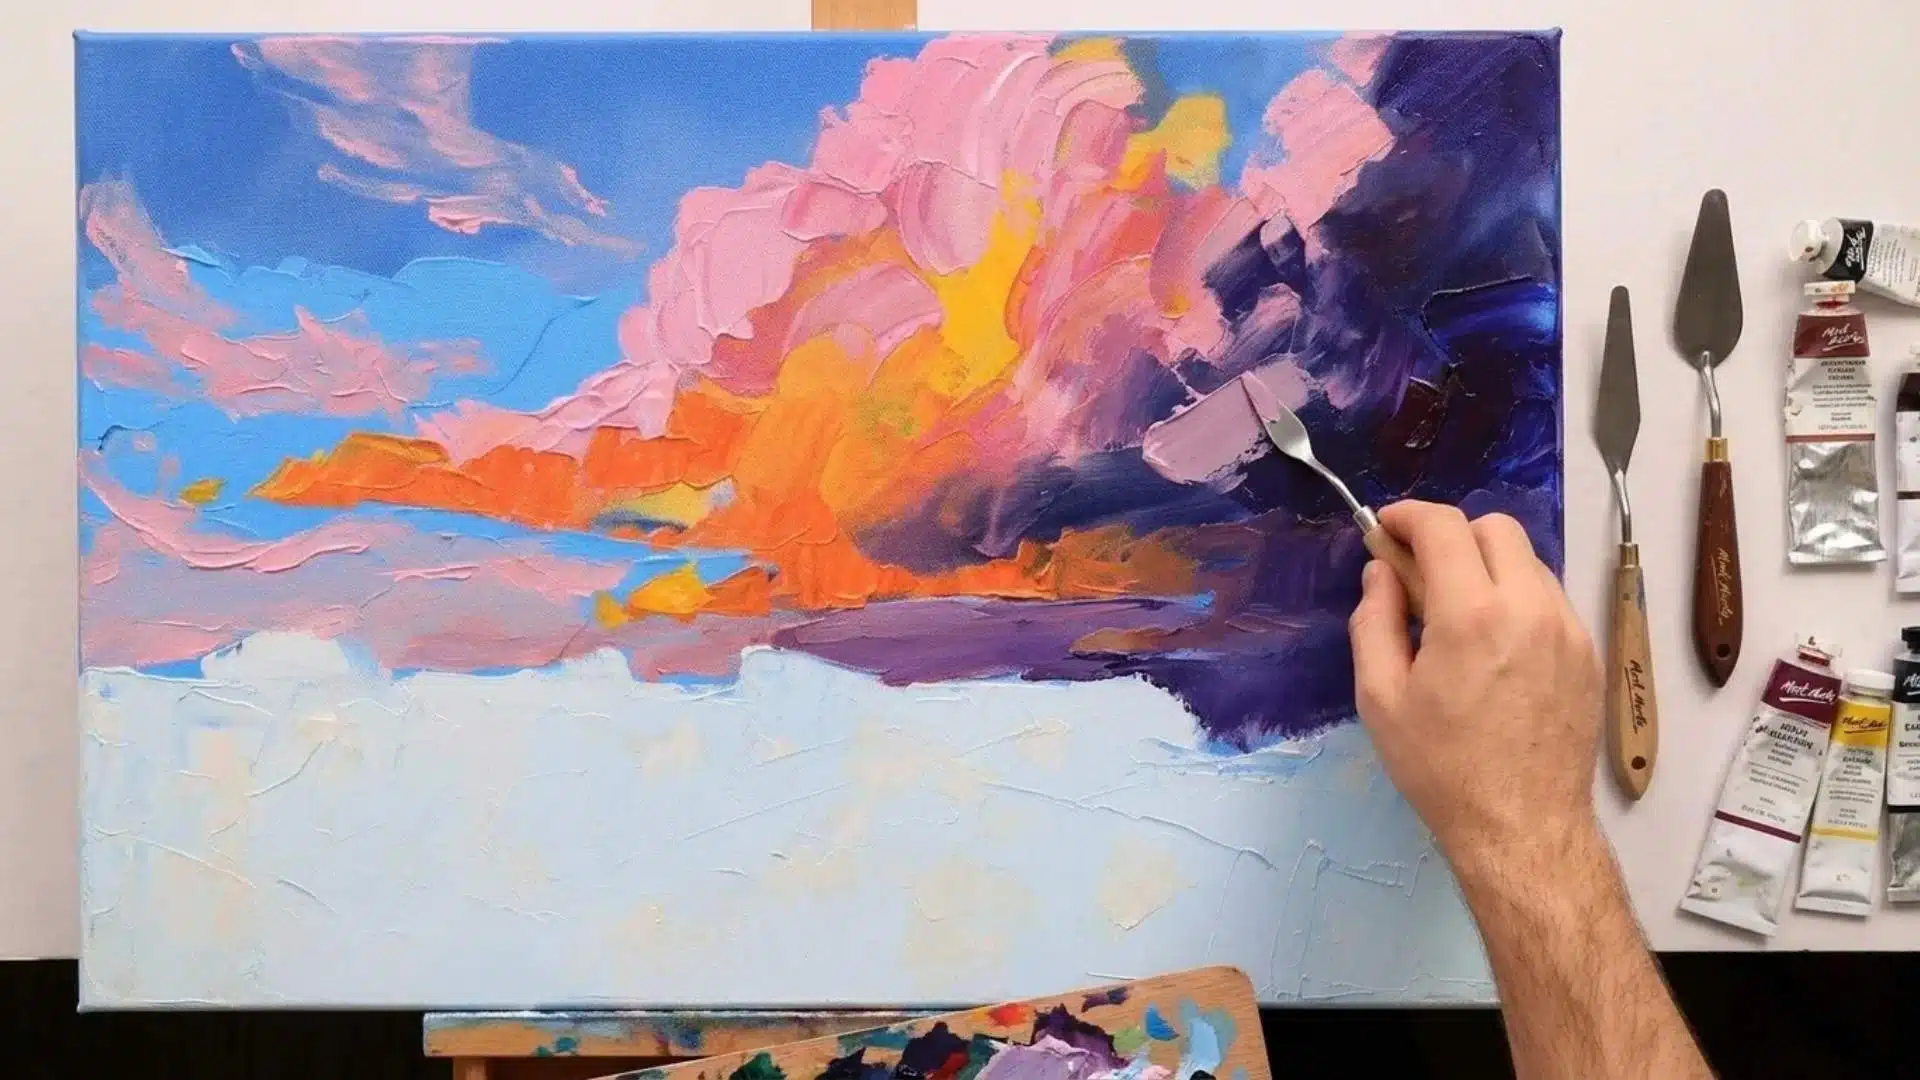
A palette knife creates thick, textured strokes that brushes cannot.
It works well for impasto effects, where paint sits raised above the surface. Good for landscapes, abstract work, or any painting that benefits from visible texture.
Color Mixing Basics
Getting color mixing right from the start saves you from muddy, flat results and gives you far more control over how your painting looks.
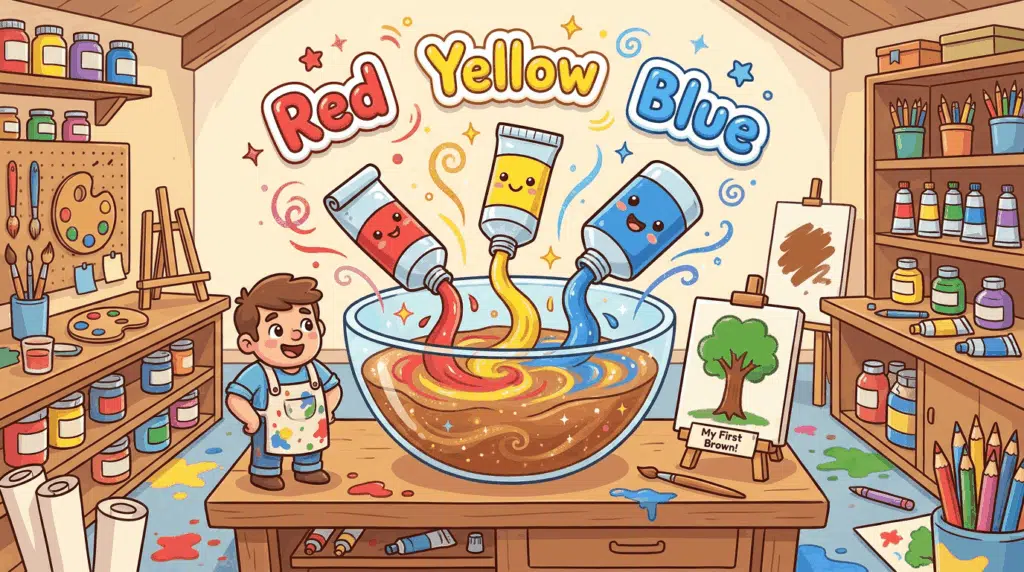
1. How the Color Wheel Works:
- Primary colors: red, blue, yellow. Cannot be mixed with other colors.
- Secondary colors: orange (red + yellow), green (blue + yellow), purple (red + blue).
- Tints: add white to lighten.
- Shades: add black or brown to darken.
Mix small test amounts on scrap paper before applying to canvas. Keep a color journal. Write down which colors you mixed to get each result. It saves a lot of frustration when you want to recreate a tone.
2. How to Avoid Muddy Colors: Do not mix more than two or three colors at once. Clean the brush fully between colors. The jar you rinse brushes in gets dirty fast. The second clean jar is for thinning paint only.
3. Working With a Limited Palette: Start with five or six colors: red, blue, yellow, white, black, and one brown. A small set forces color mixing practice in a way that a 24-color set does not.
Most experienced painters still use a limited palette for most of their work.
Picking Your First Painting Subject
Choosing the wrong subject is one of the fastest ways to get discouraged early.
Complex details, tiny subjects, and paintings that require a lot of precise color mixing are all harder than they look. Keeping things simple on your first canvasmakes a bigger difference than most people expect.
Good first subjects have large, simple shapes, use a small color range, and do not require fine detail. Here are five that work well:
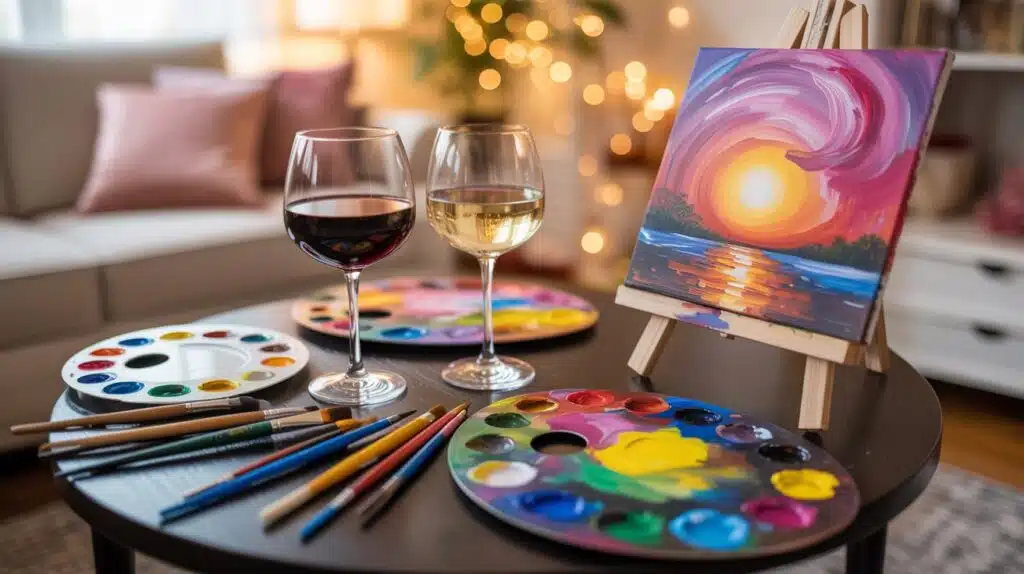
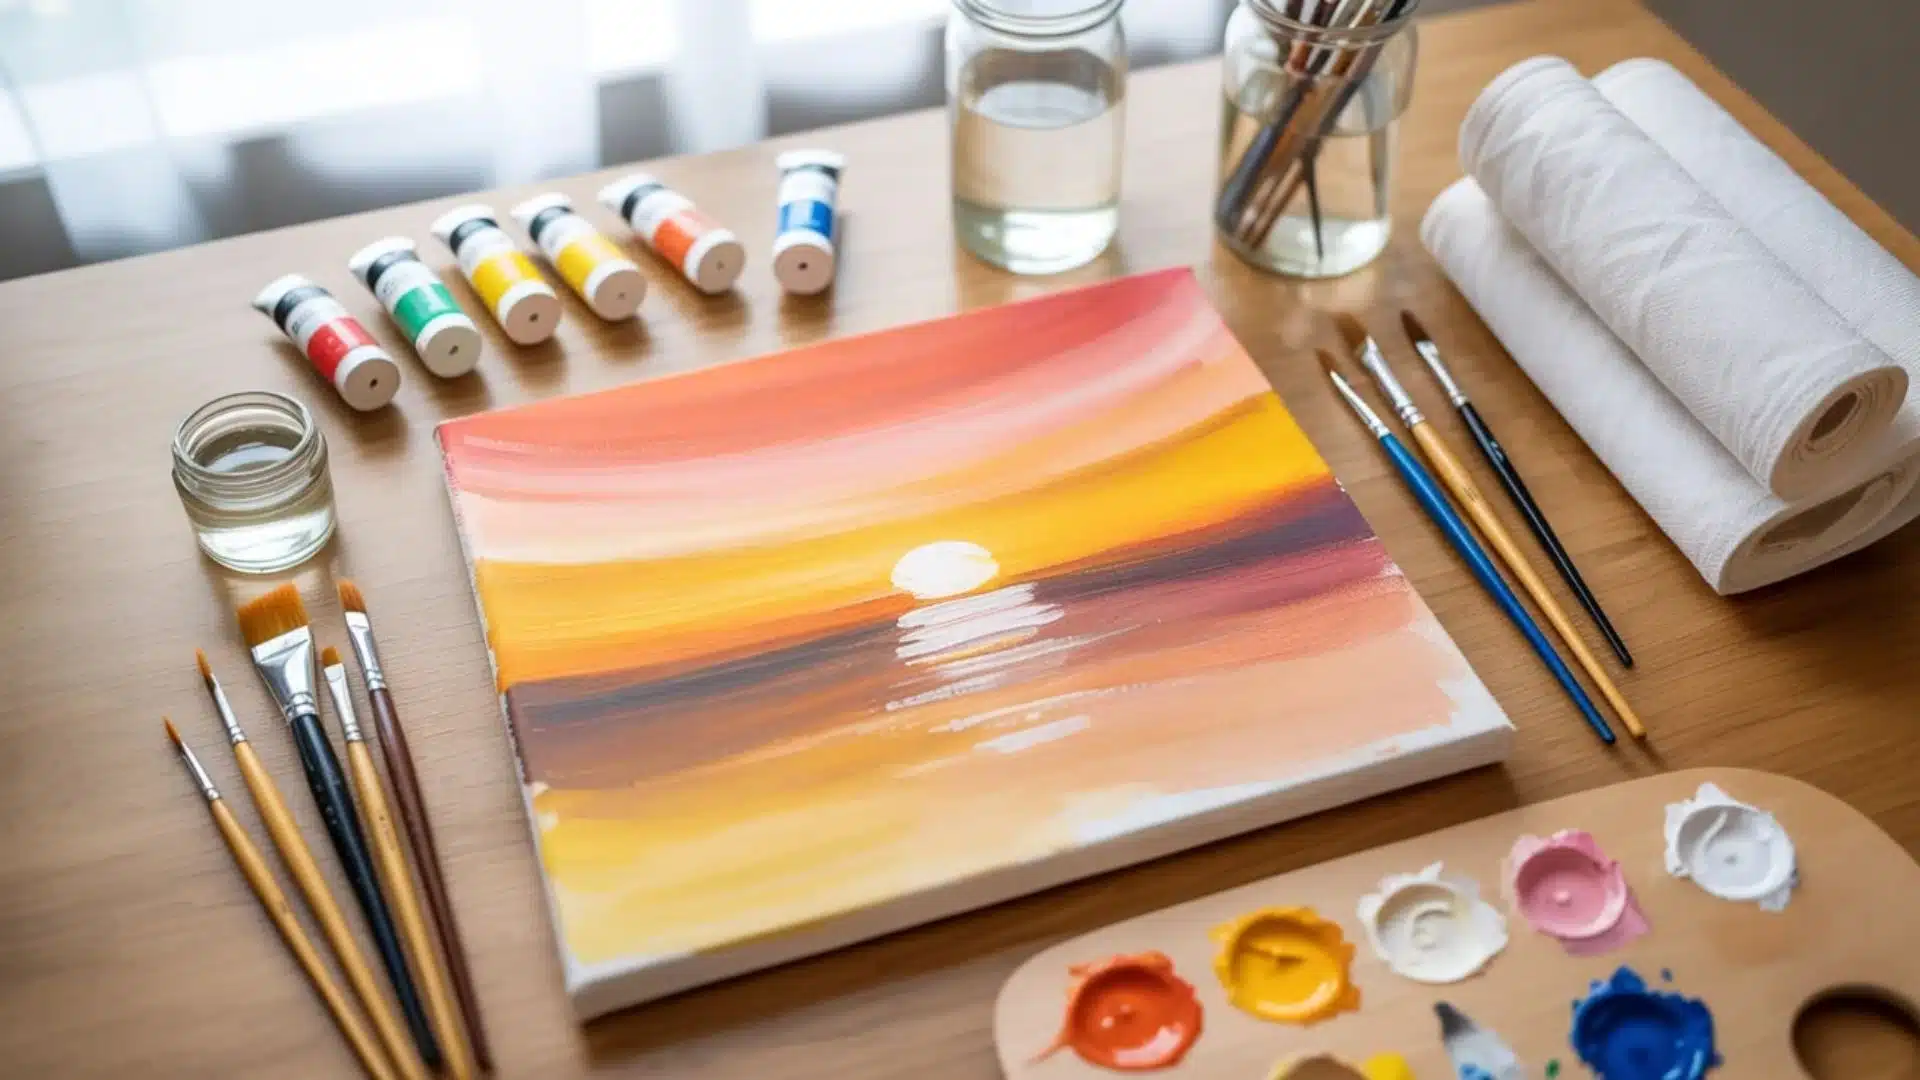
- Sunset sky: Practice blending warm colors across a wide area
- Simple fruit: Practice shapes, highlights, and basic shadow
- Abstract color blocks: Use painter’s tape for clean edges and focus on color relationships
- Starry night sky: Basic blending plus small dot details for stars
- A single large flower: Practice brush control and mixing without getting overwhelmed by composition
Common Acrylic Painting Mistakes to Avoid
Every beginner makes mistakes with acrylics. Knowing the most common ones before you pick up a brush saves a lot of frustration later.
1. Over-thinning paint with water. Too much water breaks down the binder in the paint and produces a weak, chalky finish. Use an acrylic medium to thin paint instead.
2. Adding wet paint over wet paint. Colors mix where you do not want them to. Touch the surface lightly. If it feels cool, it is still damp.
3. Forgetting to clean brushes mid-session. Acrylic hardens fast. Keep brushes in clean water between strokes and wash them with soap and water at the end of every session. Always lay them flat to dry. Standing them upright causes water to collect at the base of the bristles, ruining them.
4. Using only small brushes. Painting a large background with a tiny round brush takes forever and results in overworked work. Match brush size to the area being painted.
5. Starting on a canvas that is too large. A large canvas is harder to fill and harder to manage. An 8×10 or 9×12 inch surface is a good size for the first several paintings.
6. Compared to polished work online. Every skilled painter you see on social media made bad paintings before they made good ones. Progress is faster when the goal is to finish more paintings rather than to make each one perfect.
Conclusion
Acrylic painting for beginners comes down to a few things done consistently: the right supplies, a manageable first subject, and enough patience to let layers dry.
Mistakes are not setbacks here. They are surface-level. Paint over them and keep going.
The painters who improve the fastest are not the most talented.
They are the ones who finish the most paintings. Pick up a brush, start small, and see where it goes.
Frequently Asked Questions
What Is the Easiest Thing to Paint in Acrylic for Beginners?
The easiest subjects are silhouettes (like birds on a wire), abstract geometric patterns, and starry skies, as they don’t require strict realistic details and let you focus on color blending.
Can Gouache Be Used with Acrylic Paint?
Yes, you can paint traditional (water-based) gouache over dried acrylic paint, making it a popular technique for added details and matte highlights.
What Does Adding Baking Soda to Acrylic Paint Do?
Adding baking soda to acrylic paint creates a thick, textured, matte-finish paste that mimics rustic, chalky, or plaster-like finishes.