Your drawings look flat. The proportions feel off. You know something’s wrong but can’t fix it.
Here’s the problem: you’re drawing what you think you see, not what’s actually there. Your brain fills in shortcuts. It simplifies shapes you’ve seen a thousand times.
Contour drawing fixes this. It forces your eyes and hands to work as one team. You learn to trace real edges and shapes rather than guess. The result? Drawings that finally look solid and believable.
This guide shows you exactly how contour drawing works. You’ll learn the different types, avoid common traps, and practice exercises that build real skill fast.
All you need is a pencil and paper. No talent required. Just the ability to slow down and really look.
Let’s start.
What Is Contour Drawing?
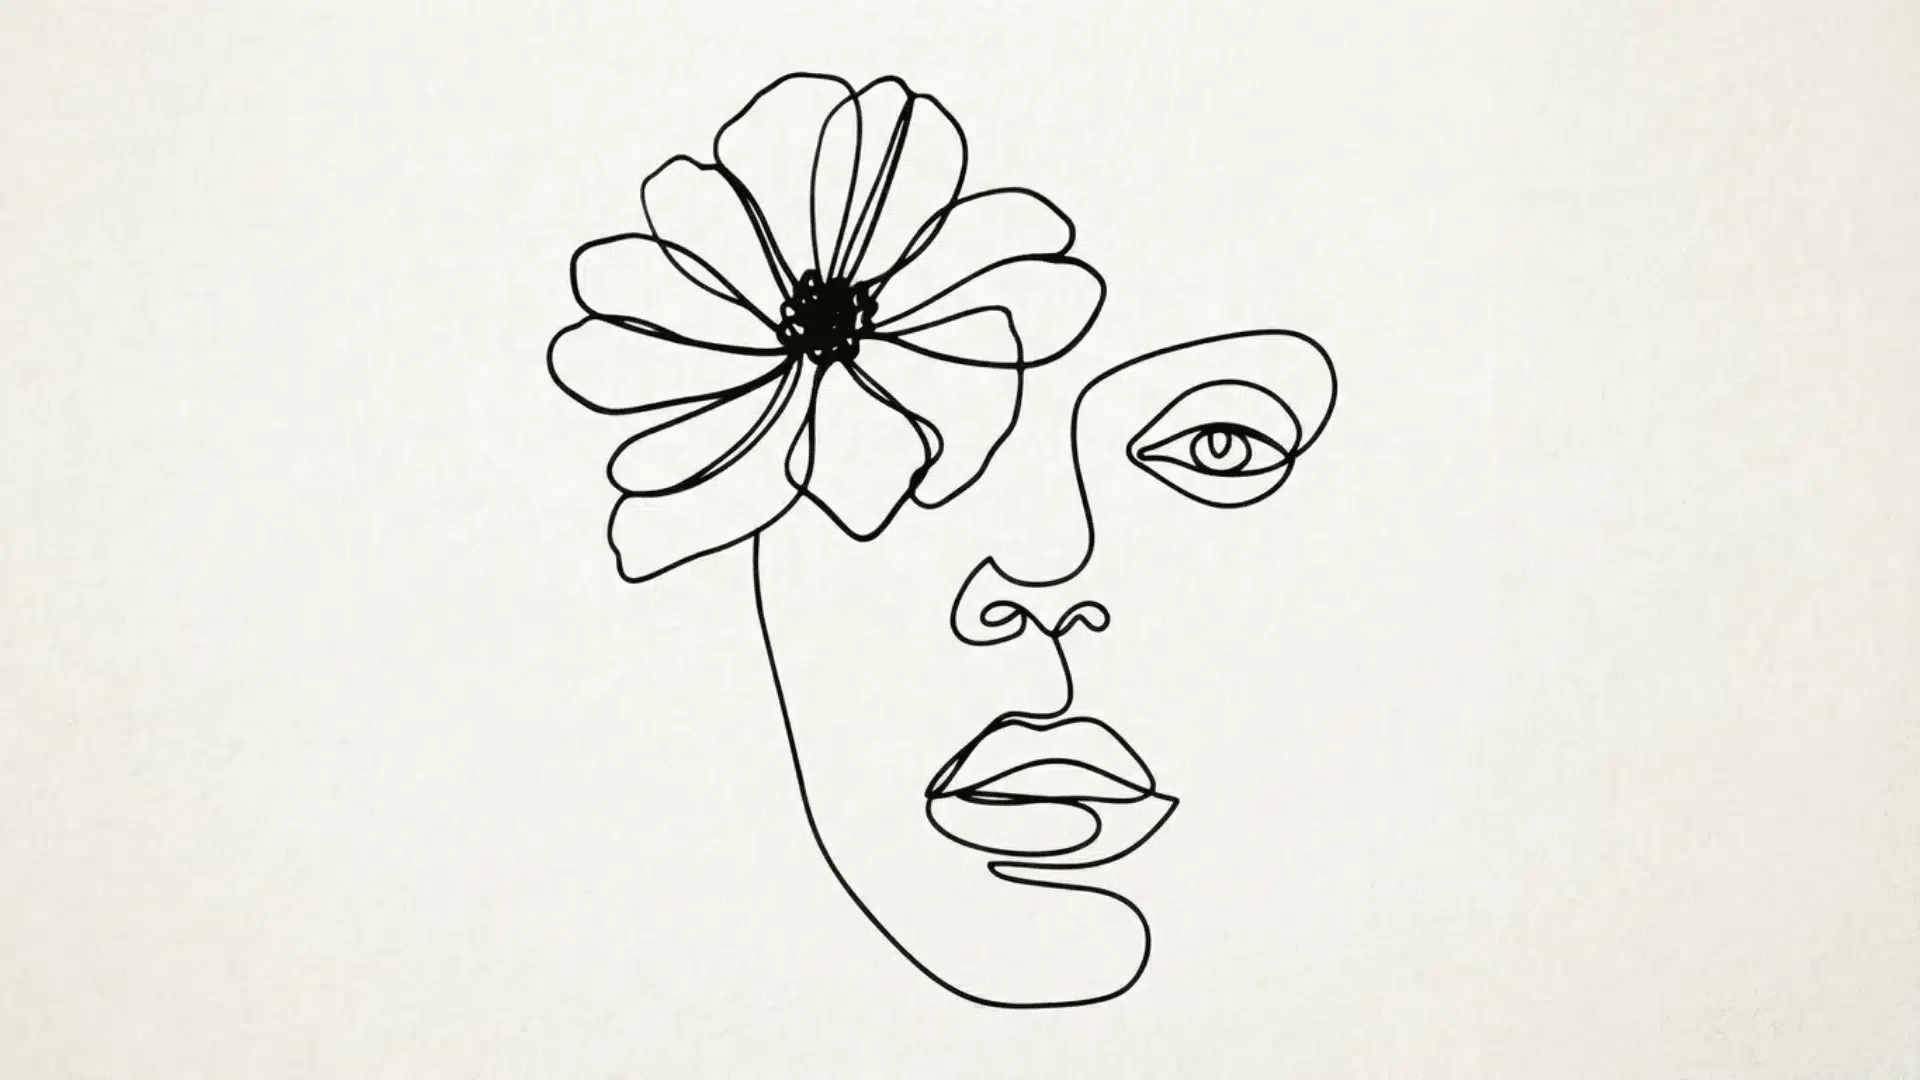
Contour drawing means sketching only the outline of what you see. No shading. No filling in. Just lines that follow the edges.
The word “contour” comes from French and means outline. When you draw a contour, you trace where one shape ends, and another begins.
Your hand follows what your eye sees. If you draw an apple, you sketch the round outer edge and the stem. Nothing else.
This technique trains your brain to see objects as they really are rather than relying on memory. Your eye moves along the edge of an object. Your pencil copies that exact movement on paper.
Most people draw what they think something looks like. Contour drawing forces you to observe the actual shape in front of you. This builds hand-eye coordination faster than any other drawing method.
It works for beginners learning basic skills and professionals warming up before detailed work.
4 Types of Contour Drawing Explained
Each type of contour drawing serves a different purpose. Here’s what you need to know about all four.
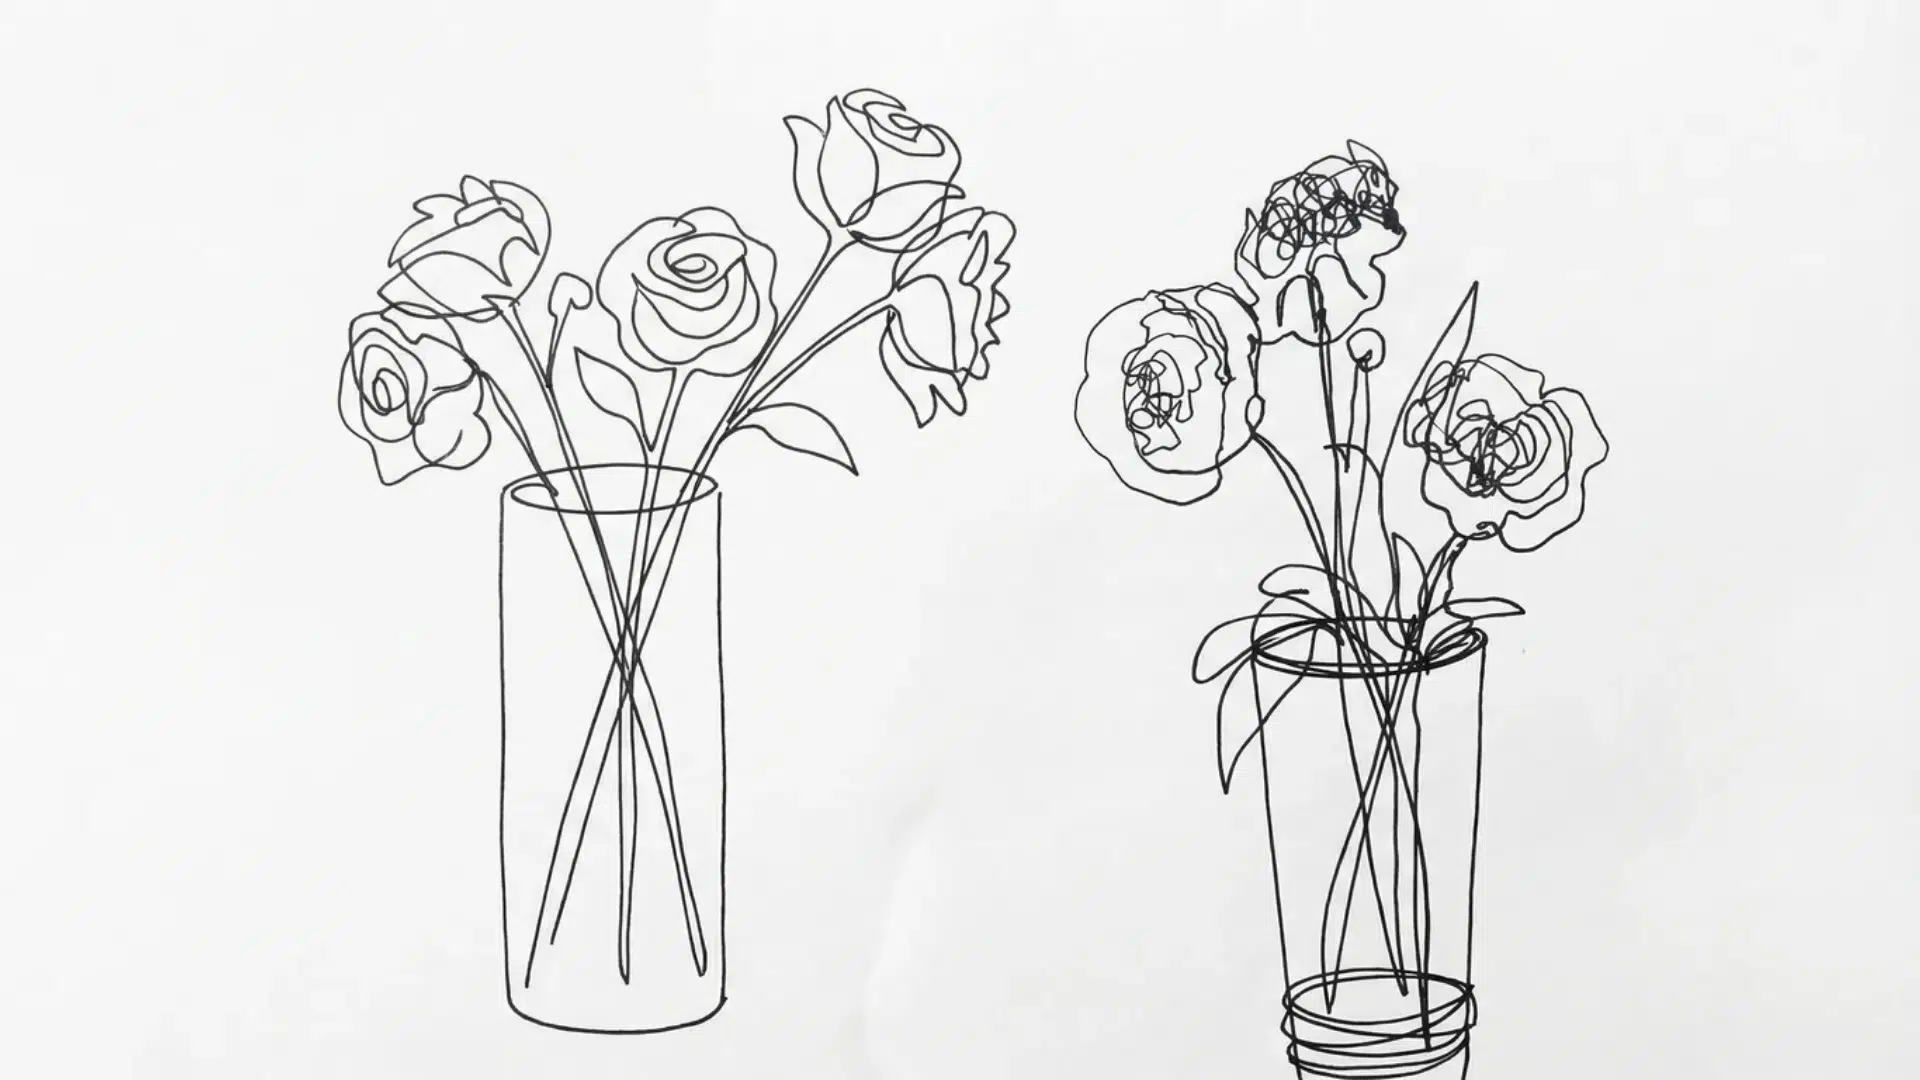
1. Blind Contour Drawing
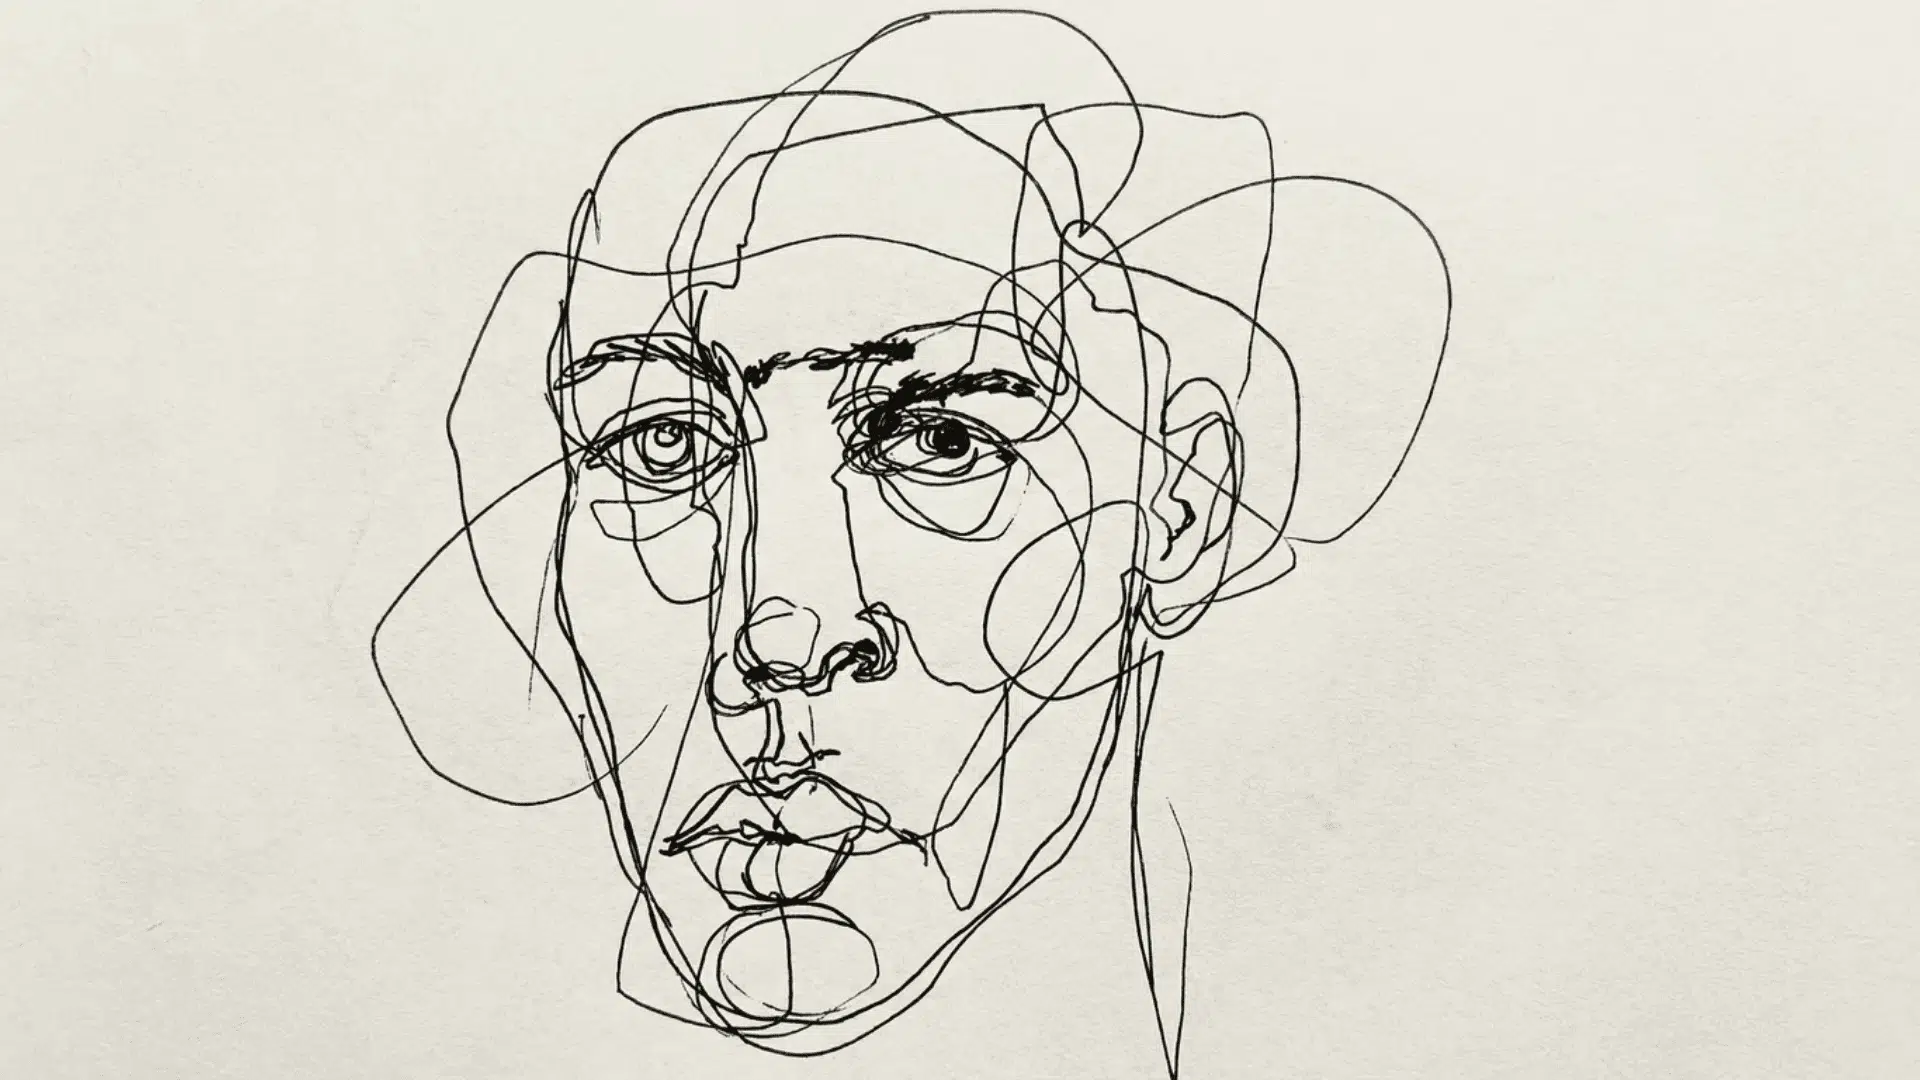
You draw without looking at your paper. At all.
Your eyes stay locked on the object. Your hand moves on the paper while you watch only the subject. This feels awkward at first.
The drawing usually looks messy or distorted. That’s the point. Blind contour forces you to truly observe rather than check your work every few seconds.
Your brain wants to simplify shapes into symbols. A hand becomes a cartoon hand. A shoe becomes a generic shoe shape. Blind contour breaks this habit by removing the visual feedback loop.
When you practice this daily, something shifts. Your eyes start noticing details you normally skip. The small bump on a knuckle. The way fabric folds at a specific angle. These observations transfer to all your other drawings.
This type builds the strongest hand-eye coordination. Use it as a warm-up exercise, not for finished artwork. Professional artists practice this daily to sharpen their observation skills.
Set a timer for 20 minutes. Pick one object. Draw it without peeking even once. Your lines will wander off the page sometimes. Let them. The point is to train your eye, not to make pretty pictures.
2. Continuous Line Drawing
You draw the entire subject using one unbroken line. Your pencil never lifts off the paper.
This creates a flowing, connected drawing. You must plan your path carefully since you can’t jump to different sections.
Start at one edge and work your way around and through the object. If you need to draw an interior detail, your line travels there without breaking. The path itself becomes part of the artwork.
The challenge here is strategy. How do you draw a face without lifting your pencil? You might outline the head, travel down to draw the nose, loop up for an eye, and continue mapping features.
Artists use this for quick sketches and expressive line work. It can stand alone as finished art or serve as practice. The continuous line adds energy and movement to simple subjects.
You can look at your paper while drawing. This makes it easier than blind contour, but still challenges you to think ahead.
Ancient Greek pottery artists used this technique thousands of years ago. Modern cartoonists still love it for character sketches. The unbroken line gives drawings a confident, decisive quality.
3. Modified Contour Drawing
This is a blind contour with a twist. You can glance at your paper about 10% of the time.
Those quick peeks let you check proportions and placement. You still spend most of the time looking at the object itself.
When should you look down? When you need to reposition your pencil or check if parts align correctly. Then your eyes go right back to the subject.
This is where accuracy starts to improve. Your drawing won’t look perfect, but it will capture the real proportions better than pure blind contour.
Modified contour gives you more control than pure blind drawing. It produces more accurate results while keeping the observational benefits.
Most art teachers start students here after they’ve tried blind contour. It bridges the gap between pure exercise and practical drawing.
Try this progression: start with your eyes 90% on the object. As you get comfortable, increase it to 95%. The less you look at your paper, the more your observation skills grow.
Some artists use modified contour for actual sketching work. It’s fast and captures gestures well. You learn the subject thoroughly because you spend so much time studying it.
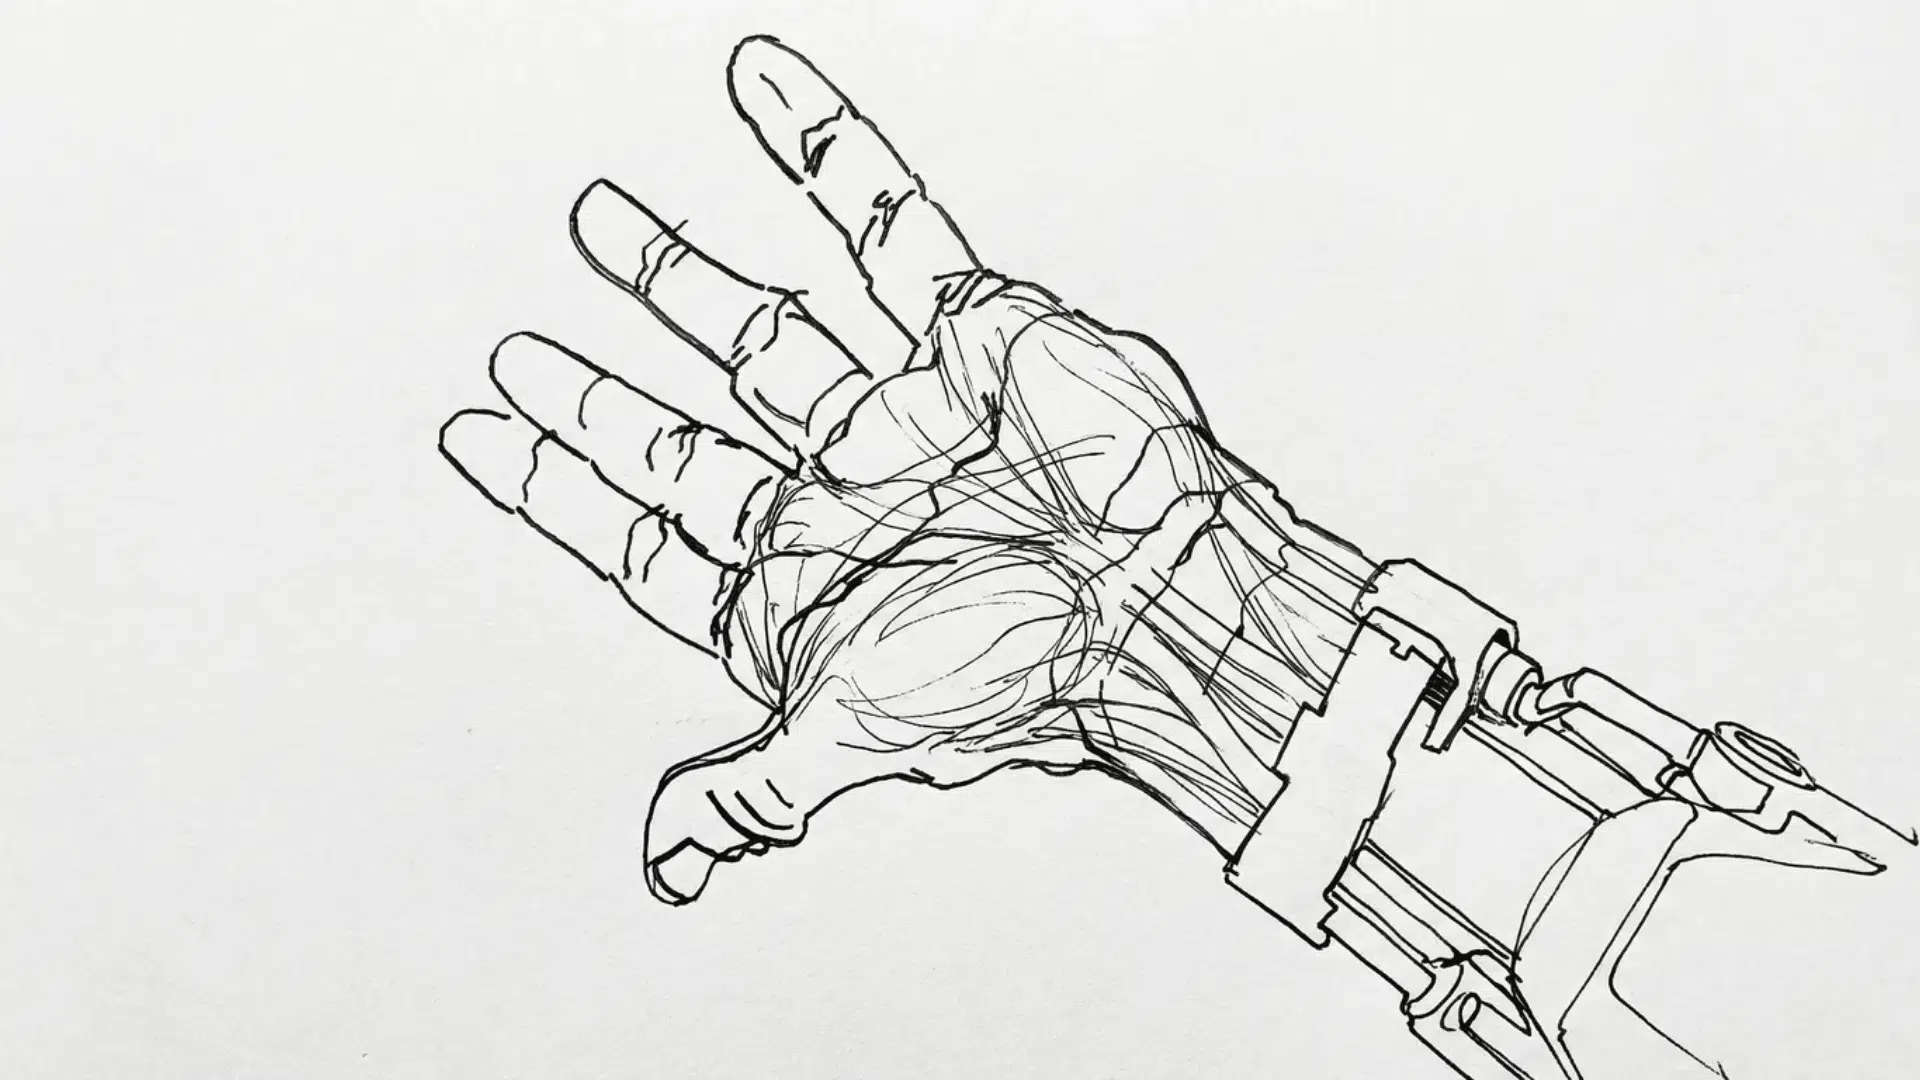
4. Cross-Contour Drawing
Lines move across the surface of your subject instead of just around the edges.
Think of topographic maps showing elevation. Cross-contour lines show the curves and planes of a form. They reveal whether a surface is flat, rounded, or has grooves.
A banana gets lines that curve around its cylindrical shape. A book gets straight lines across its flat cover. A bell pepper needs lines following its bumps and ridges. Start with a regular contour outline. Then add lines that wrap around the form. These lines follow the direction the surface moves in space.
Imagine your pencil is an ant walking across the object. Which way would it travel over bumps and curves? That’s the direction your cross-contour lines should go.
This type creates the illusion of three-dimensional form. Use it when you need to show volume and depth. It’s especially helpful for understanding complex organic shapes like faces, hands, or draped fabric.
Cross-contour also helps when you later add shading. The lines show you which direction your pencil strokes should follow. Your shading will wrap around forms correctly instead of fighting against them.
The technique looks simple, but it teaches you to see dimensionally. A circle on paper is flat. Add cross-contour lines, and suddenly it becomes a sphere.
Now that you know which type to use, let’s talk about what you actually need to start drawing.
Materials You Need to Get Started
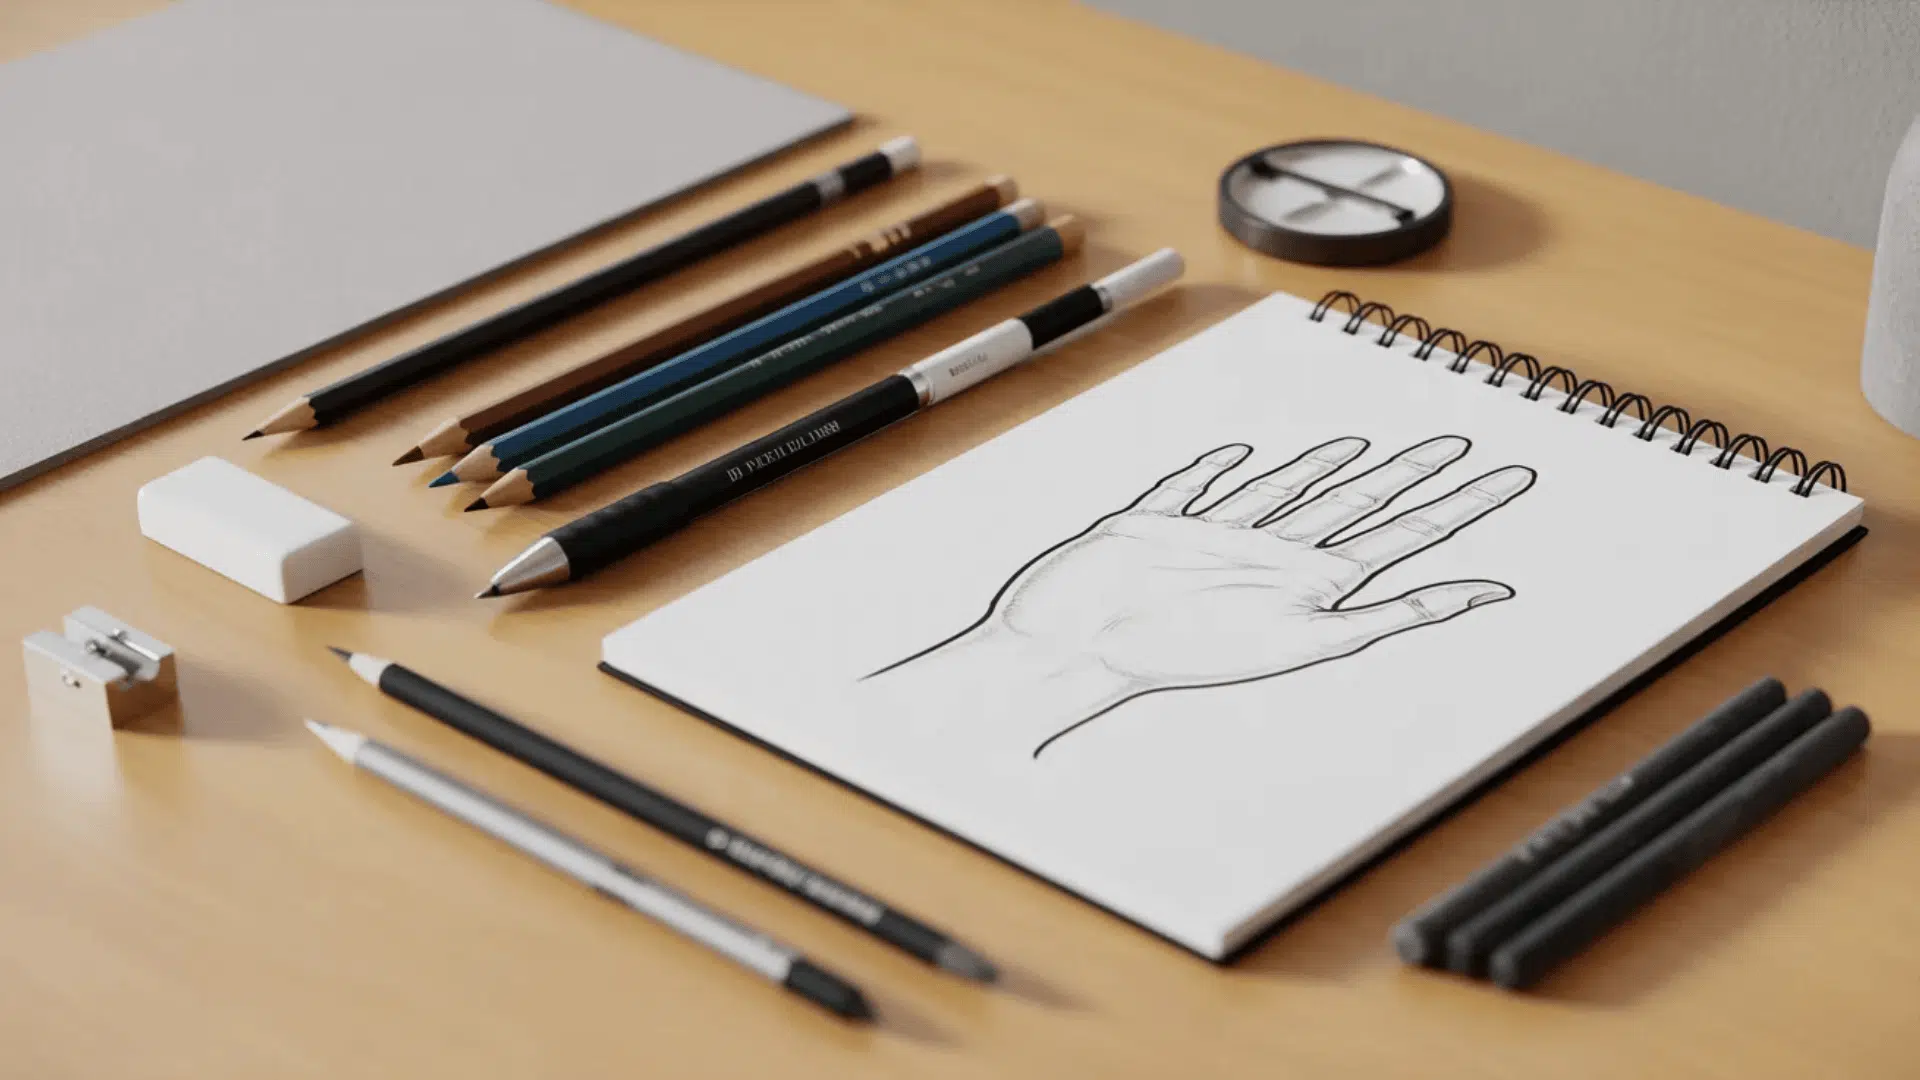
Good news: contour drawing needs almost nothing. You probably already own everything required.
Basic Supplies (Start Here)
- Paper – Any notebook or printer paper works. Smooth paper shows lines clearly. Textured paper can catch your pencil and slow down the flow.
- Pencil – A regular HB pencil is perfect. Clean lines without smudging. The middle hardness gives you control.
- Pen or Fine Liner – Forces commitment since you can’t erase. Sizes 0.3mm to 0.5mm work best. Black ink shows up clearly against white paper.
- Eraser – Optional. You won’t need it for pure contour work. Keep one around for sketches you plan to develop further.
Upgrade Options (Try These Later)
- Charcoal – Creates bold, expressive lines. Great for loose gesture work. Willow charcoal is softer than compressed sticks.
- Markers – Smooth and consistent flow. Brush tips let you vary line thickness by changing pressure. Permanent markers won’t smudge.
- Sketchbook – Keeps practice organized. Track progress over time. Spiral binding lets pages lay flat while you draw.
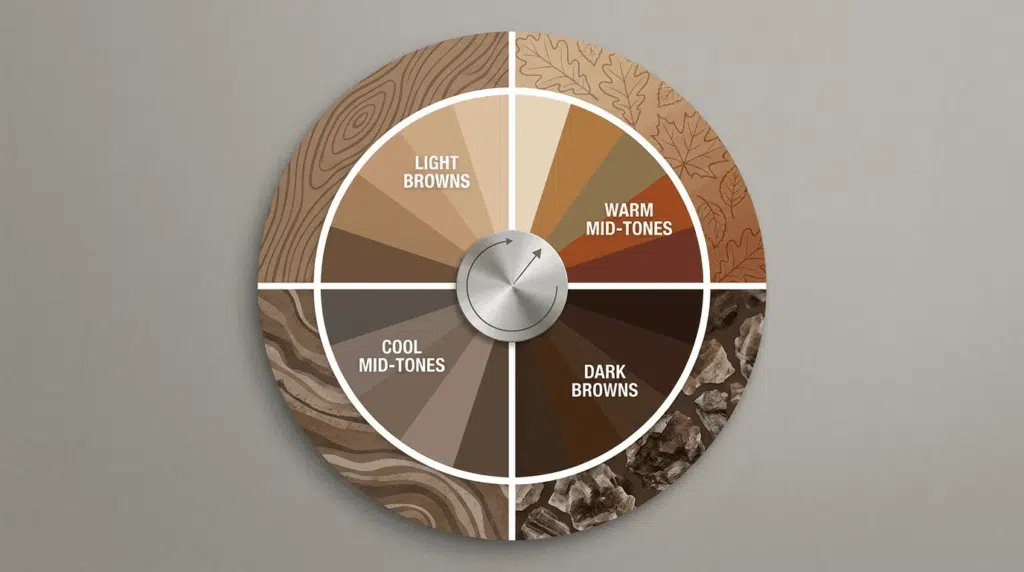
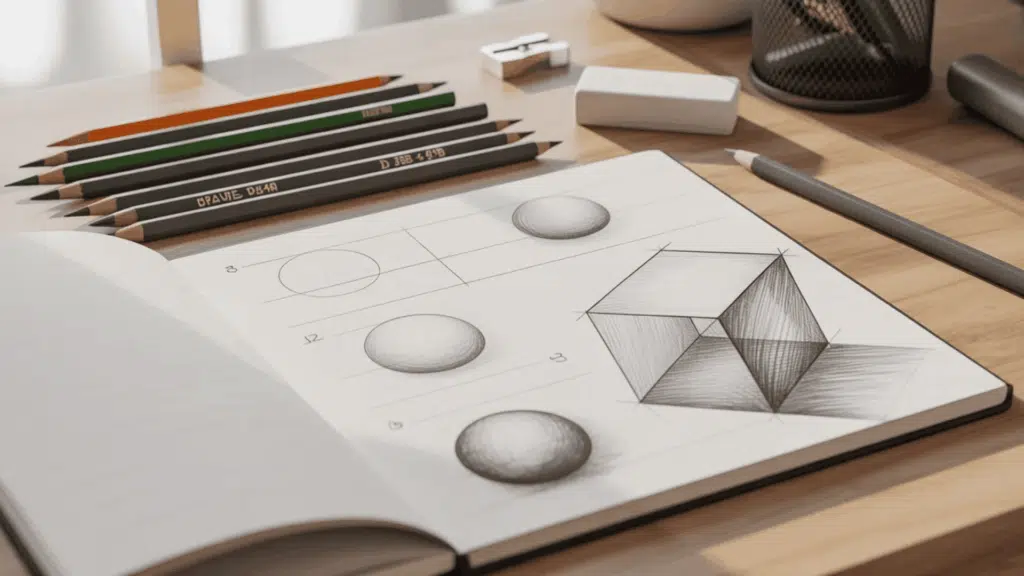
Pencil Grades Explained
- H pencils (2H-4H) – Hard lead makes light, precise lines. Use these when planning compositions.
- B pencils (2B-6B) – Soft lead makes dark, bold lines. Better for finished contour drawings that need to stand out.
- HB pencil – The middle ground. Works for everything when starting. Most versatile option.
Helpful Extras
- Pencil sharpener – Keep points sharp for clean edges. Dull tips create fuzzy lines that look uncertain.
- Tape – Secures paper during blind contour exercises. Prevents shifting when you’re not looking down.
- Timer – Set 20-minute practice sessions. Your phone works fine.
- Clipboard or drawing board – Firm drawing surface anywhere. Lets you practice outside or away from a desk.
What Actually Matters?
Paper quality won’t fix poor observation skills. Expensive pencils won’t make your lines more accurate.
Skip the art supply store for now. Many professional artists started with gas station pens and notebook paper. The medium forces you to focus on seeing clearly instead of fussing with tools.
Cheap supplies actually help beginners. You won’t worry about wasting good paper. This removes the fear of making mistakes.
Your eyes and hands do the real work, not the tools.
With your materials ready, here’s exactly how to start your first contour drawing.
How to Do Contour Drawing: Step-by-Step
Here’s the exact process for your first contour drawing.
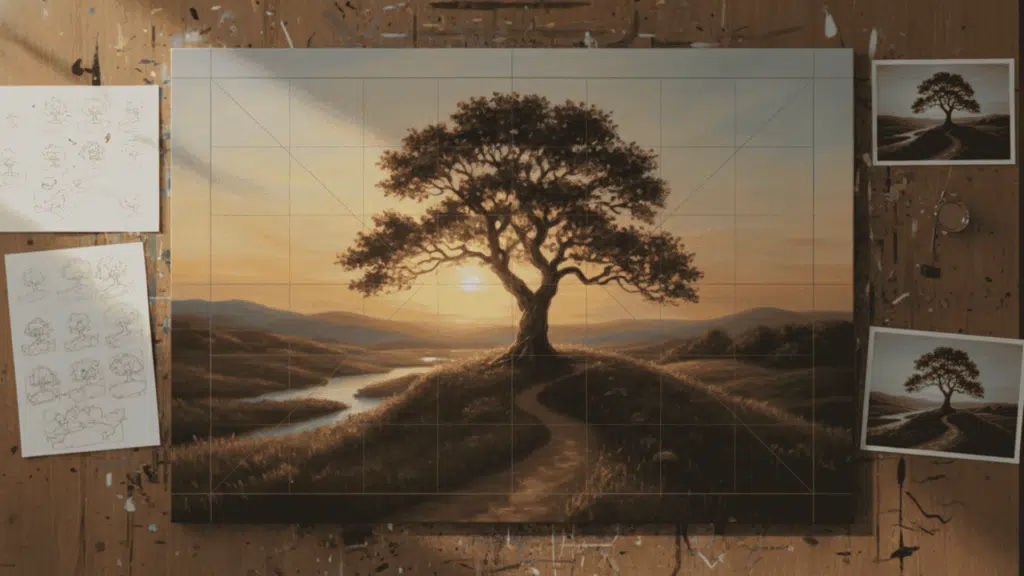
Step 1: Choose Your Subject and Set Up
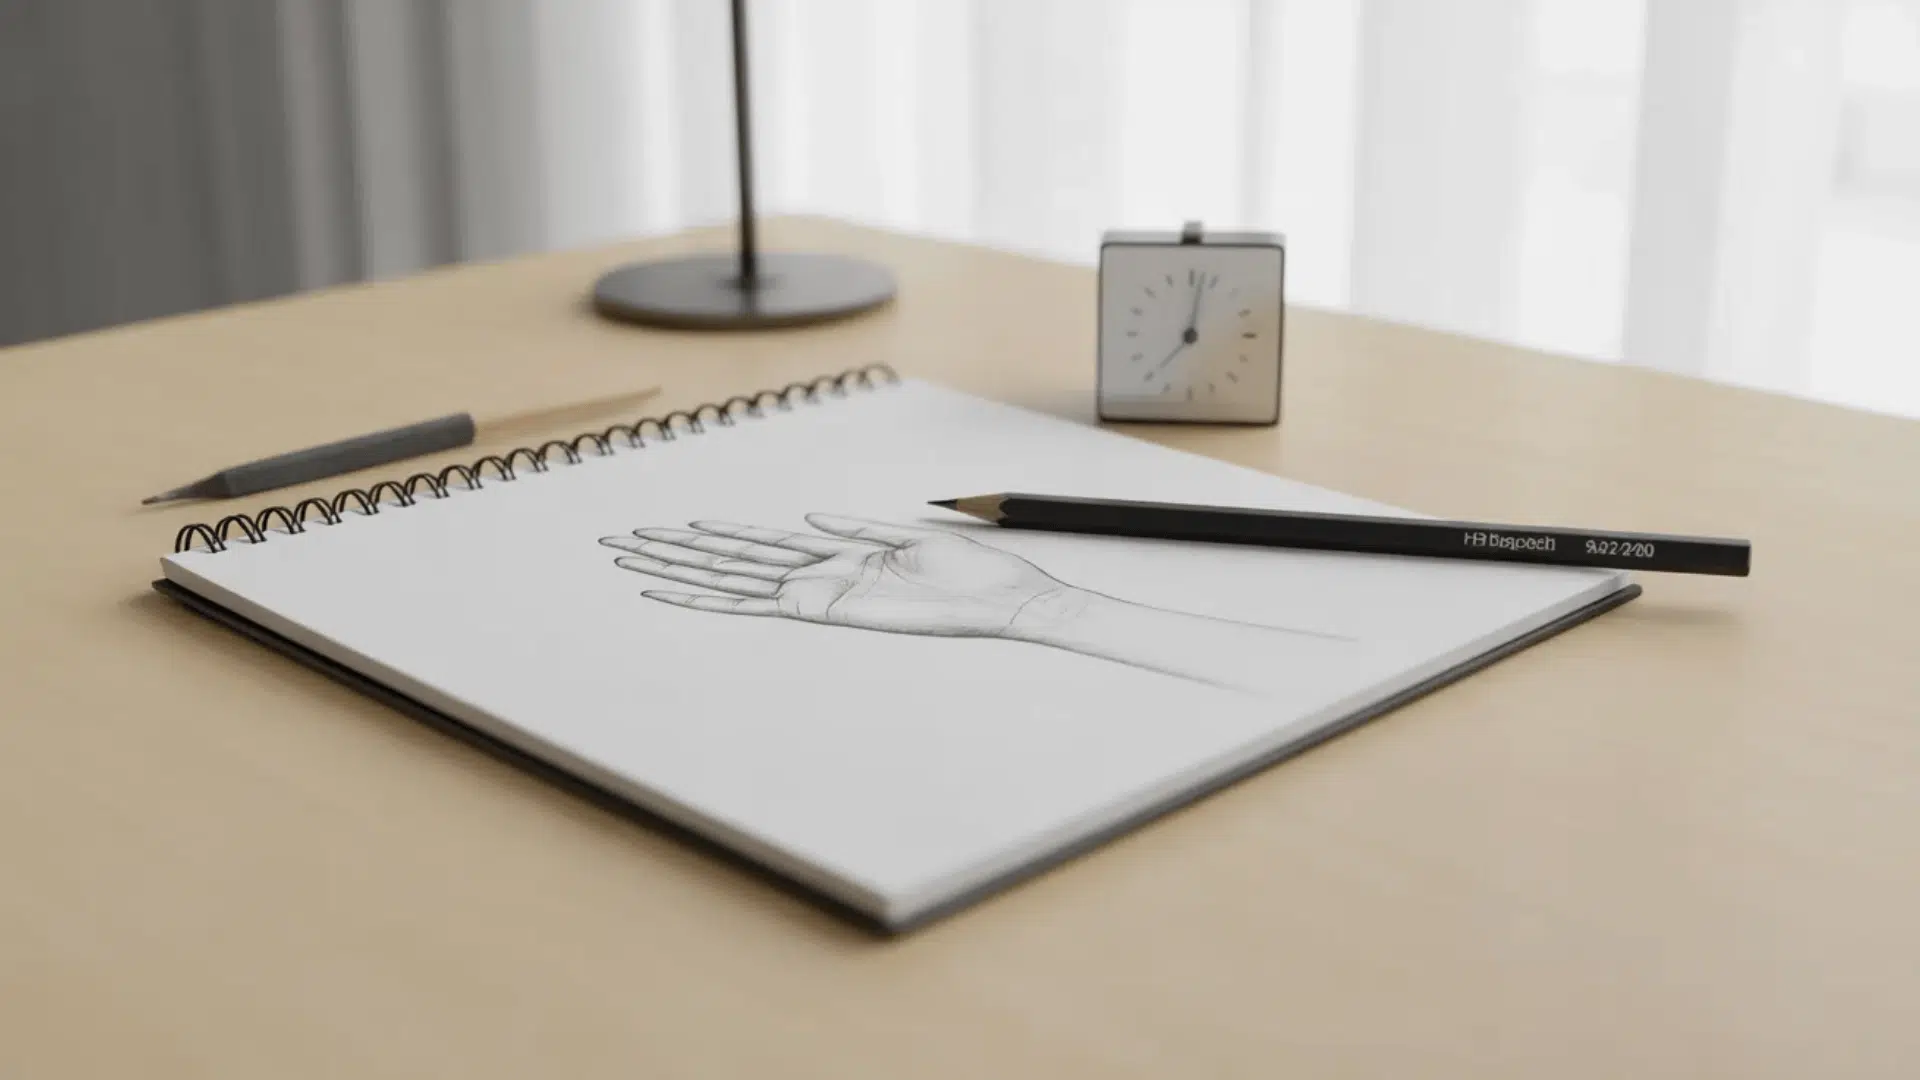
Pick one simple object: a shoe, your hand, a mug, or a fruit. Avoid scenes with multiple items.
Place it at arm’s length where you can see all edges clearly. Sit comfortably. Tape your paper down if doing a blind contour.
Step 2: Observe Before You Draw
Study your subject for one full minute without drawing. Notice where edges are, how curves connect, and where shapes meet.
Your brain wants to label what it sees. Push past that. See the actual shapes and angles instead.
Step 3: Start Drawing
Pick one edge to begin. Place your pencil on paper at that starting point.
Lock your eyes on the object. Move your eyes slowly along its edge. Your pencil copies that exact movement on paper at the same speed.
This feels unnatural. You’ll want to rush. Don’t. Slow is the point.
Step 4: Add Details
Follow every curve and bump along the outer edge. After completing the outline, add interior lines like folds, cores, or veins using the same method.
For Blind Contour: Never look at your paper. Lines will wander and overlap. That’s correct.
For Modified Contour: Glance down for one second out of every ten. Check placement, then eyes back to the object.
Step 5: Know When to Stop
Once you’ve traced all visible edges, stop. No shading. No filling. Lines only.
A simple object takes 10 to 20 minutes. If you finish faster, you rushed.
Even following these steps perfectly, you’ll hit frustrating problems. Here’s how to fix them fast.
Common Mistakes and Quick Fixes
Most beginners hit the same problems when learning contour drawing. Here’s how to solve them fast.
| Mistake | Quick Fix |
|---|---|
| Drawing too fast | Set a timer for 20 minutes minimum. Your eyes should crawl along each edge. If you finish early, you rush. |
| Looking at your paper too much | Cover your paper with a sheet that has a hole cut out. Force yourself to work blind. Discomfort means progress. |
| Lifting your pencil constantly | Practice continuous line drawings. Keep a pencil on paper the entire time. Plan your path before starting. |
| Lines don’t connect properly | Only glance down to check major placement points. Looking at the wrong moments causes gaps and overlaps. |
| Proportions look wrong | You’re drawing from memory instead of observing. Measure actual distances between parts with your eyes. |
| Hand cramps | Loosen your grip. Use your whole arm to draw, not just your wrist. Shake out tension every few minutes. |
| Can’t see edges clearly | Add a lamp on one side of the object. Shadows define edges. Squint slightly to simplify shapes. |
| Forgetting interior details | Draw the outline first, then add interior lines. Work from outside in. |
Your first 50 drawings will look rough. Progress happens around drawing 100, not drawing 10.
Now let’s put this into practice with exercises that actually build skill.
5 Practice Exercises to Try Today
These exercises build your skills fast. Start with Exercise 1 and work down the list.
Exercise 1: 20-Minute Blind Contour
Set a timer for 20 minutes. Choose your non-dominant hand. Draw it without looking at your paper once. Notice every wrinkle, nail, and knuckle. Your hand is familiar, but blind contour forces you to really see it. The veins, scars, and curves you normally ignore.
Exercise 2: Continuous Line Portrait
Ask someone to sit still for 15 minutes. Draw their face using one unbroken line. Your pencil never leaves the paper. Plan your route before starting. Loop from the head to the chin, back up for the nose, across for the eyes. This teaches you to see faces as connected forms.
Exercise 3: Upside-Down Drawing
Find a simple line drawing or photo. Turn it upside down. Copy it as a contour drawing. Your brain can’t recognize flipped images, so it stops using shortcuts. You draw actual shapes and angles instead of symbols. Pick portraits or figure sketches with clear outlines.
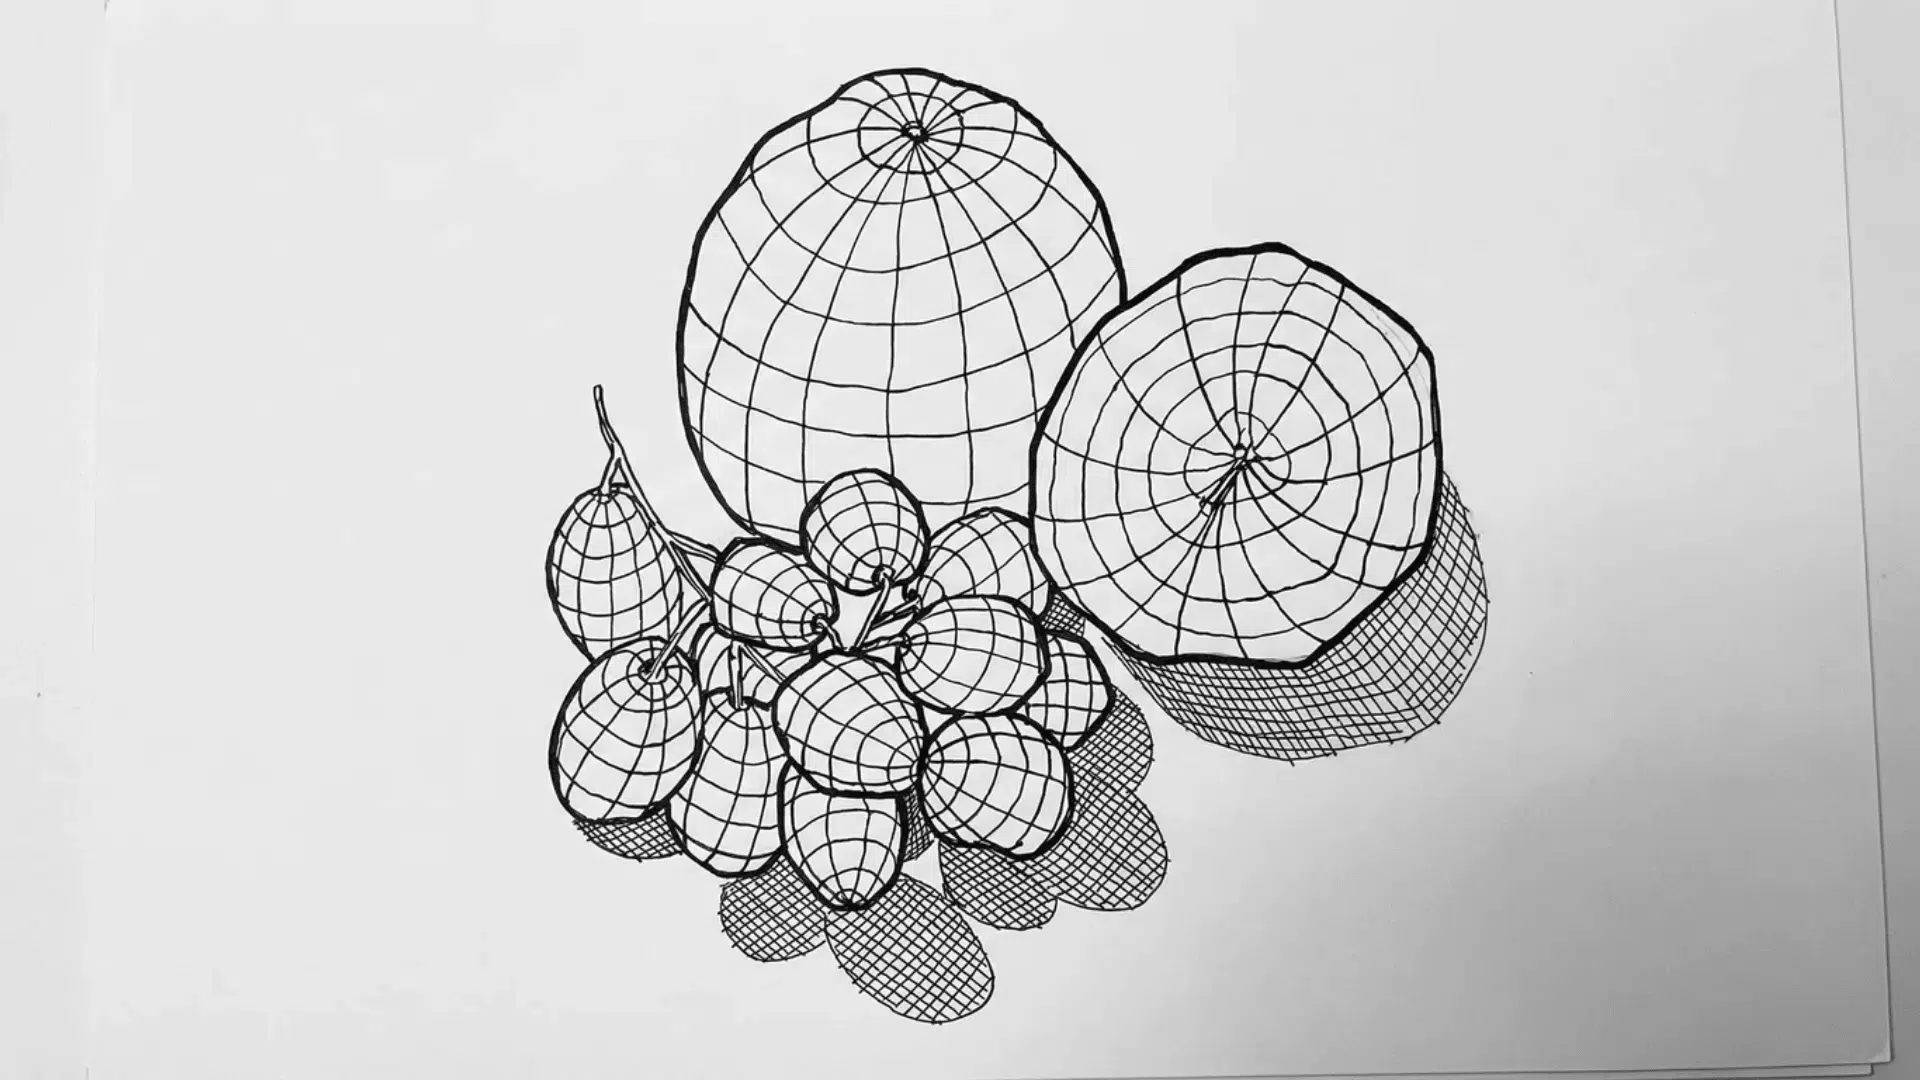
Exercise 4: Cross-Contour Still Life
Set up three objects: a ball, a box, and a banana. Draw the outlines first. Add cross-contour lines showing how surfaces curve. The box gets straight lines. The ball needs curves. The banana follows a cylindrical path. Each teaches different ways to show volume.
Exercise 5: Speed Contours
Grab 10 small objects. Draw each one in exactly 2 minutes. Use the modified contour method. When the timer beeps, move on immediately. No fixing mistakes. This removes perfectionism and builds confident lines. Try keys, glasses, scissors, spoons, or fruit for variety.
Practice one exercise daily. Rotate through all five each week.
Contour drawing isn’t just practice. Here’s how to use it in real artwork.
When to Use Contour Drawing in Your Art?
Contour drawing isn’t just practice. Professional artists use it to plan compositions before adding details. Quick outlines show where major shapes sit and help check balance without committing to full rendering.
Use it as a 10-minute warm-up before serious projects. This activates observation skills and loosens your hand. Cartoons and illustrations often use contour techniques for finished line art with bold, graphic styles.
Before drawing complex forms like draped cloth or mechanical parts, do a contour study. Cross-contour shows how surfaces turn in space before adding tone. In figure drawing sessions, modified contour captures poses accurately in minutes while keeping proportions correct.
Use contour when you need clarity about form and structure before moving to detailed work.
Conclusion
Contour drawing fixes the root problem most artists face. You stop drawing from memory and start seeing what’s actually there.
The technique is simple but not easy. Your first drawings will look strange. That’s proof you’re rewiring old habits. Keep going.
Start with blind contour today. Grab any object near you. Set a timer for 20 minutes. Don’t look at your paper. Your hand-eye coordination improves with each session.
Practice one exercise daily. Track your progress weekly. By drawing 100, you’ll notice the shift. Objects start looking solid instead of flat.
The tools don’t matter. Your observation does. Stop reading and start drawing.
What will you sketch first?