You stare at the blank page. Your hand feels awkward. The pencil doesn’t do what you want.
Sound familiar? Most people think drawing is a gift some have and others don’t. Here’s the reality: drawing is a learnable skill. You just need the right starting point.
This guide breaks down exactly what to practice and when. No confusing lessons that skip the basics. No lists of expensive tools you don’t need. Just a clear path from your first line to finished drawings.
You’ll master five core skills in the right order. Each week builds on the last. We’ll show you common mistakes before you make them. You’ll know exactly when you’re ready to level up.
Your hands already know how to write. Drawing uses those same movements. Let’s begin.
Can Anyone Really Learn to Draw?
Yes. Anyone can learn to draw.
Drawing isn’t magic. It’s a skill your brain and hand learn through repetition. People who draw well started earlier or practiced more. You’re seeing years of work, not talent.
Studies prove this. Skills develop through focused practice, not genes. Someone who draws daily for five years will always beat someone “talented” who picks up a pencil once a month.
The difference is hours logged, nothing else.
Expect this timeline with 15-30 minutes of daily practice:
- Weeks 1-2: Shaky lines (completely normal)
- Month 1: Recognizable objects
- Month 3: Visible improvement
- Month 6: Solid fundamentals
- Year 1: Work people genuinely admire
More time means faster results. Less practice slows progress.
You’re not learning to create masterpieces immediately. You’re training your eye to see and your hand to respond. The first hundred drawings look rough. The next hundred look better. Around drawing 500, you’ll shock yourself.
Most people quit too soon. They compare day-one attempts to artists with a decade of practice. That comparison kills motivation instantly.
Your actual challenge isn’t skill or talent. It’s showing up when the drawing looks terrible and doing it anyway.
Essential Drawing Supplies You Actually Need
You need three things: pencils, paper, and an eraser.
Don’t buy expensive supplies yet. Beginners can’t tell the difference. Save money until you know what you prefer.
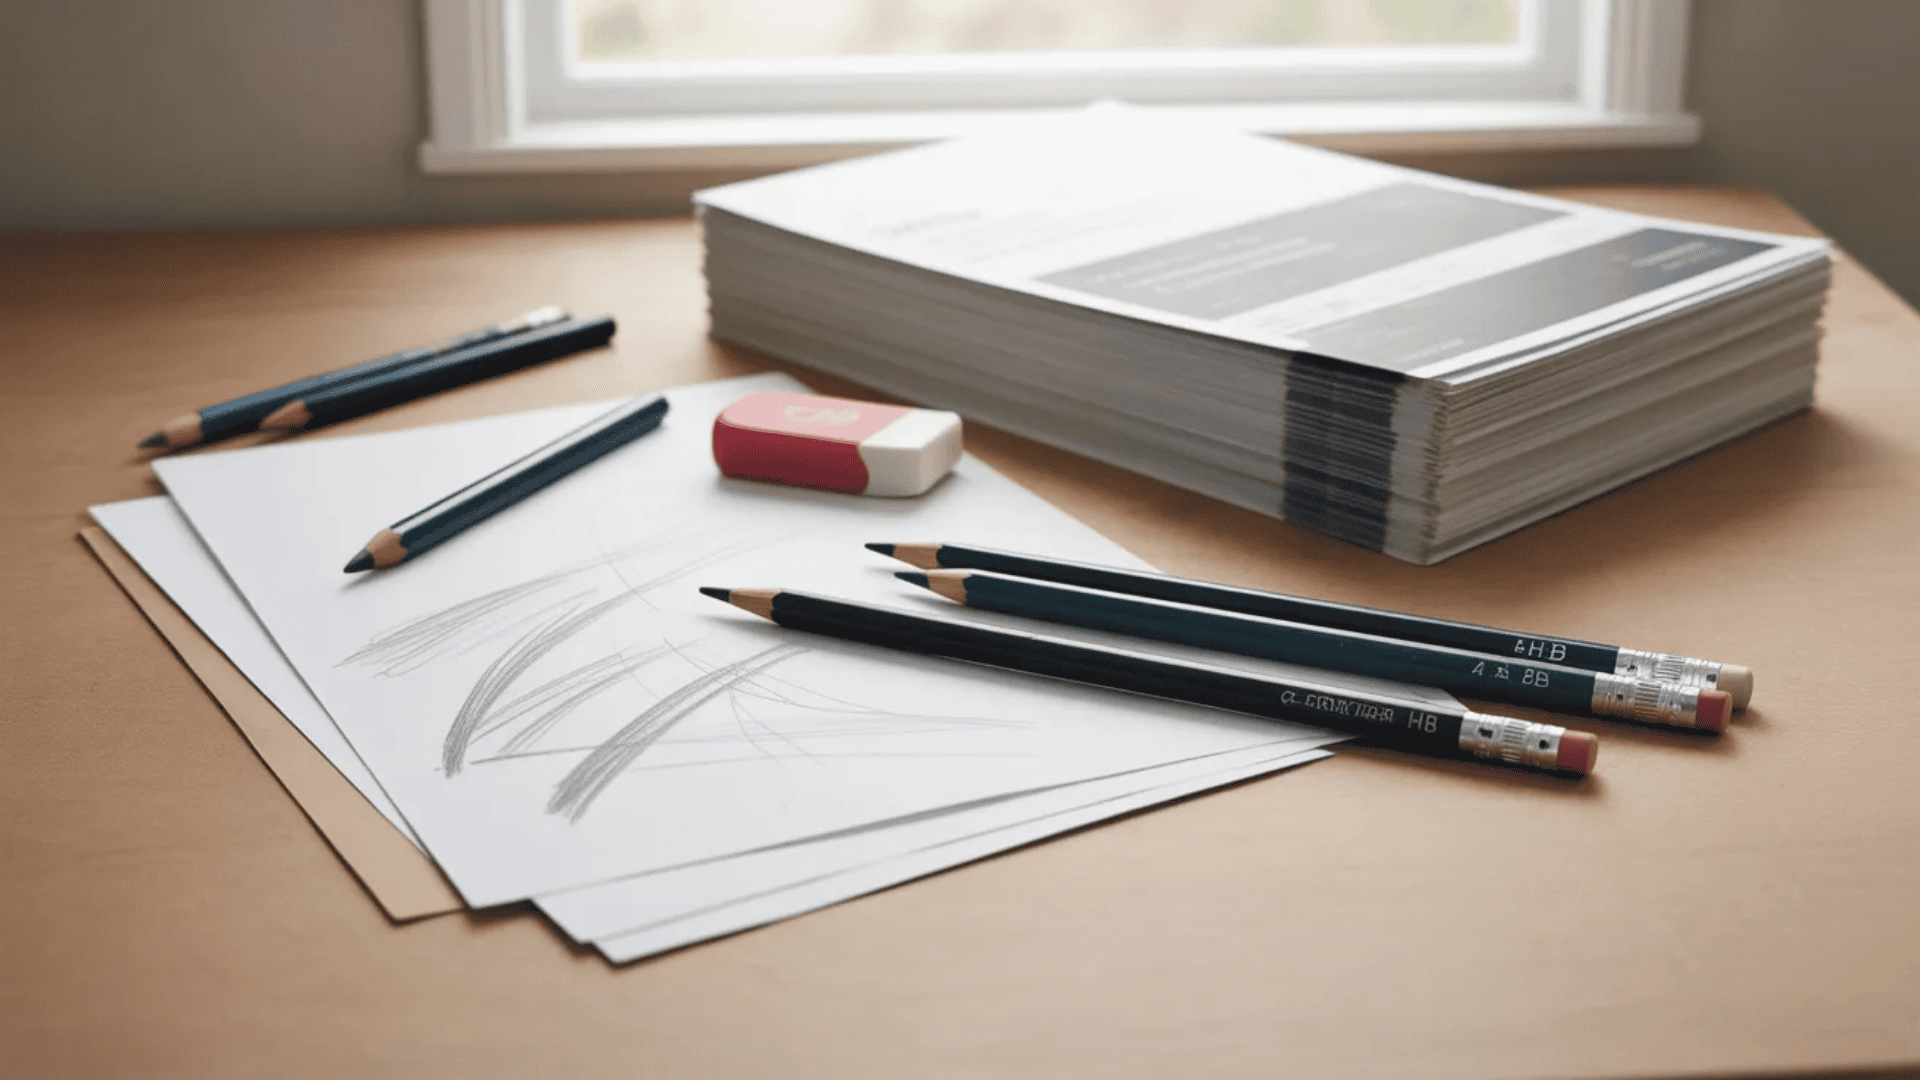
Basic starter kit:
- One HB pencil (your main tool)
- One 2B pencil (darker lines)
- One 4B pencil (shading)
- Cheap printer or sketch paper
- Basic pink eraser
Use the cheapest paper you can find. You’ll fill hundreds of pages. Expensive paper makes you afraid to mess up.
| Skip blending stumps, fancy pencil sets, textured paper, drawing boards, charcoal, and anything over ten dollars for now. After three months of practice, you’ll notice what feels wrong. That’s when you upgrade based on real problems, not marketing. |
After three months of practice, you’ll notice what feels wrong. That’s when you upgrade based on real problems, not marketing.
Your first 1000 drawings should happen on cheap materials. Skills matter more than supplies. Now that you have your tools, let’s set up your workspace correctly.
How to Hold Your Pencil and Set Up Your Workspace?
How you hold your pencil changes everything.
Two grips you need:
- Tripod grip: Hold like writing, close to the tip. Use for details and shading. Wrist movement only.
- Overhand grip: Hold from above, loose fingers, far from the tip. Use for sketching and long lines. Whole arm movement.
Switch between both as you draw. Sit straight with your paper slightly tilted. A book under your paperwork. This stops distortion from a flat angle.
Draw from your shoulder for lines longer than two inches. Draw from your wrist for small details. Keep your arm loose. Tense muscles make shaky lines.
Practice both grips for five minutes before each session. This warms up your hand.
Setup done. Now let’s make your first marks.
Week 1-2: Making Your First Marks (Lines, Curves, and Control)

Your first goal is simple: get comfortable making marks on paper.
Start every session with warm-up exercises. Fill one page with random lines, circles, and scribbles. This loosens your hand and removes the pressure to draw perfectly. Two minutes is enough.
- Practice straight lines: Draw horizontal lines across the page without a ruler. Don’t worry if they curve. Draw twenty lines, then do vertical ones. Then diagonal. Your goal is smooth motion, not perfection.
- Practice curves: Draw slow curves from left to right. Then right to left. Make big loops. Make small loops. Fill a page with S-shapes and C-shapes.
- Practice circles: Draw circles in one smooth motion without lifting your pencil. Start big. Get smaller. They won’t be perfect. That’s fine.
Do this daily for ten days. Your hand will feel more natural with the pencil. Lines will get steadier without you thinking about it.
You’re ready to move forward when you can draw a mostly straight line and a mostly round circle without shaking. Not perfect, just controlled.
These basic marks are the foundation for everything. Now let’s use them to draw actual objects.
Week 3-4: Breaking Everything Down into Basic Shapes
Everything you see is made of circles, squares, and triangles. Once you see this, you can draw anything.
A cup is a cylinder. A book is a rectangle. An apple is a circle. Your job is to spot these shapes before you start drawing details.
The Basic Shape Method
Look at your subject. Ignore details like texture or color. What basic shapes do you see? Draw those shapes lightly. Connect them. Erase overlaps. Now add details on top.
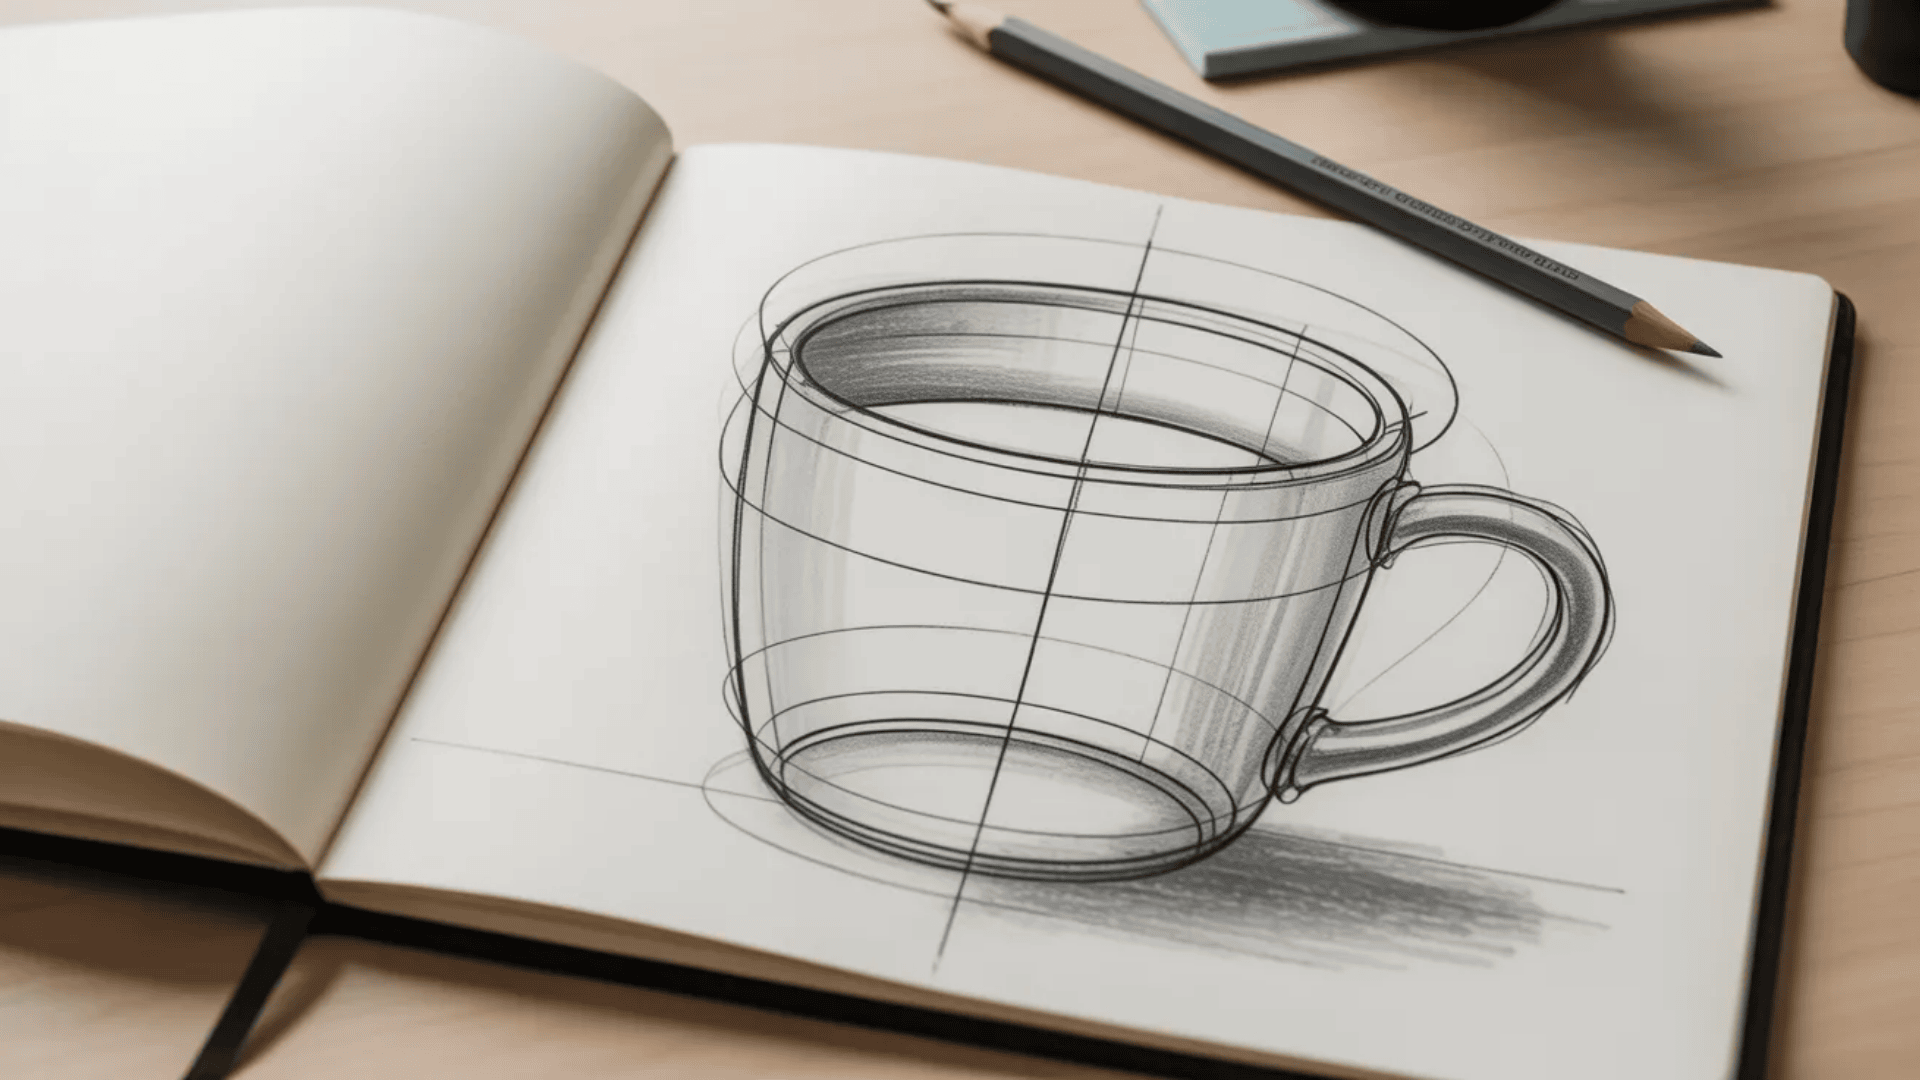
Try this with a coffee mug. See the circle for the rim. See the cylinder for the body. See the curved rectangle for the handle. Draw these three shapes first. Then refine the edges and add details.
Practice exercises
- Draw five household objects as basic shapes only
- Take a photo and trace the shapes you see over it
- Draw simple objects without looking at your paper
Do this daily for two weeks. Your brain will start seeing shapes automatically.
You’re ready to move forward when You can look at any simple object and identify its basic shapes in five seconds.
Shapes give you structure. Now let’s make sure those shapes are the right size.
Week 5-6: Getting Proportions Right
Proportions mean getting the sizes and relationships correct. A head that’s too big. Arms too short. These mistakes kill a drawing.
The Pencil Measuring Technique
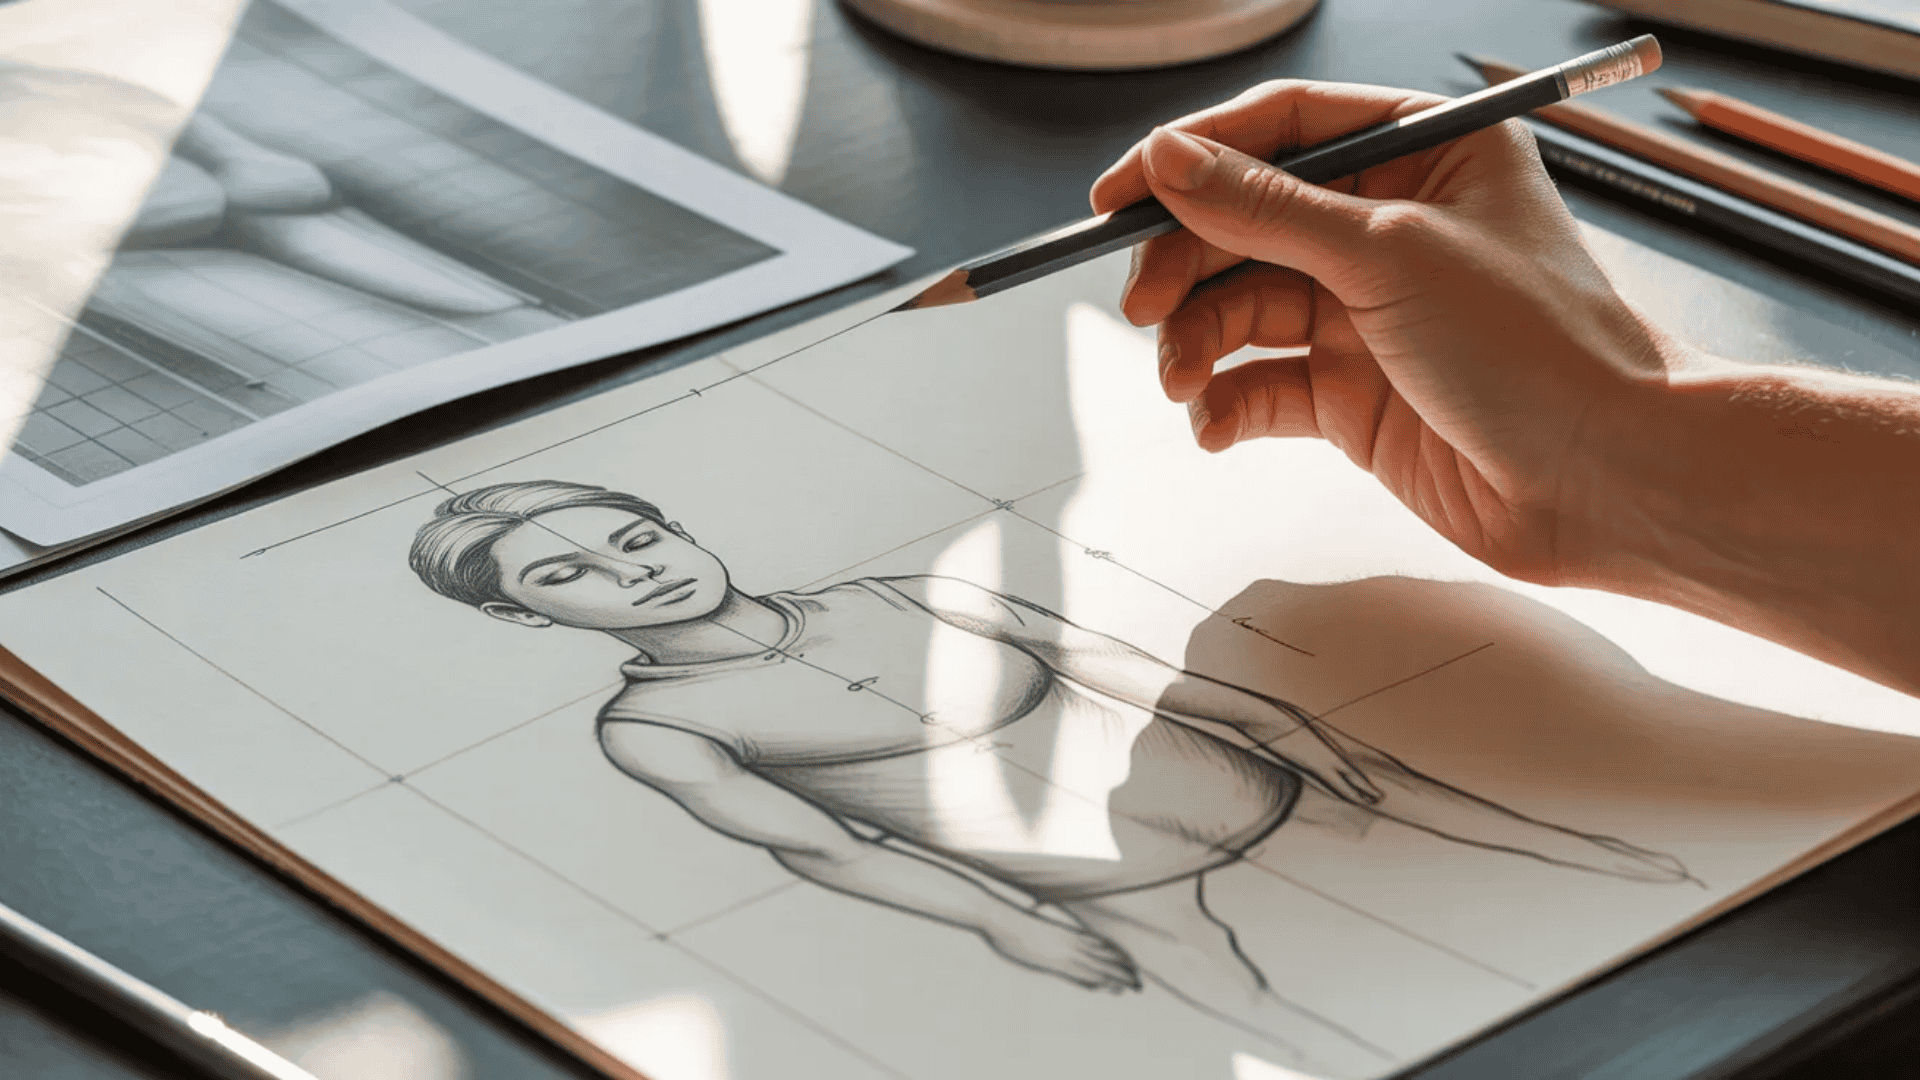
Hold your pencil at arm’s length. Close one eye. Line up the pencil tip with the top of your subject. Move your thumb to mark the bottom. This is your unit of measurement. Now compare: how many units tall is the object? How many units wide?
Use this to check relationships. The head is one unit. The body is three units. Now you know the body should be three times taller than the head.
The Sighting Method
Hold your pencil horizontally or vertically to check alignment. Does the corner of the eye line up with the corner of the mouth? Does the left edge align with something on the right? These invisible lines keep proportions accurate.
The Grid Method
Draw a light grid over your reference photo. Draw the same grid on your paper. Copy what you see in each square. This breaks complex subjects into manageable pieces.
Practice these methods daily. Draw simple objects and check your proportions constantly. Measure. Compare. Adjust.
You’re ready to move forward when: Your drawings look balanced without obvious size mistakes.
Accurate proportions create believable drawings. Now let’s add depth with light and shadow.
Week 7-8: Adding Light and Shadow (Introduction to Shading)

Shading turns flat shapes into three-dimensional objects. Light and shadow create depth.
Understand your light source
Every drawing has one main light source. Find it. The side facing the light is brightest. The side away from the light is darkest. Everything else falls between these two extremes.
The value scale
Values range from pure white to pure black. Practice creating five distinct values: white (paper), light gray, medium gray, dark gray, and black. Use pencil pressure to control darkness. Light pressure for light values. Heavy pressure for dark values.
Basic shading technique
Draw light layers first. Build up darkness gradually. Never start with your darkest value. Shade in one direction with consistent strokes. Scribbling back and forth creates a messy texture.
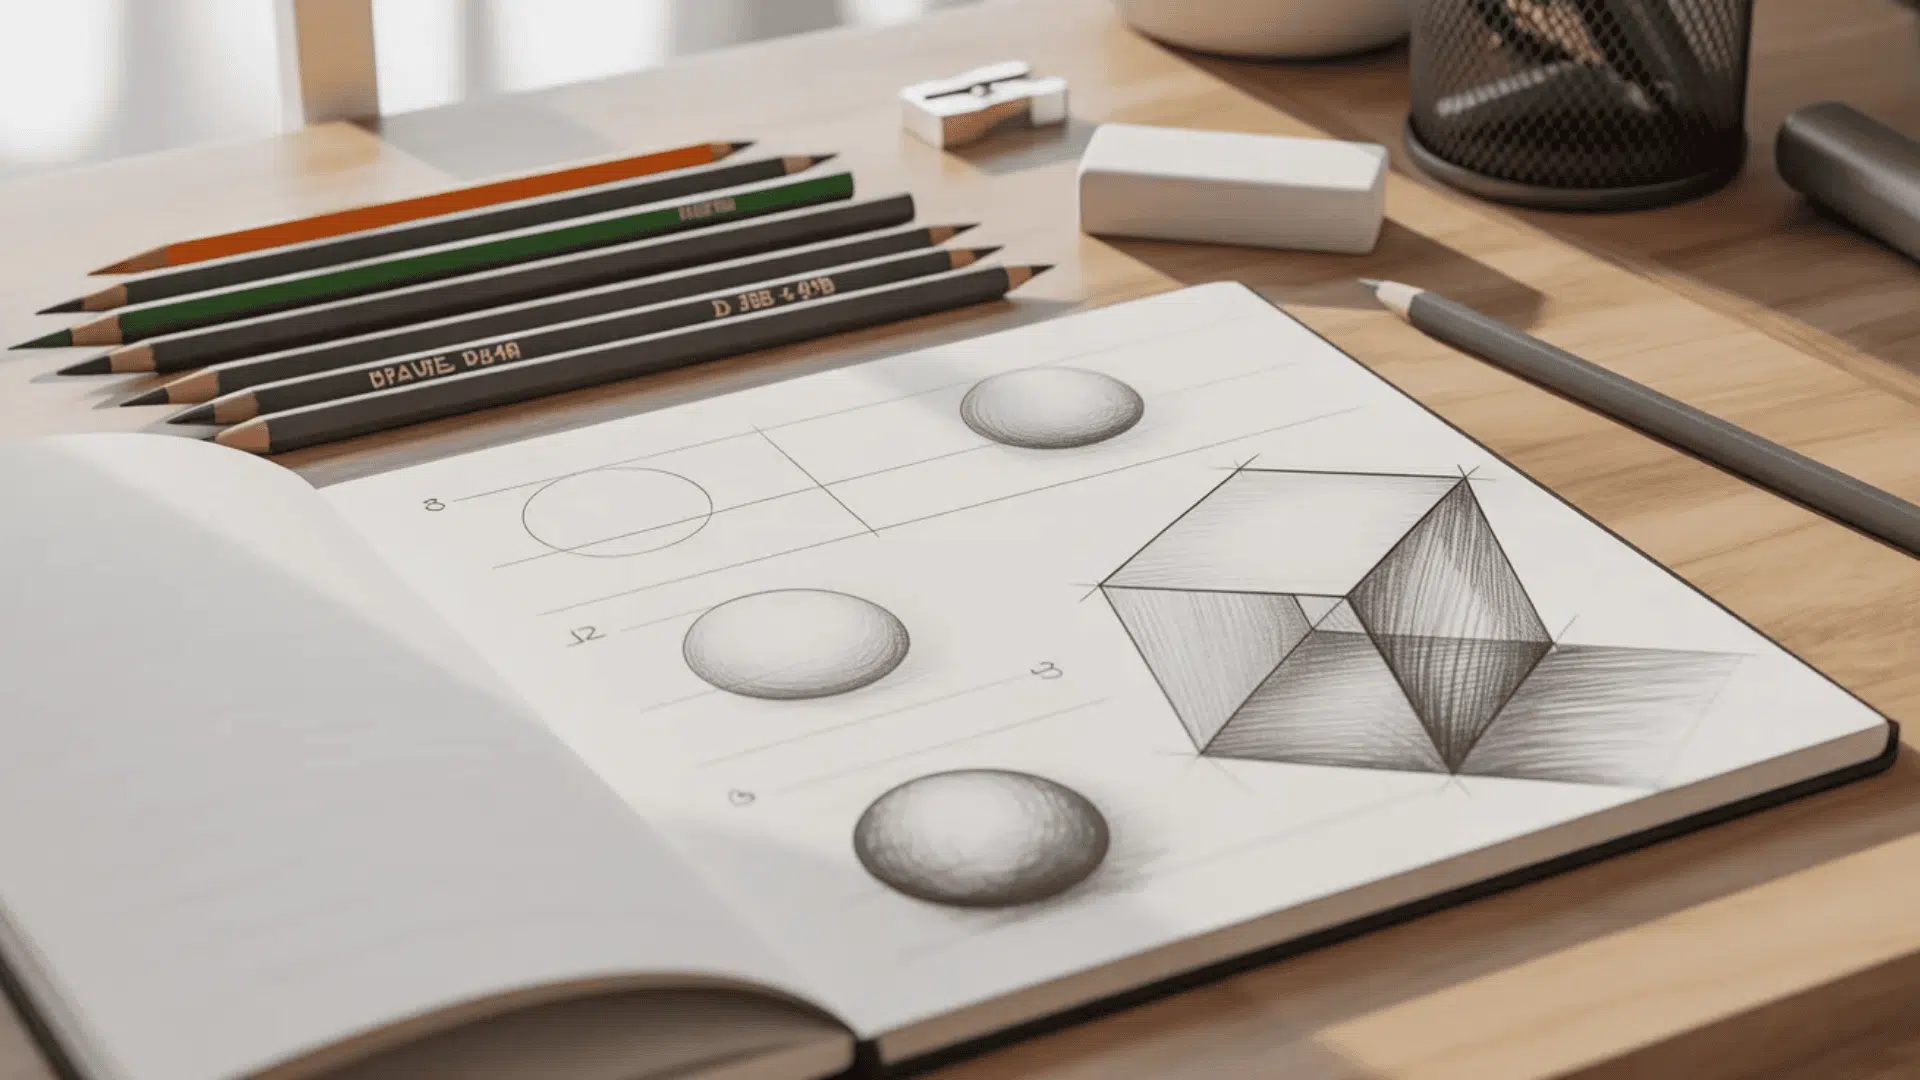
Practice exercises
- Shade a sphere showing light, shadow, and reflected light
- Draw a cube with three different values on three visible sides
- Shade simple cylinders and cones
Do this for two weeks. Your hand will learn pressure control naturally.
You’re ready to move forward when: You can create smooth gradients from light to dark without harsh lines.
Shading adds dimension. Now let’s create depth using perspective.
Week 9-10: Creating Depth with Basic Perspective

Perspective makes flat drawings look three-dimensional. It’s how you show distance and depth on paper.
The horizon line:
This is your eye level. Everything in your drawing relates to this line. Stand up, and the horizon line is higher. Sit down, and it drops lower. Draw a light horizontal line across your paper. This is your starting point.
The vanishing point:
Pick a point on your horizon line. All parallel lines moving away from you will aim toward this point. This is a one-point perspective.
Drawing a box in perspective:
Draw your horizon line. Mark a vanishing point. Draw a square for the front face of your box. From each corner, draw light lines going back to the vanishing point. Connect these lines to form the back of your box. Erase the guidelines.
Practice exercises:
- Draw roads going into the distance
- Draw hallways with doors and windows
- Draw simple buildings and furniture
- Stack boxes at different angles
Objects above your horizon line show their bottoms. The objects below show their tops. Objects on the horizon line show neither.
You’re ready to move forward when: Your boxes look solid, and your scenes have believable depth.
You now have the five core skills. Let’s build a practice routine that makes them stick.
Building a Daily Practice Routine (15-30 Minutes That Work)
Consistency beats long sessions. Fifteen minutes daily wins over three hours once a week.
Your daily structure:
| Time | Activity |
|---|---|
| 5 minutes | Warm-up (lines, circles, curves) |
| 10-15 minutes | Focused skill practice |
| 5-10 minutes | Free drawing |
Rotate through skills each day. Monday, work on lines. Tuesday practice shapes. Wednesday, focus on proportions. Thursday shade objects. Friday, try perspective. Weekends are for drawing whatever you want.
Date every drawing and keep everything. Review monthly to see progress you miss day-to-day.
Skip one day per week if needed, but never two in a row. Missing a day doesn’t mean quitting. Just continue tomorrow.
Draw the same object repeatedly. A coffee mug drawn fifty times teaches more than fifty different objects drawn once. Keep a small sketchbook for spare moments during breaks or commutes.
Even great practice includes mistakes. Let’s fix the common ones before they become habits.
The 7 Most Common Beginner Mistakes (And Quick Fixes)
Every beginner makes these mistakes. Spotting them early saves months of frustration.
Most common problems and solutions:
- Pressing too hard: Use lighter strokes. Build darkness gradually instead of starting heavy.
- Starting with details: Block in basic shapes first. Eyes and textures come last, not first.
- Drawing without references: Use photos or real objects. Your memory simplifies and lies about what things actually look like.
- Perfectionism on every drawing: Accept messy sketches. Your sketchbook is for learning, not Instagram.
- Inconsistent practice: Draw 15 minutes daily instead of 3 hours once a week. Your hand forgets during long gaps.
- Avoiding difficult subjects: Draw hands, feet, and faces badly fifty times. They only get easier through repetition.
- Compared to advanced artists: Compare your week-ten work to your week-one work. Not to someone with ten years of practice.
Fix one mistake at a time. Pick your biggest problem and focus there for one week.
You’ve built the foundations. Here’s what comes next.
Where to Go After Mastering the Basics?
You’re ready to move forward when you can draw simple objects with correct proportions, smooth shading, and basic perspective. This usually happens after three to six months of daily practice.
Now you choose a focus. Drawing splits into different paths. Pick what interests you most.
Common specializations:
- Portraits: Human faces and expressions
- Figure drawing: Full human body and anatomy
- Animals: Wildlife and pets
- Landscapes: Nature scenes and environments
- Still life: Objects and compositions
- Character design: Stylized people and creatures
Try each area for one week. See what excites you. You don’t need to pick just one forever.
Free resources worth your time:
- Proko (YouTube): Figure drawing and anatomy
- Drawabox: Structured exercises and community feedback
- Ctrl+Paint: Digital painting fundamentals
- New Masters Academy: Free sample lessons
Join online art communities. Share your work. Get feedback. See what others are creating. Reddit has active beginner groups. Discord servers offer daily challenges.
Keep practicing the basics even while learning advanced techniques. Fundamentals need constant maintenance.
Conclusion
Drawing is a skill, not a gift. You can learn it.
You have the complete path now. Start with basic supplies. Practice lines and shapes. Learn proportions and shading. Add perspective. Build a daily routine. Fix common mistakes as they appear.
Your first drawings will look rough. That’s normal. Month three brings visible improvement. Six months builds solid skills. One year creates work that impresses people.
But none of this matters if you don’t start.
Stop reading. Grab a pencil and paper. Draw twenty lines right now. Then draw twenty circles. You just began learning to draw.
The difference between artists and people who wish they could draw is simple. Artists started and kept going.
Start today. Your first mark won’t be perfect. Make it anyway.