Air-dry clay opens up a world of creative possibilities. You don’t need a kiln or oven. Just shape, dry, and decorate.
This material works for beginners and experienced crafters alike. It’s affordable and easy to find at most craft stores. You can make jewelry, home decor, gifts, and so much more.
The best part? Air-dry clay projects require minimal supplies. All you need is the clay, some basic tools, and your imagination. It dries naturally at room temperature within 24 to 48 hours.
In this guide, you’ll find 21 inspiring clay project ideas. Each one is simple to create and looks professional when finished. From tiny plant pots to statement earrings, these projects will spark your creativity.
You can personalize each item with paint, stamps, or textures.
Let’s explore what you can make with this versatile crafting material.
Creative Clay Project Ideas for Every Skill Level
Air-dry clay is one of the most forgiving materials for crafters. You can create functional items for your home or handmade gifts for loved ones. Each clay project on this list requires basic supplies and simple techniques.
These ideas range from quick 15-minute crafts to more detailed afternoon projects. Some work well for kids, while others suit adults looking for a relaxing, creative time. You’ll find projects for jewelry, home decor, gardening, and more.
The best part? Most of these projects cost less than five dollars to make. You can personalize each one with your favorite colors, textures, and finishes. Let’s look at what you can create with air-dry clay.
1. Simple Miniature Pots
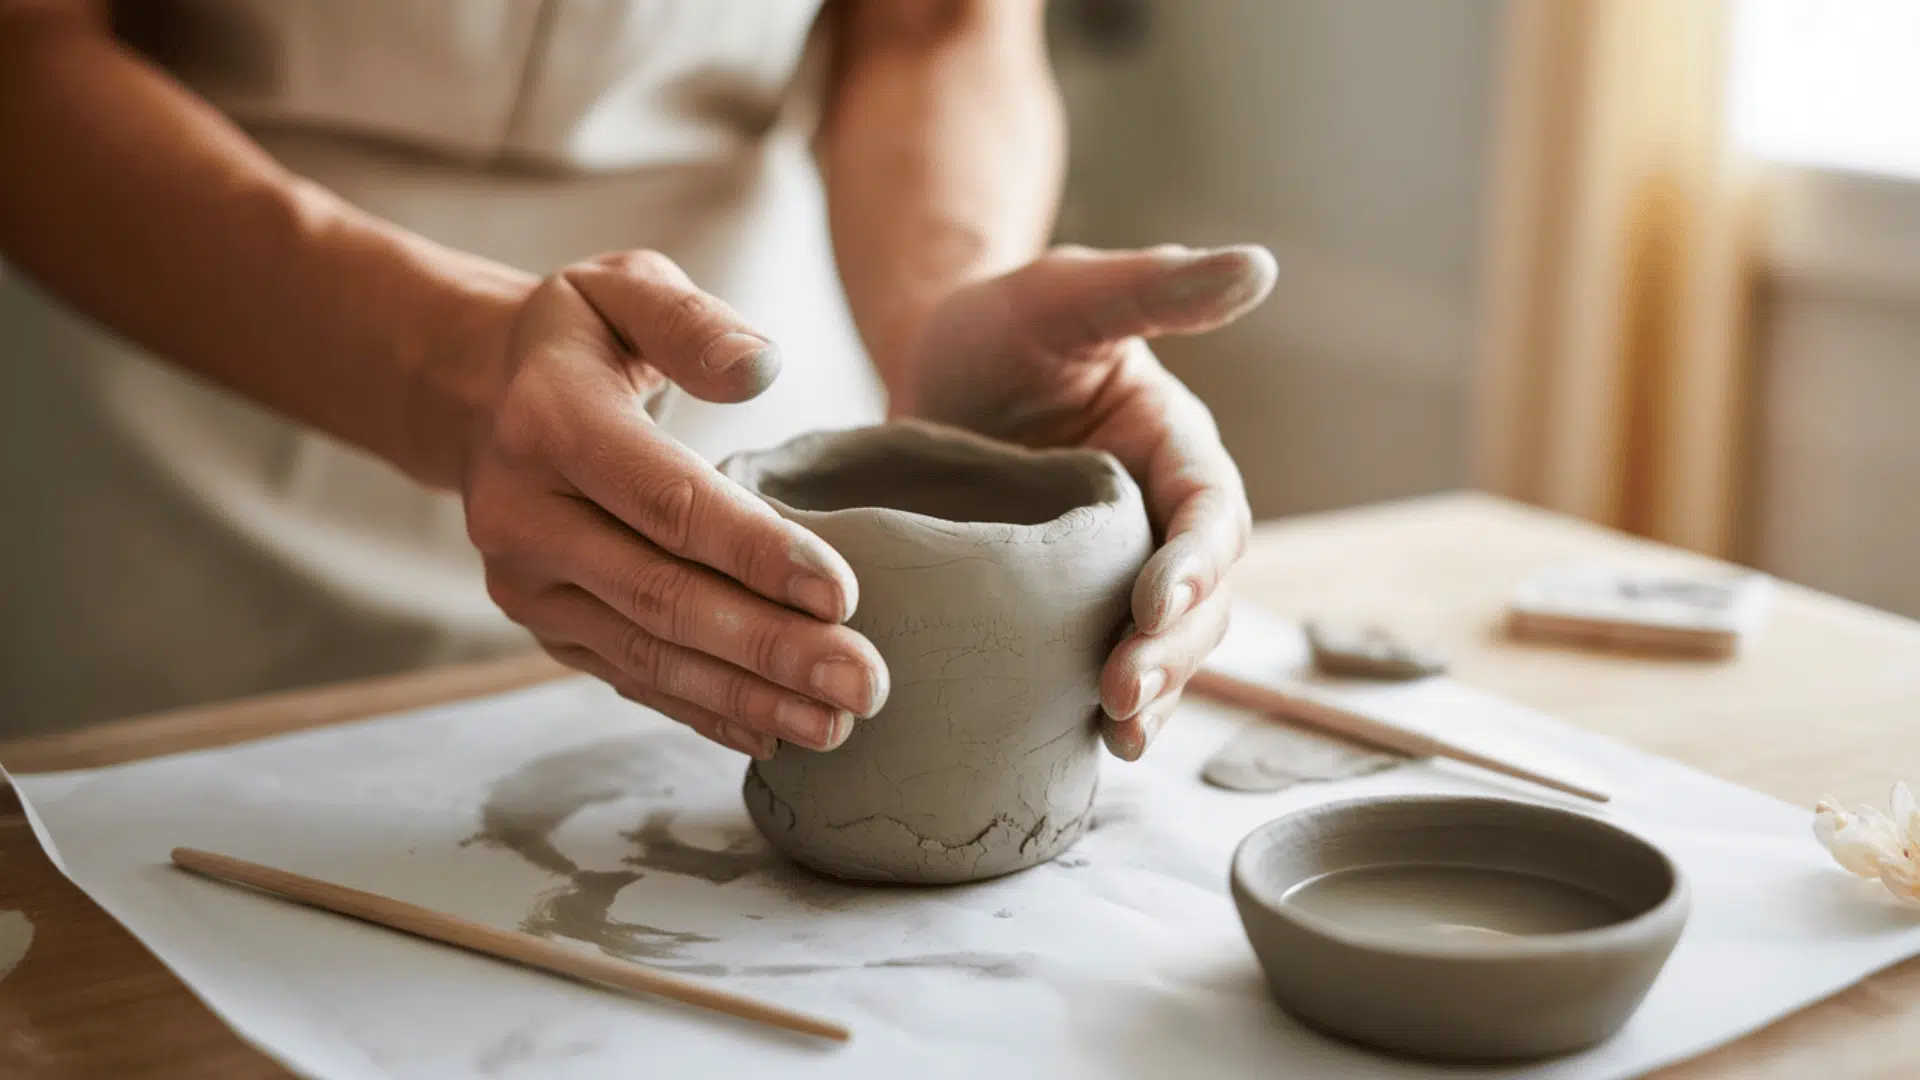
Start with a small ball of clay. Roll it smooth in your hands. Press your thumb into the center to create a hollow space.
Pinch and shape the walls until they’re even. Keep the walls about one-quarter inch thick. This prevents cracking as the clay dries.
Smooth the edges with wet fingers. Let the pot dry for 24 to 48 hours. Sand any rough spots once it’s completely dry.
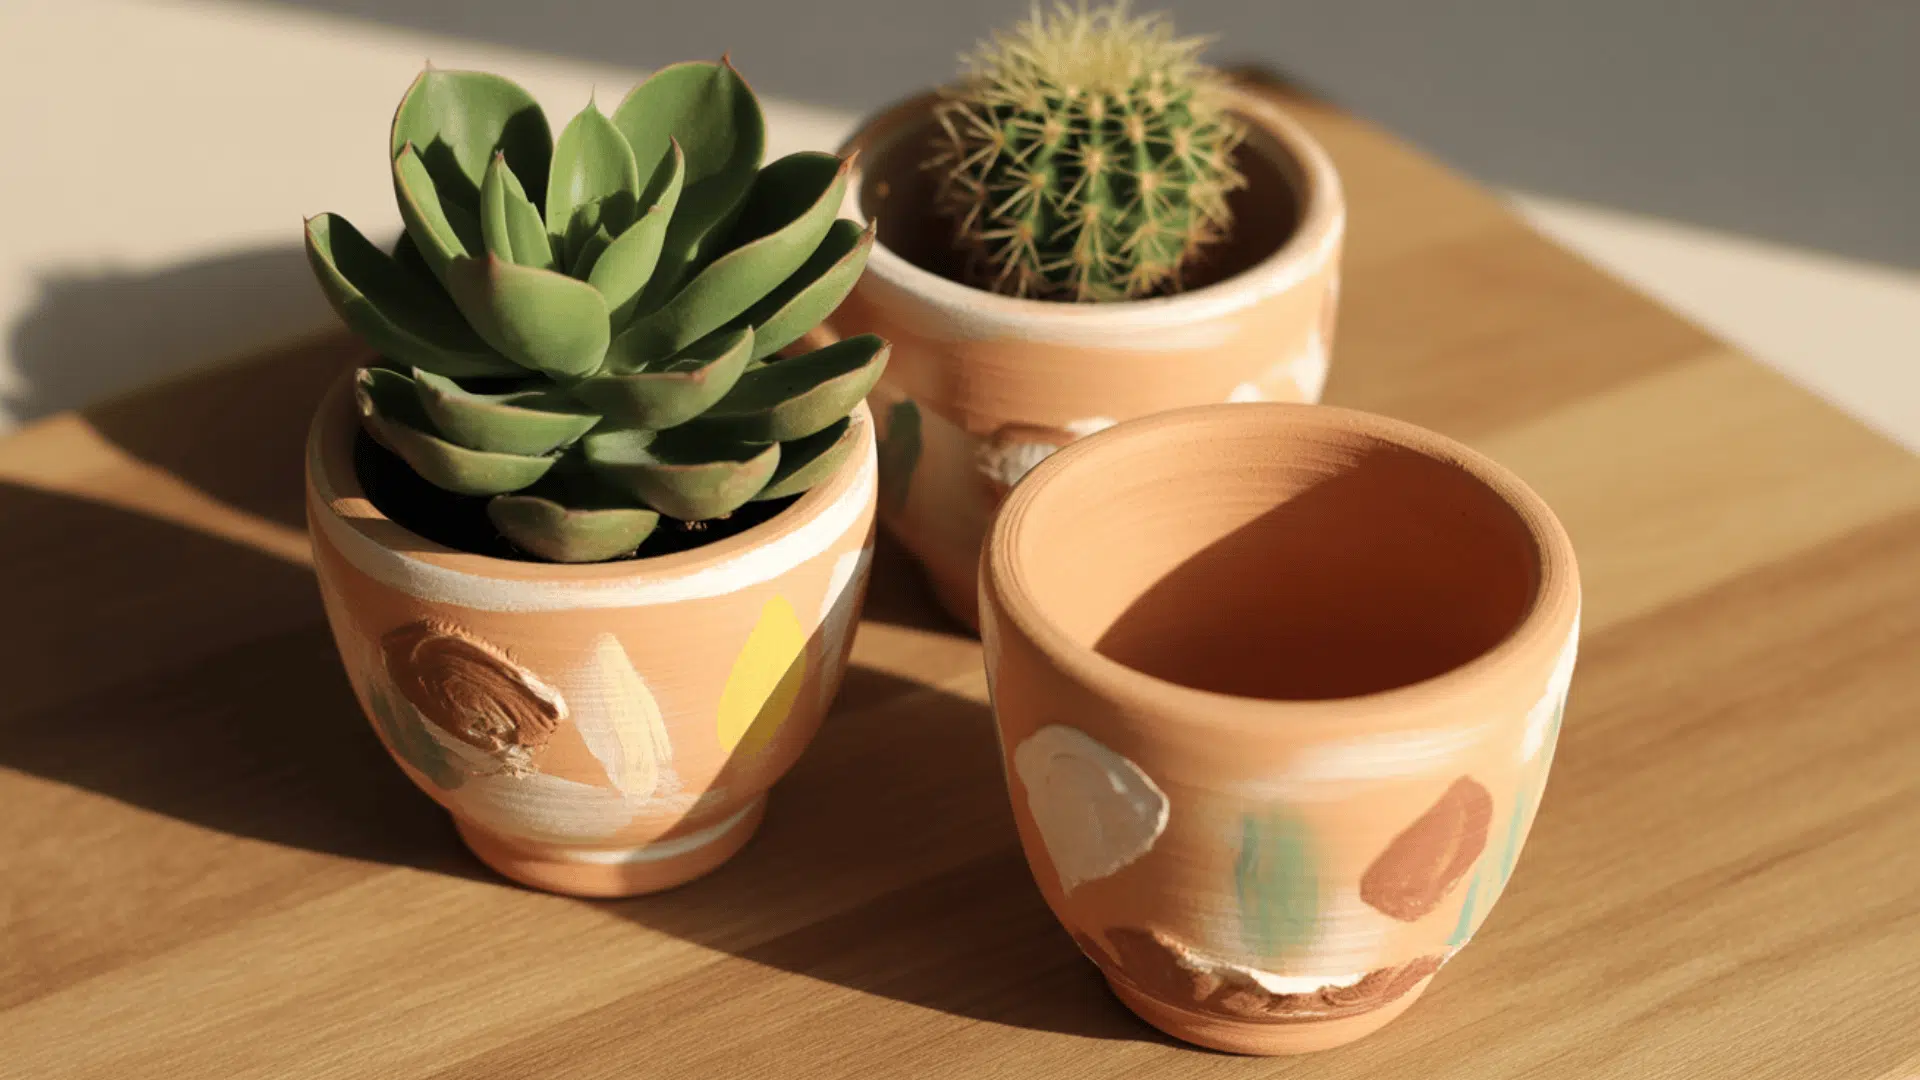
You can leave these pots natural or seal them with a waterproof coating. Add a drainage hole at the bottom if you’re planting directly in them. These tiny pots work great for succulents, cacti, or air plants.
2. Decorative Painted Pots
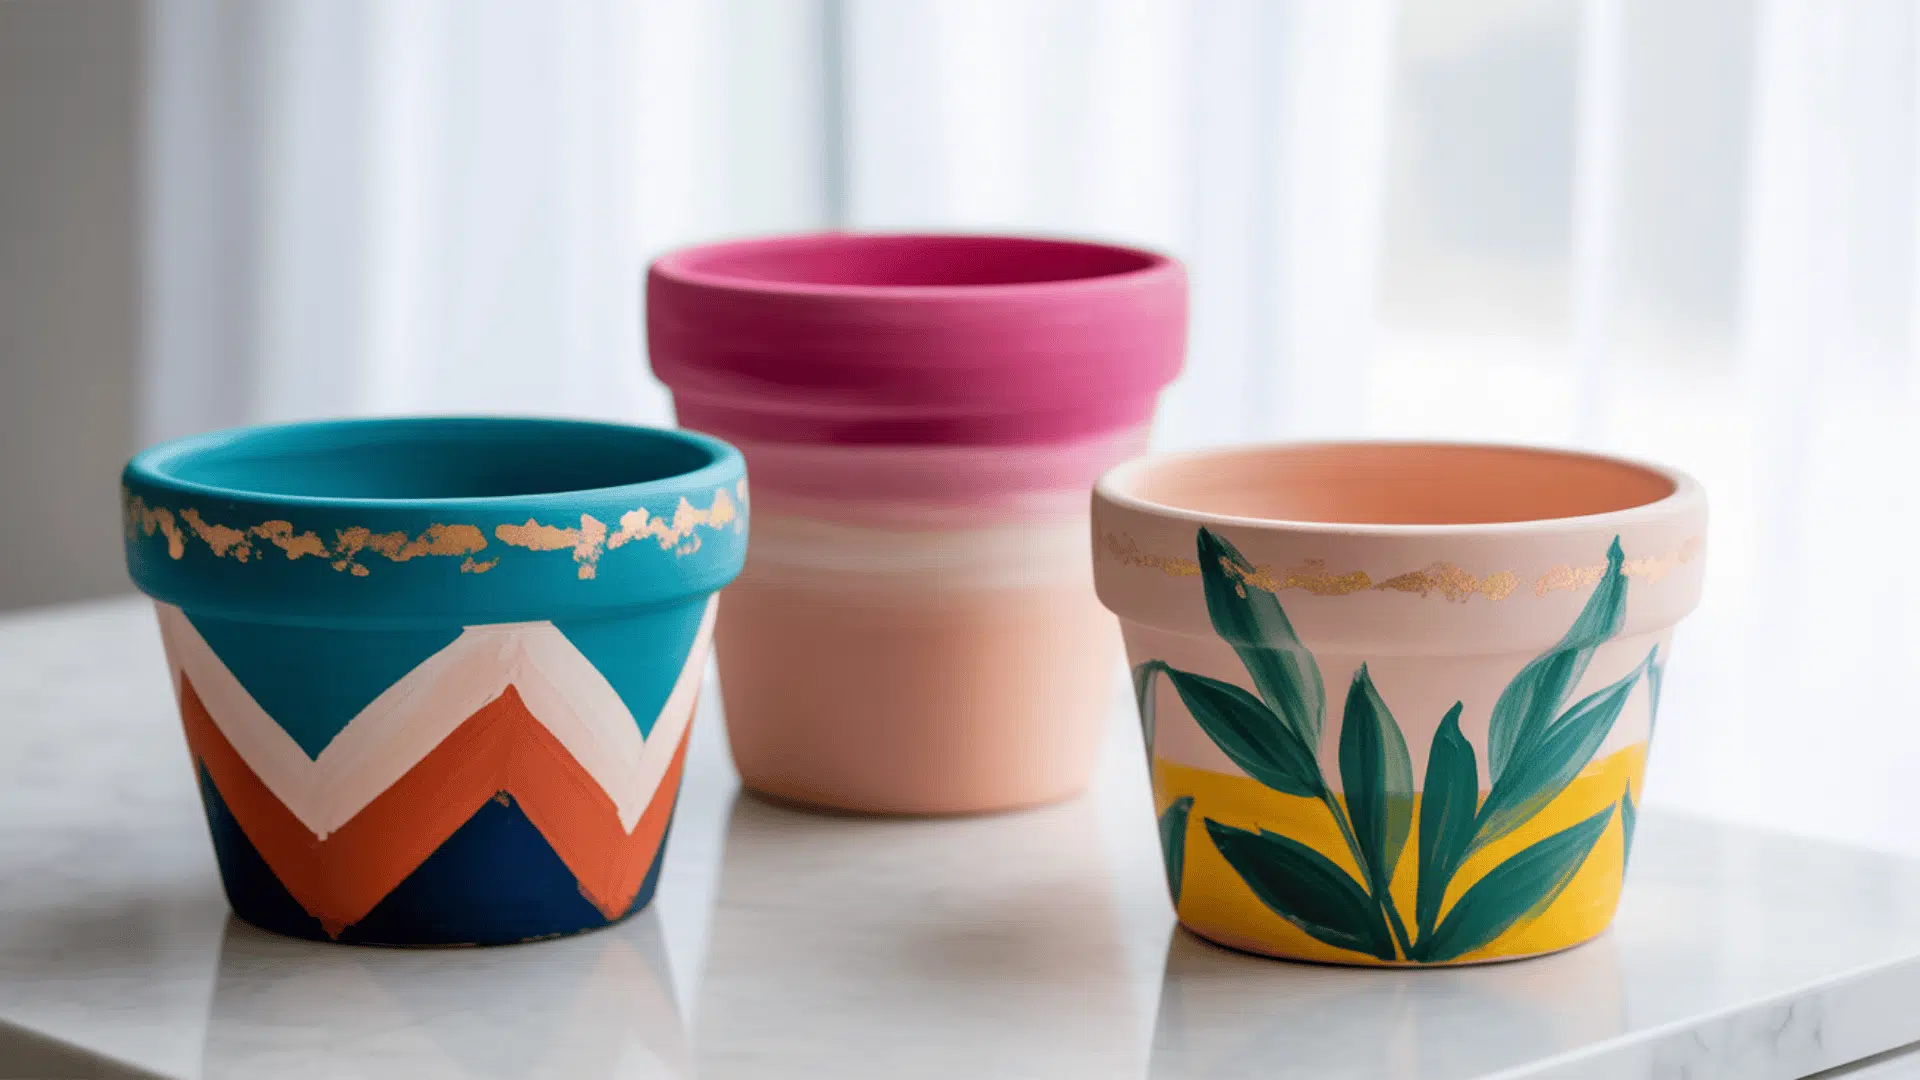
Once your basic pot is dry, it’s ready for paint. Acrylic paint works best on air-dry clay. Choose colors that complement your home decor.
Paint geometric patterns, stripes, or dots for a modern look. Use stencils if you want precise designs. A small brush helps you create detailed patterns.
Try these popular painting techniques:
- Two-tone color blocking: Paint the top half one color and the bottom another
- Ombre effect: Blend two or three shades from dark to light
- Hand-painted details: Add small flowers, leaves, or abstract designs
- Gold accents: Use metallic paint on the rim for an upscale finish
Seal your painted pot with clear acrylic sealer. This protects the paint and makes cleaning easier. Wait 24 hours before adding plants.
3. Statement Earrings
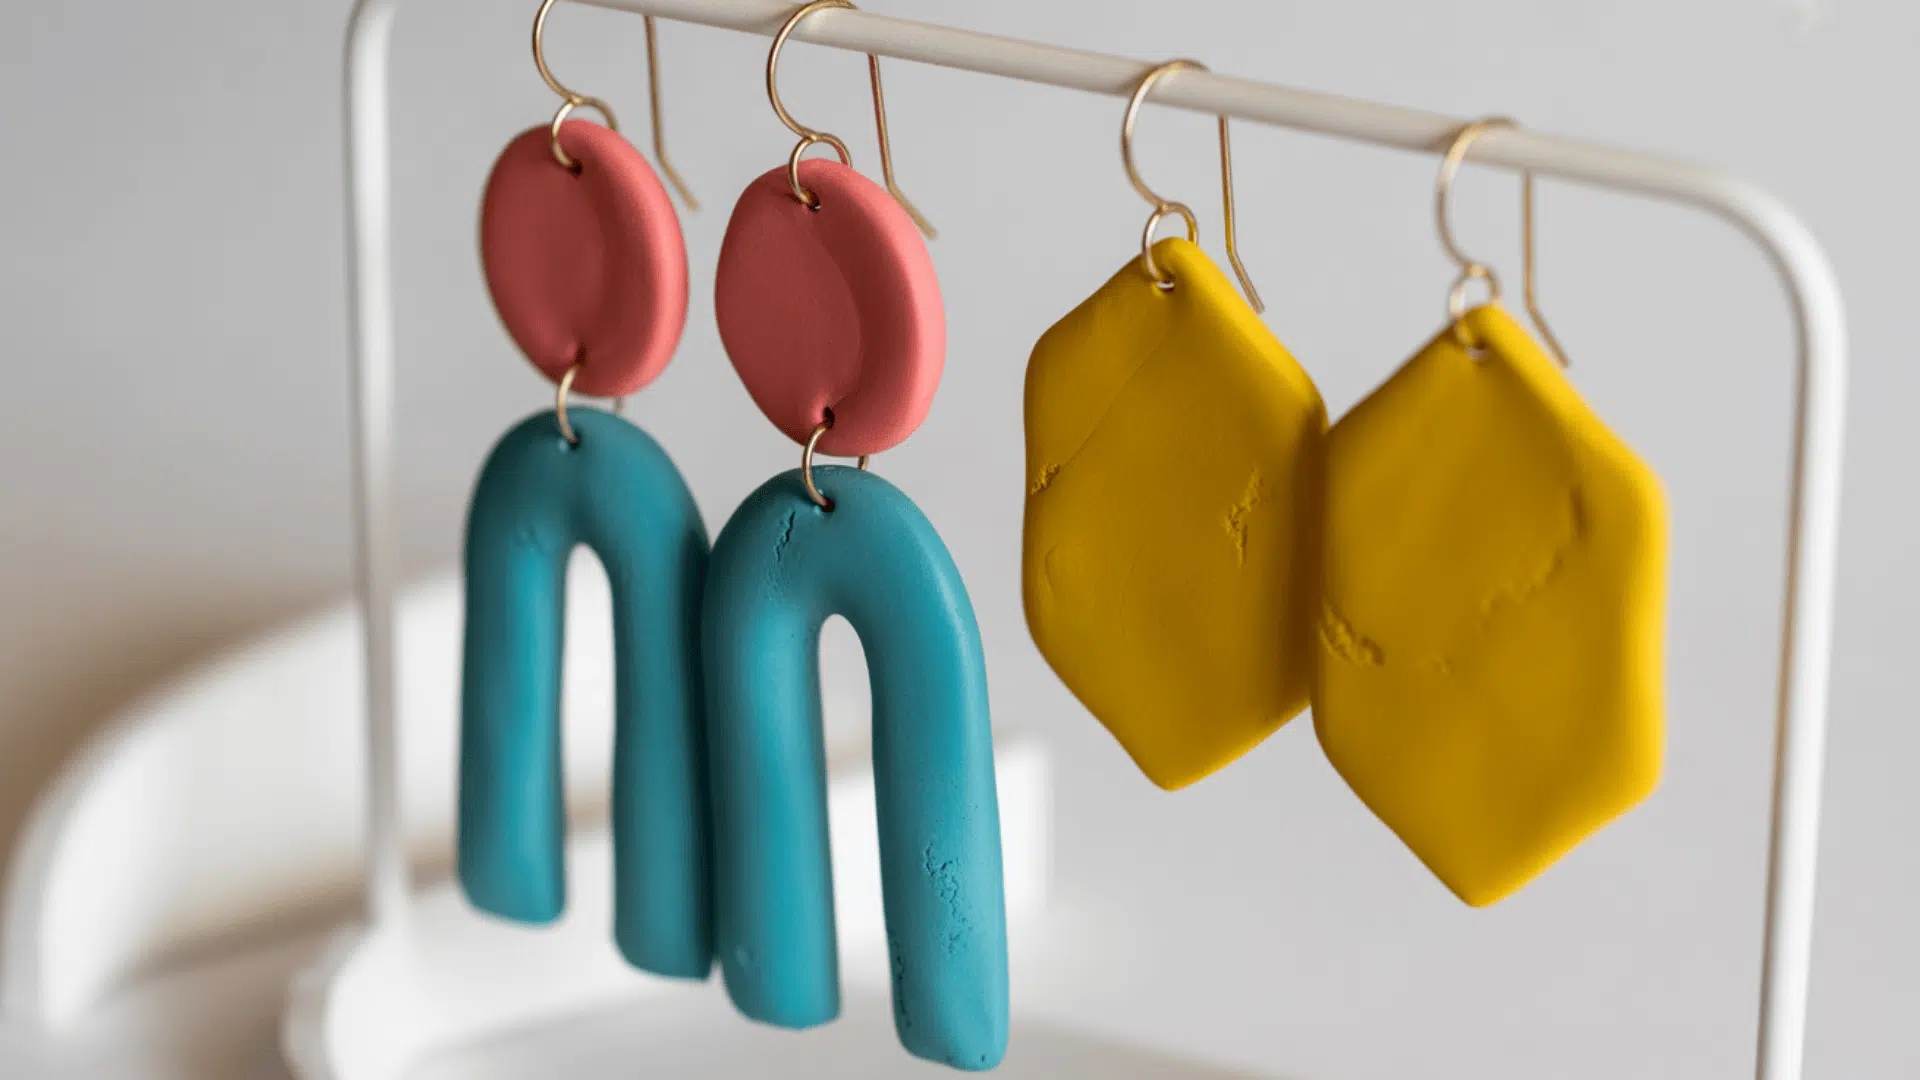
Clay earrings are lightweight and comfortable to wear. They let you create bold designs without the weight of metal or stone.
Roll your clay flat to about one-eighth-inch thickness. Cut shapes using cookie cutters or a craft knife. Popular shapes include circles, arches, teardrops, and hexagons.
Make a small hole at the top of each piece before the clay dries. Use a toothpick or straw to create the hole. This is where you’ll attach the earring hooks later.
Let the pieces dry completely. Sand the edges smooth. Paint or leave them natural. Attach jump rings and earring hooks through the holes you made.
Mix and match colors for a fun look. Try marbling different clay colors together. You can also add texture by pressing lace or fabric into the clay before it dries.
4. Personalized Clay Necklaces
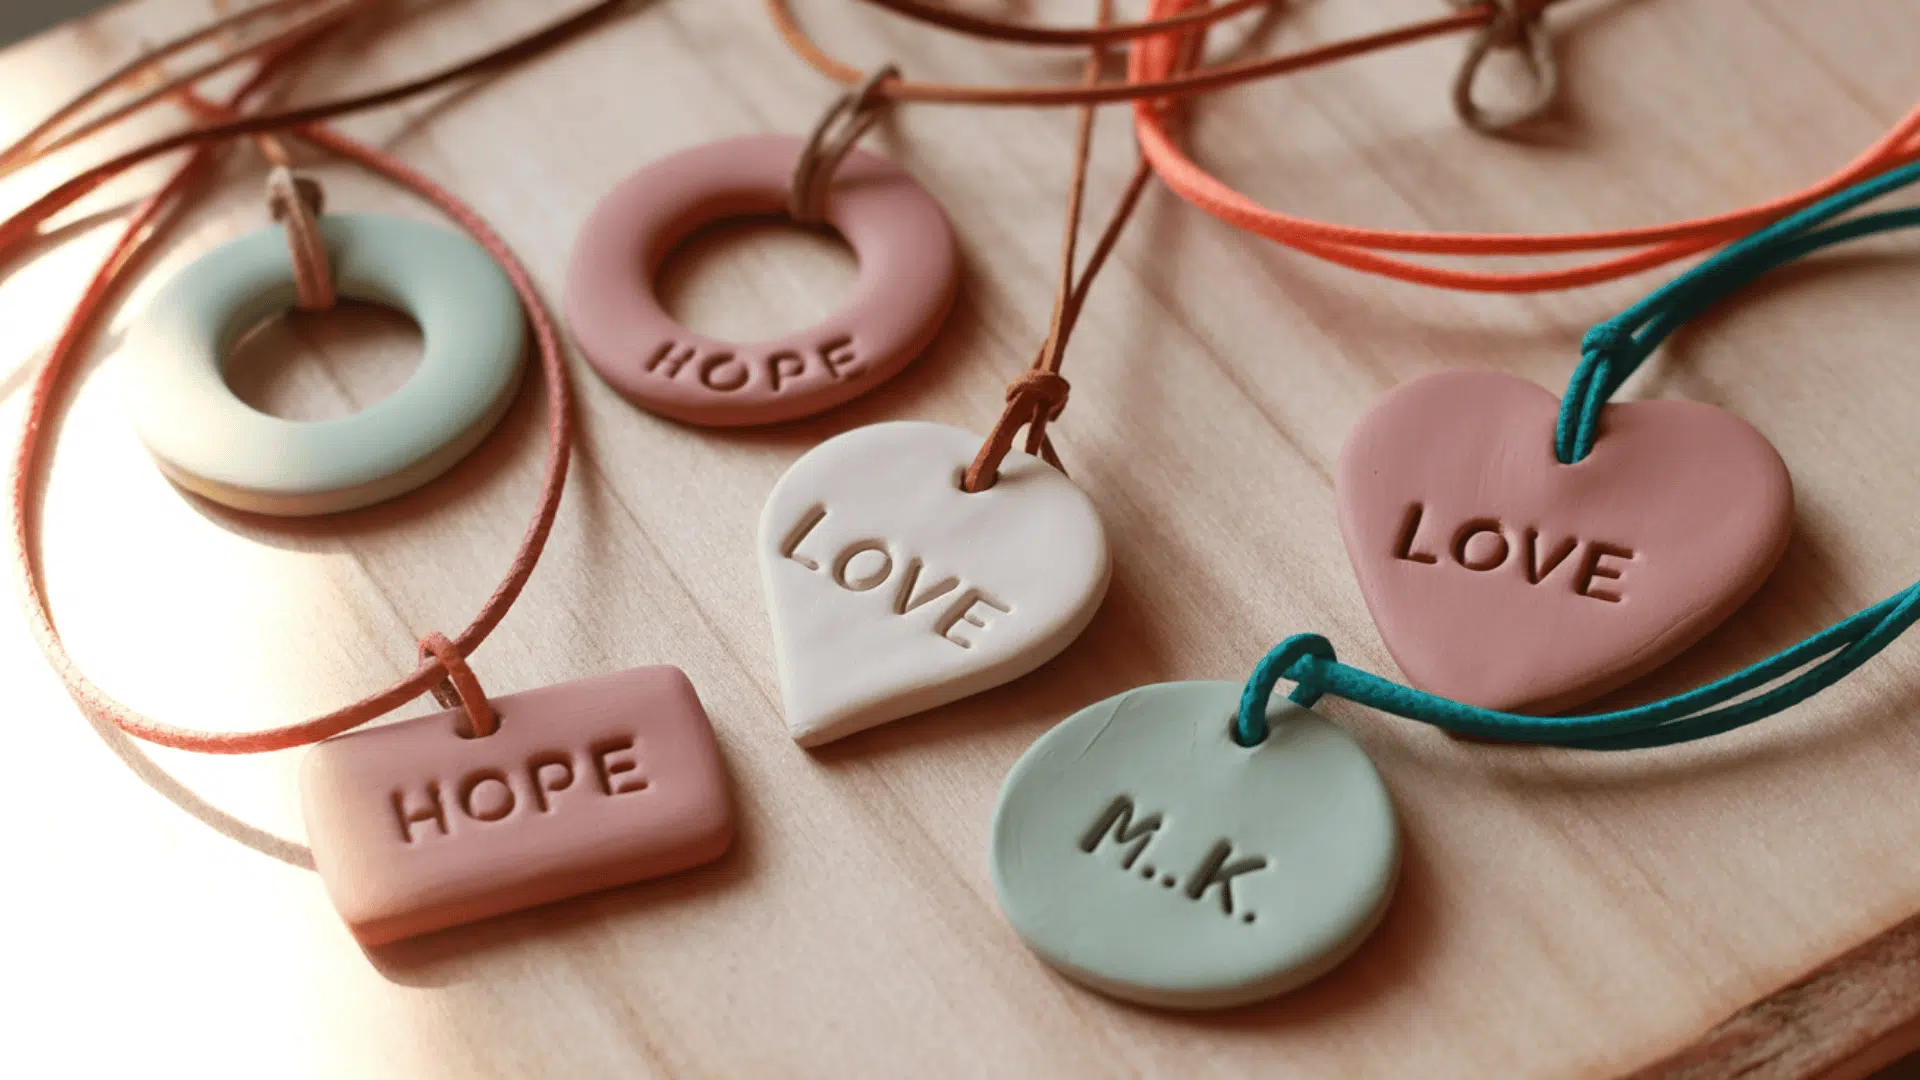
Clay pendants make thoughtful, handmade gifts. You can stamp initials, dates, or meaningful words into the clay.
Roll out your clay to one-quarter inch thickness. Cut a circle, rectangle, or heart shape. Use letter stamps to press words or initials into the surface while the clay is still soft.
Create a hole at the top for stringing. Make sure the hole is big enough for your cord or chain to pass through.
After drying, you can paint the pendant or leave it natural. Paint the stamped letters in a contrasting color to make them stand out. Seal with acrylic sealer for protection.
Thread the pendant onto a leather cord, chain, or colorful string. Adjust the length to suit your style. These make great gifts for friends and family.
5. Geometric Coasters
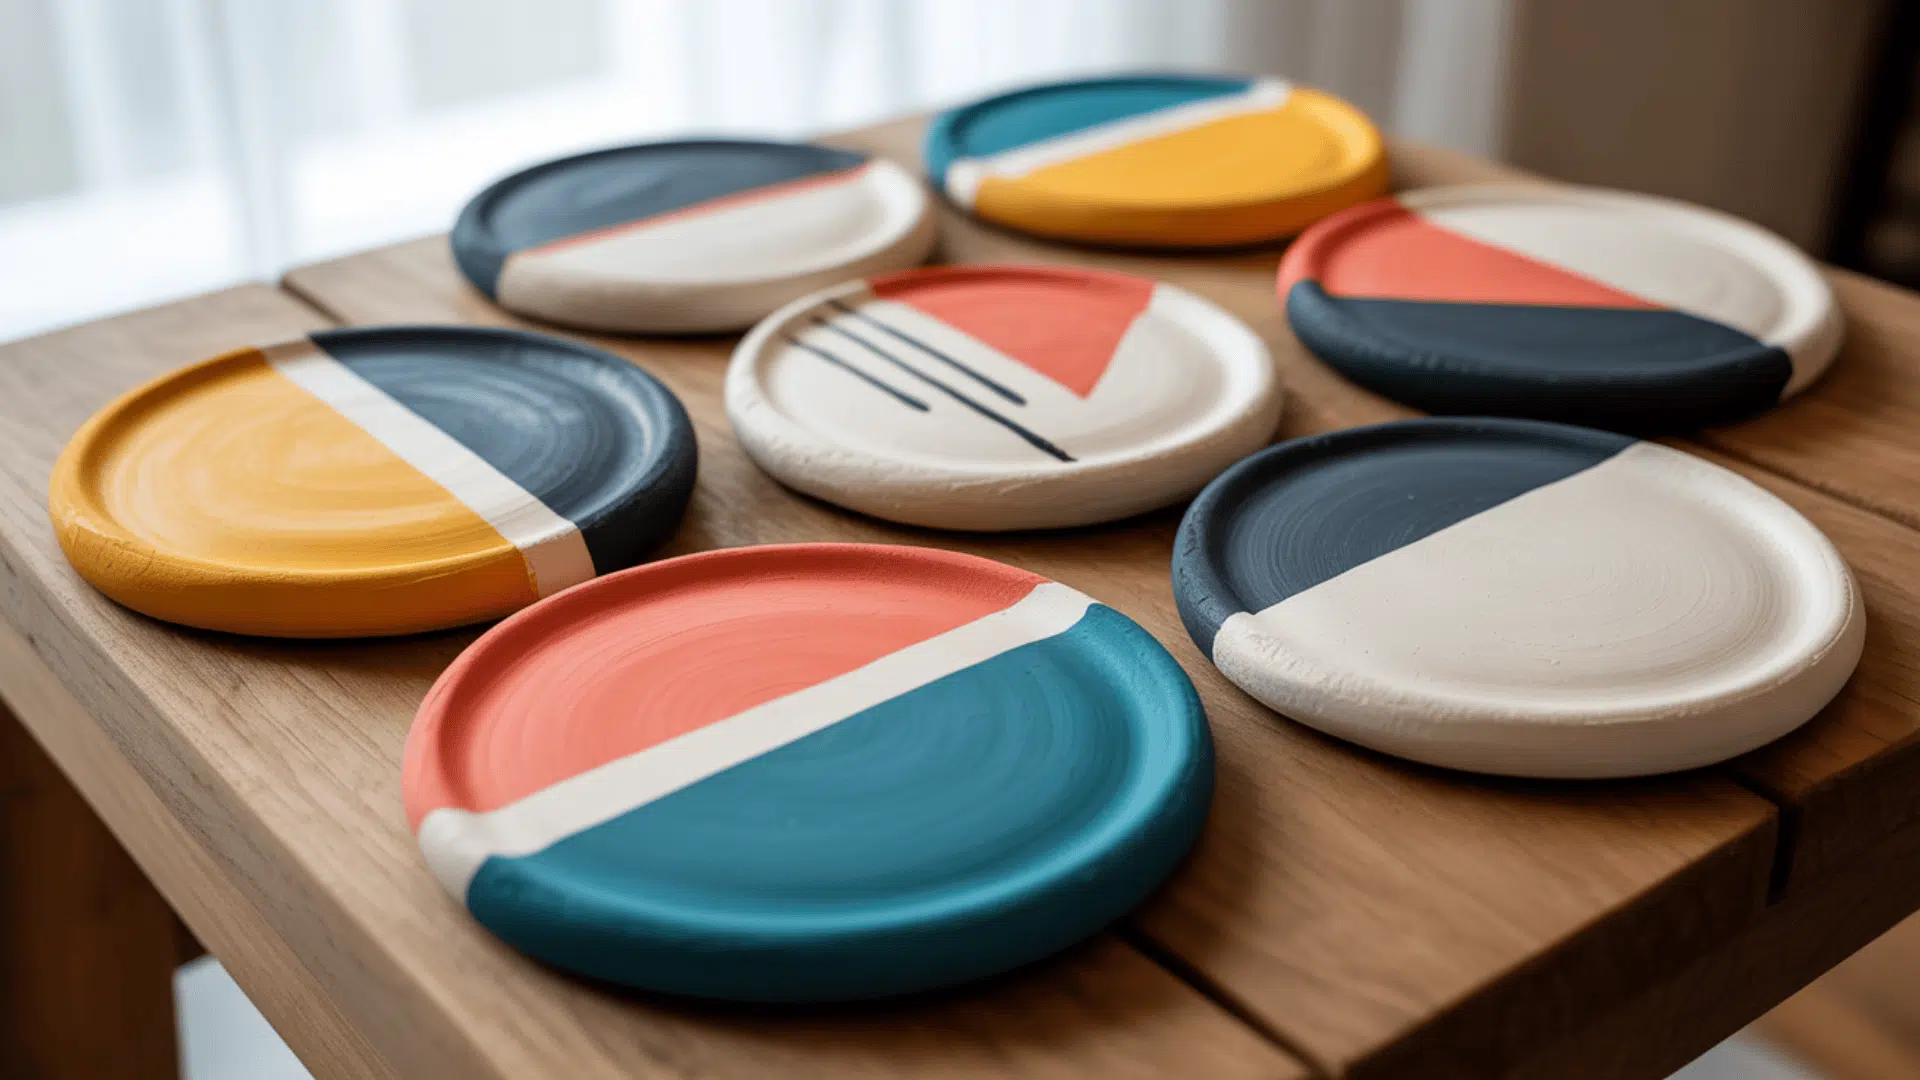
Clay coasters protect your furniture while adding style to your space. They’re practical and easy to make.
Roll out your clay to half an inch thickness. This creates sturdy coasters that won’t crack easily. Cut circles or squares using a cookie cutter or knife.
Smooth all edges with your fingers or a damp sponge. Let them dry flat on a non-stick surface. Flip them halfway through drying to prevent warping.
Once dry, paint geometric patterns on top. Try triangles, lines, or color blocks. You can also leave them unpainted for a natural look.
Seal the coasters with waterproof sealer. This step is important because coasters come in contact with moisture from drinks. Apply two coats for the best protection.
6. Textured Coasters with Imprints
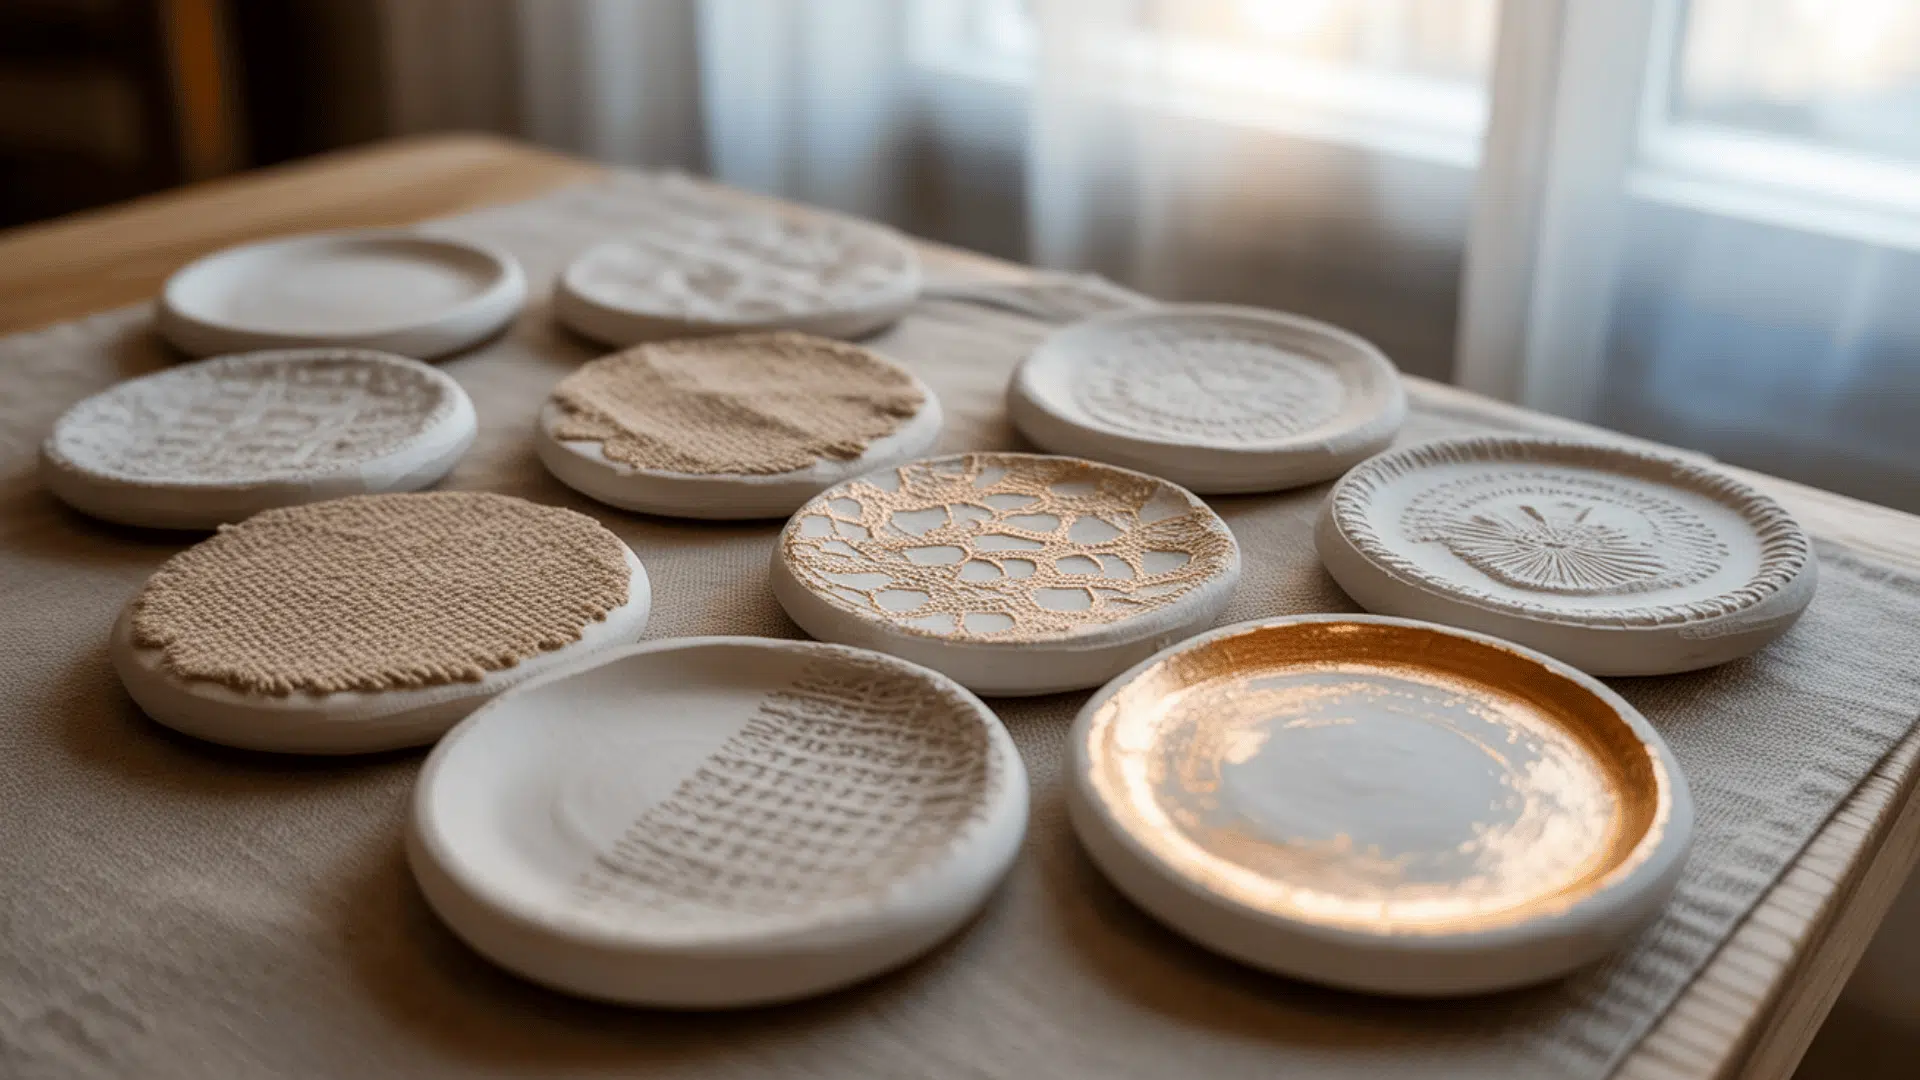
Add texture to your coasters by pressing objects into soft clay. This creates interesting patterns and visual interest.
Roll your clay to half an inch thickness. Press lace, burlap, or textured fabric into the surface. You can also use rubber stamps, leaves, or patterned rolling pins.
Peel away the material carefully to reveal the imprint. Cut your coasters into shape while the texture is still visible. Let them dry completely.
These textured coasters look beautiful left in their natural color. The shadows in the imprints create depth. You can also brush metallic paint over the texture to highlight the pattern.
Seal with a waterproof coating. Stack them on your coffee table or give them as housewarming gifts.
7. Cute Animal Designs
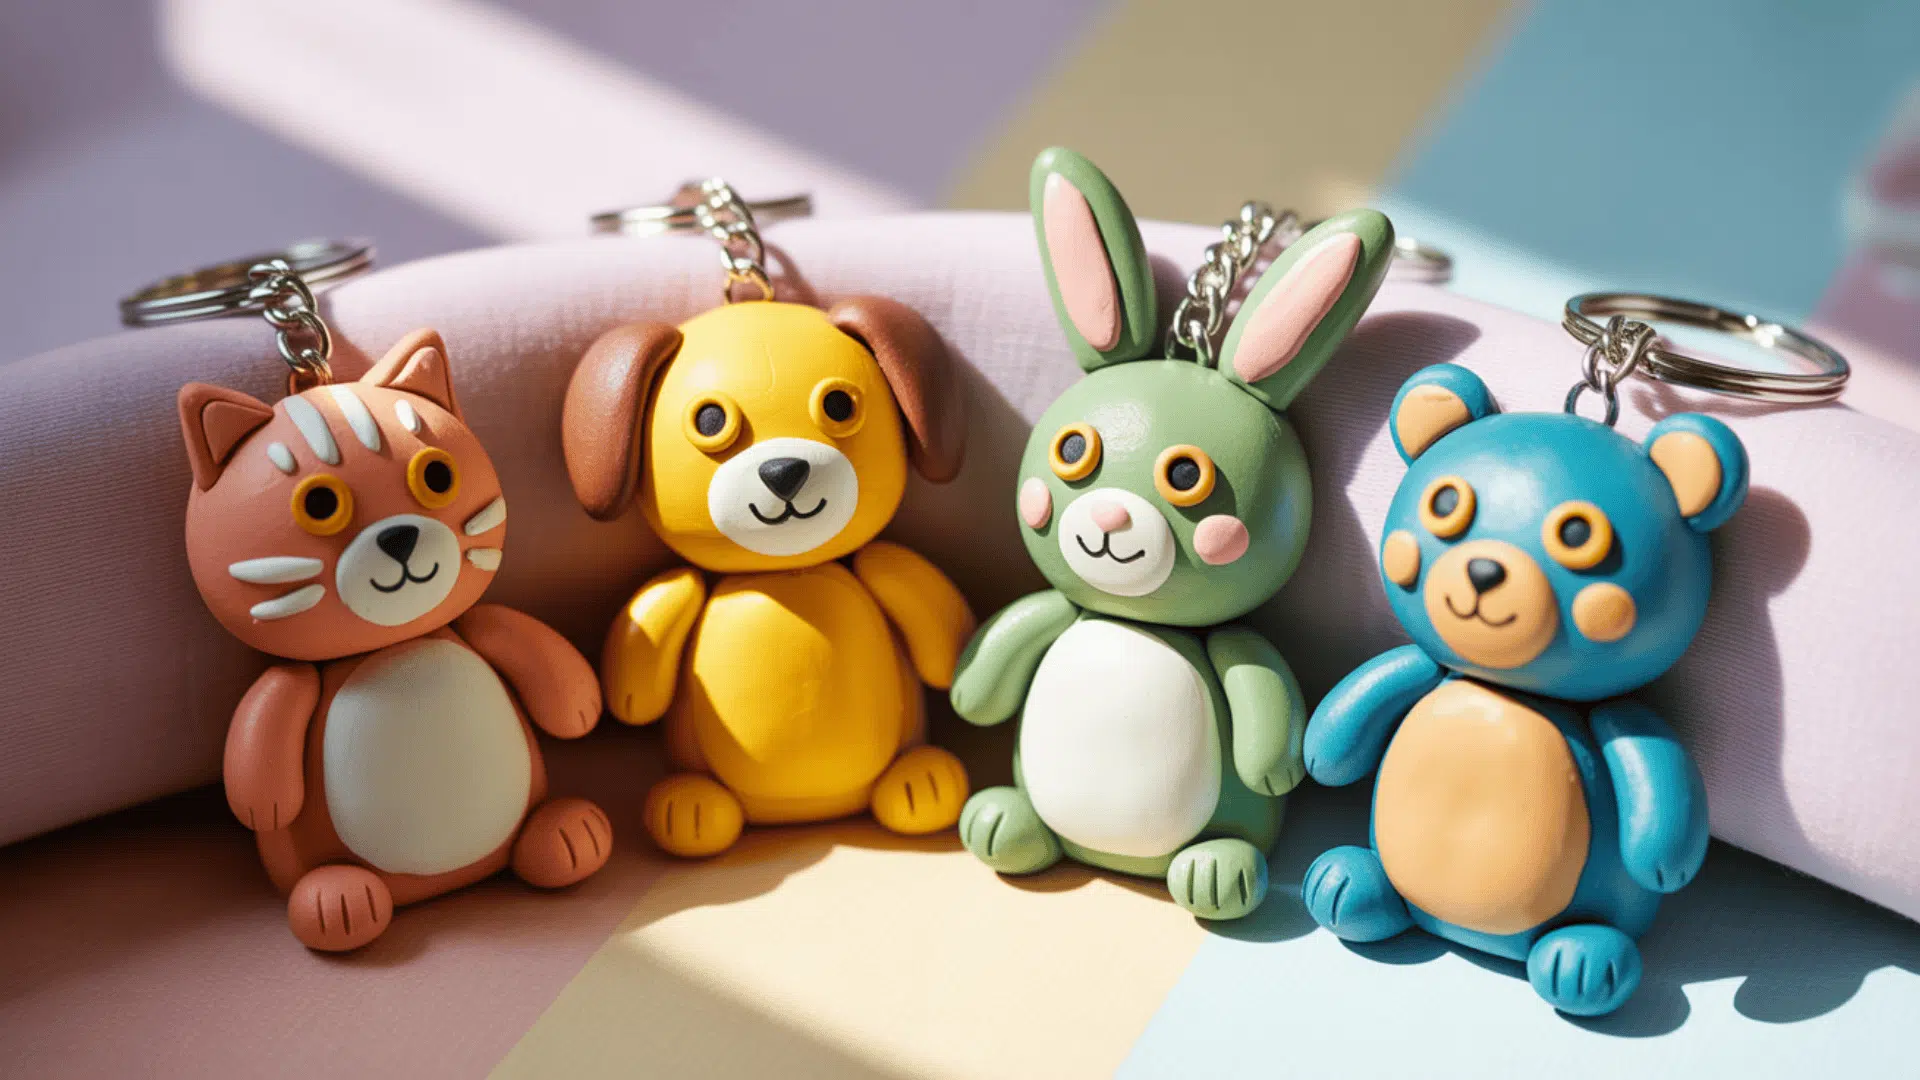
Animal-shaped keychains are fun clay projects for all ages. They’re small enough to finish in one sitting.
Choose simple animal shapes like cats, dogs, bears, or bunnies. Roll small balls and ovals to form the body and head. Attach smaller pieces for ears, tails, and paws.
Use a toothpick to add details like eyes, noses, and mouths. Press gently to avoid creating holes all the way through the clay.
Insert a small eye screw into the top before the clay dries. This is where you’ll attach the keychain ring. Let your animals dry for 24 hours.
Paint them in realistic colors or go wild with bright, fun shades. Add a keychain ring through the eye screw. These make great gifts for kids and animal lovers.
8. Custom Name Tags
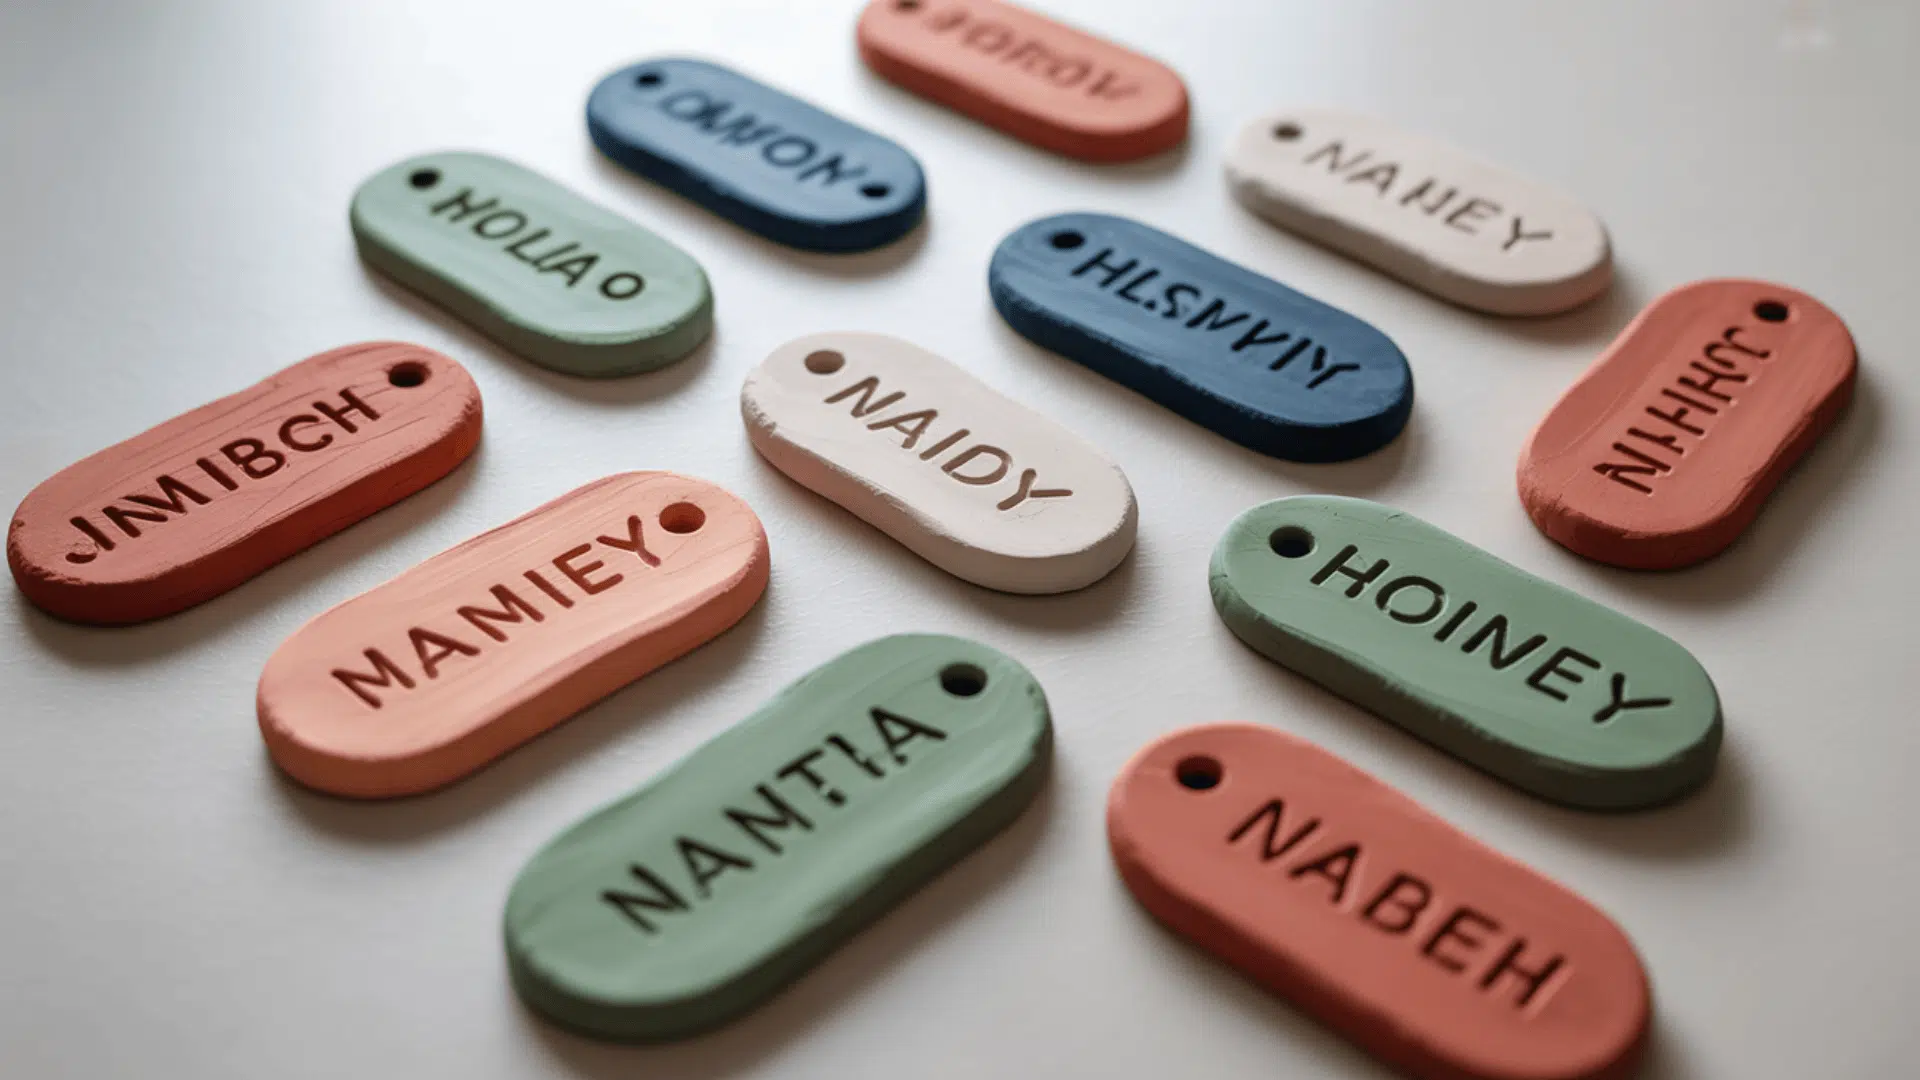
Clay name tags work as keychains, bag tags, or zipper pulls. They help you identify your belongings quickly.
Roll clay into a rectangle or oval shape. Keep it about one-quarter inch thick. Use letter stamps to press names or initials into the clay.
You can also write directly on the clay with a toothpick or stylus. Make sure the letters are deep enough to remain visible after drying.
Create a hole at one end for attaching a ring or cord. Let the tag dry completely. Paint the background one color and the letters another for contrast.
Seal with a clear coating to protect the paint. Attach to backpacks, luggage, keys, or pencil cases. Kids love having their names on their school supplies.
9. Boho Clay Wall Hanging
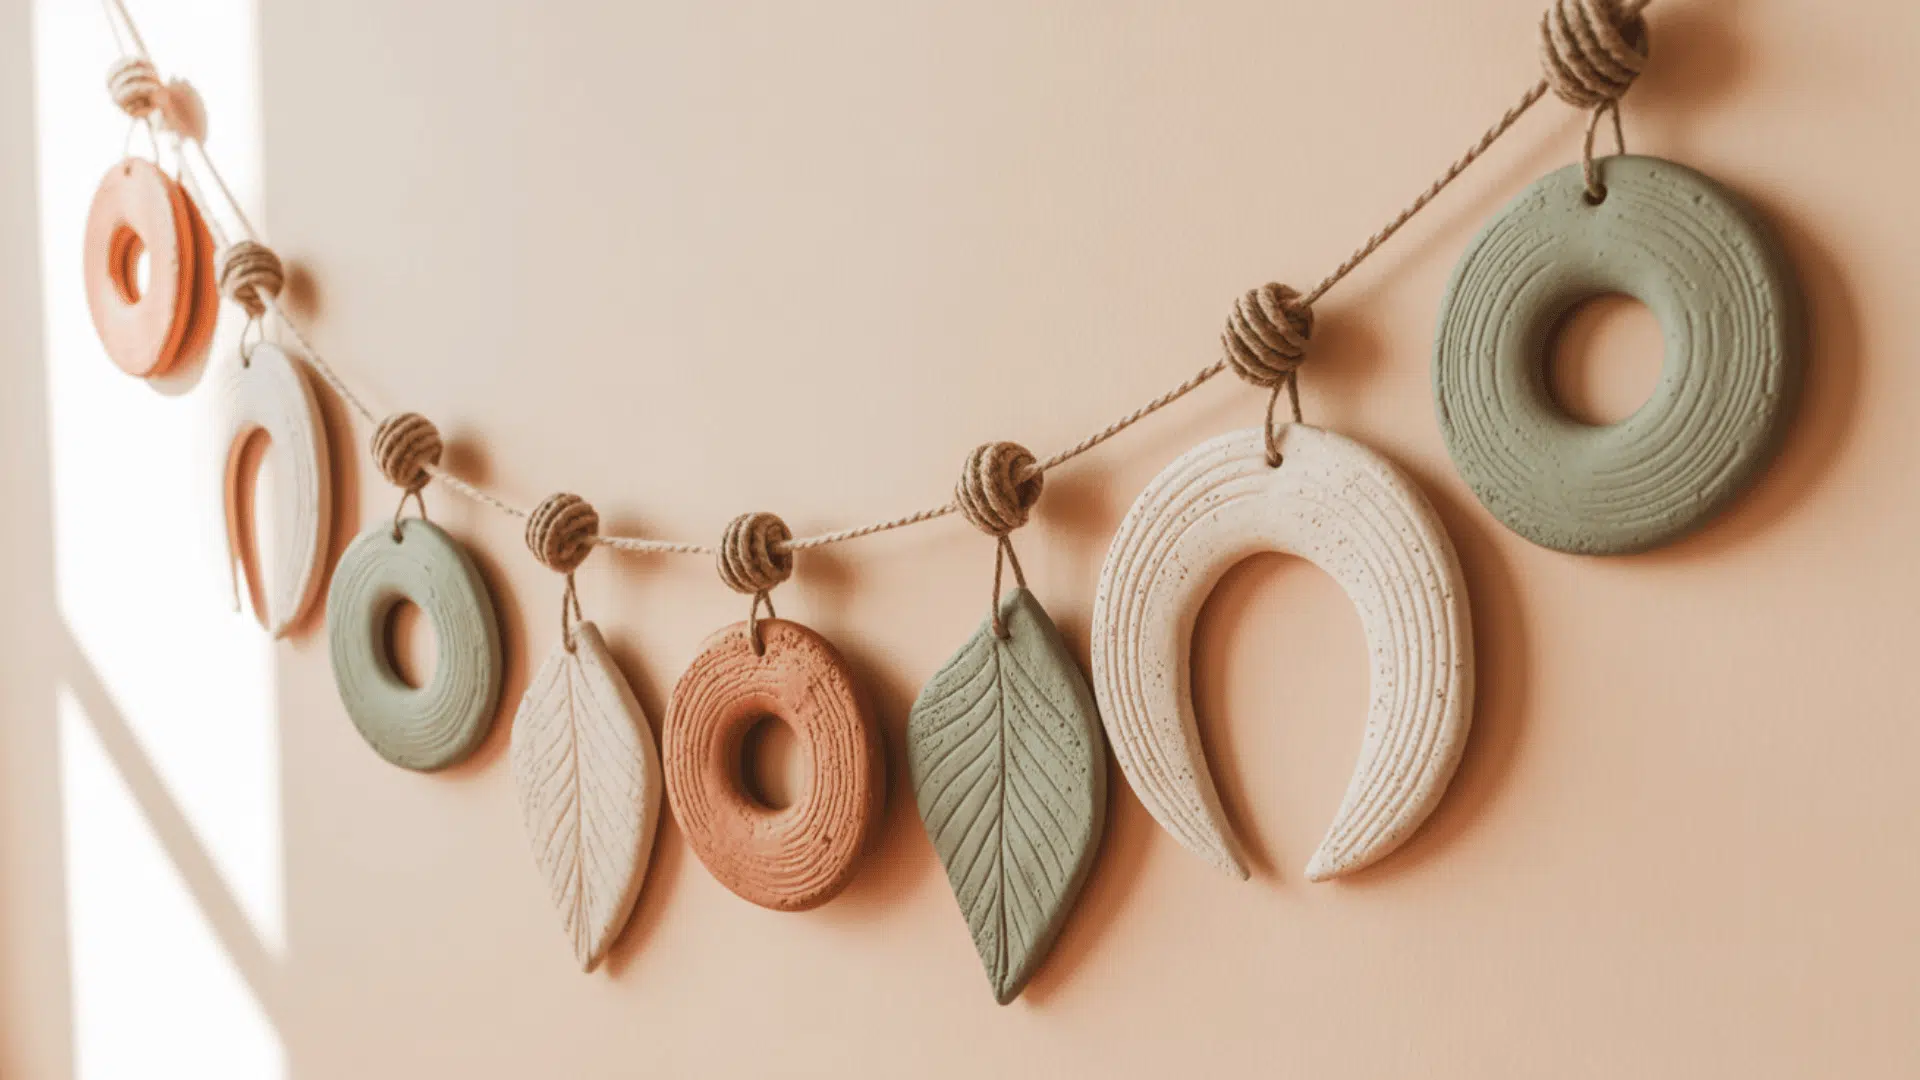
Wall hangings add texture and warmth to empty wall space. Clay pieces create a natural, organic look.
Cut various shapes from rolled clay, like circles, half-moons, teardrops, and leaves. Keep them all about one-quarter inch thick. Create two small holes at the top of each piece for hanging.
Let all pieces dry completely. Arrange them in the order you want them to hang. Thread a thin cord or twine through the holes.
Space the clay pieces evenly along the cord. Tie knots between pieces to keep them in place. You can hang them in rows or create a cascading effect.
Leave the clay natural or paint some pieces in earth tones. Add a wooden dowel at the top for hanging. These look great above a bed or couch.
10. Floral Clay Wall Tiles
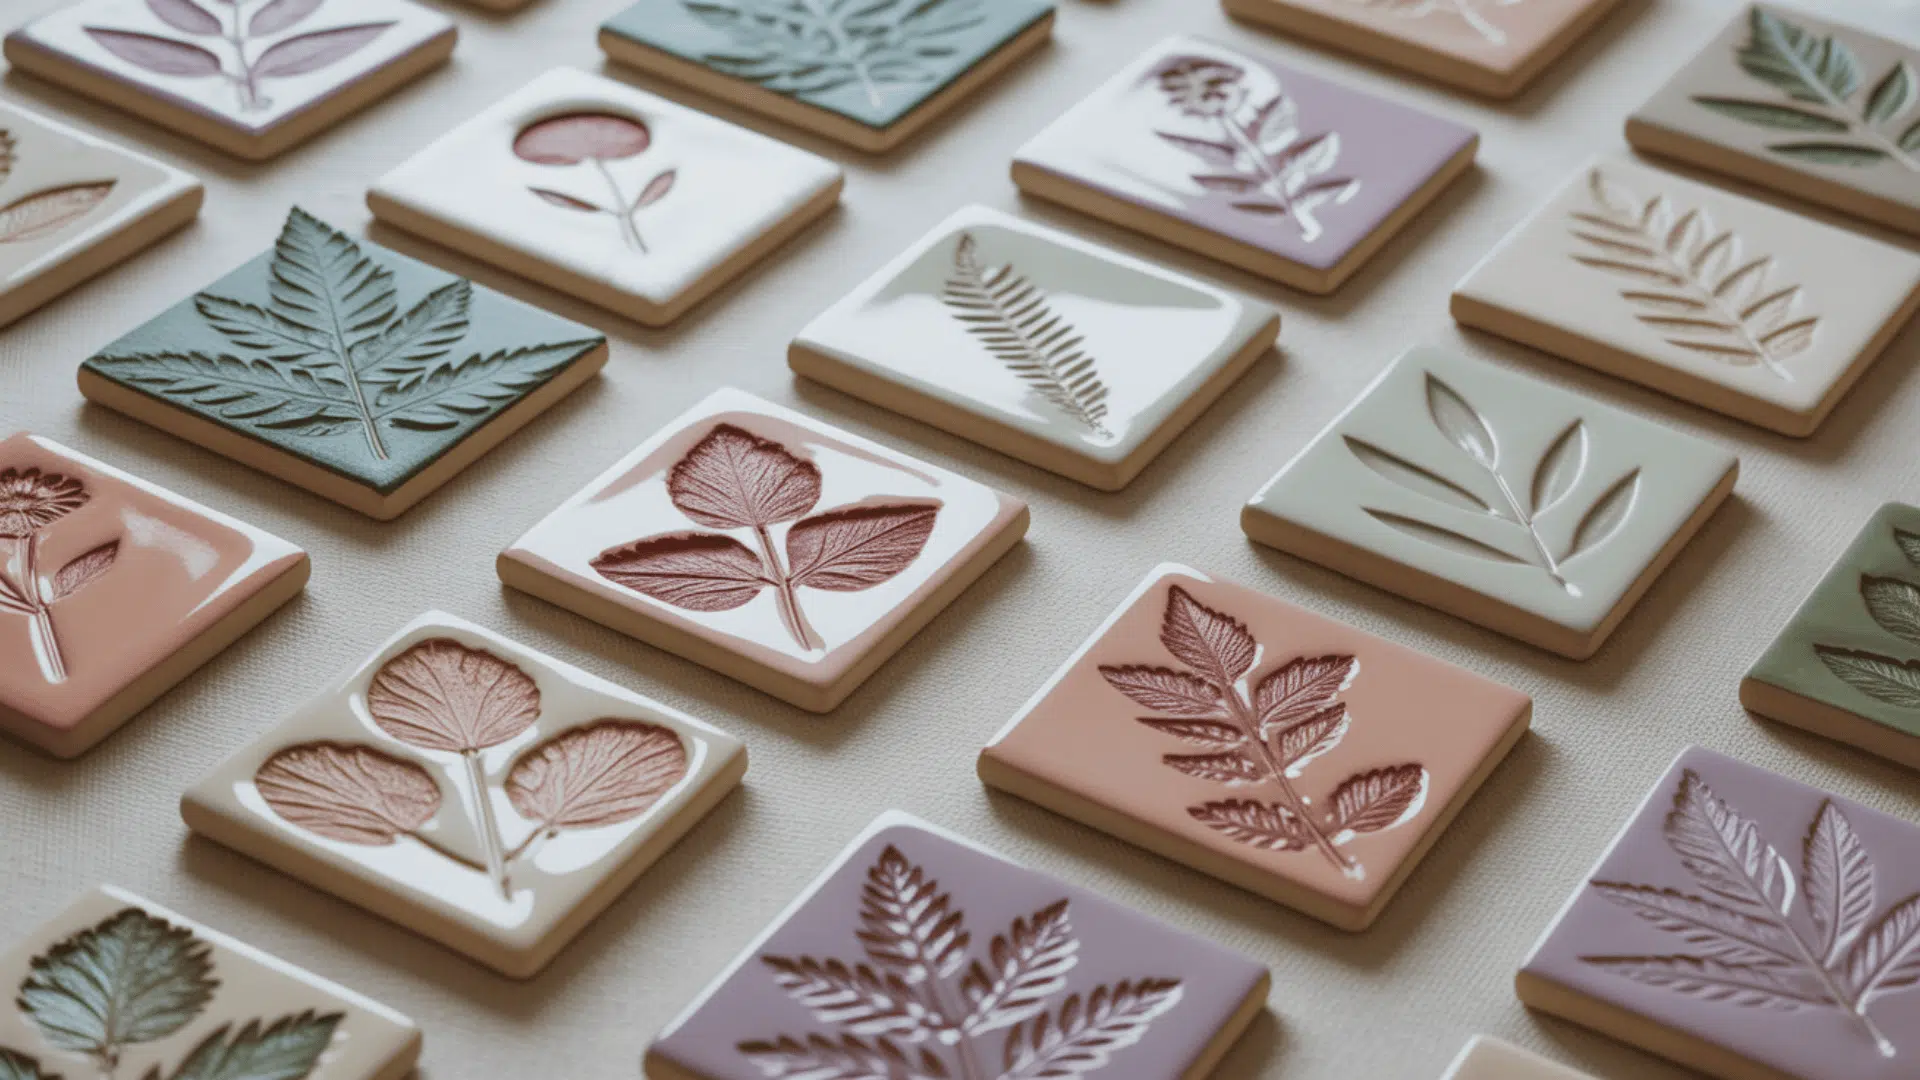
Individual clay tiles create a gallery wall effect. Each tile features a different floral design.
Roll clay into squares or rectangles of equal size. Keep them about half an inch thick. Press dried flowers, leaves, or ferns into the surface.
Carefully remove the plant material to leave an imprint. You can also sculpt flowers by hand using small clay pieces. Attach petals and leaves to create raised designs.
Let the tiles dry flat. Paint the flowers in soft pastels or bright colors. Leave the background natural or paint it white.
Arrange tiles in a grid pattern on your wall. Use adhesive strips or small nails to hang them. Mix and match different flower types for variety.
11. Hand-Sculpted Bud Vases
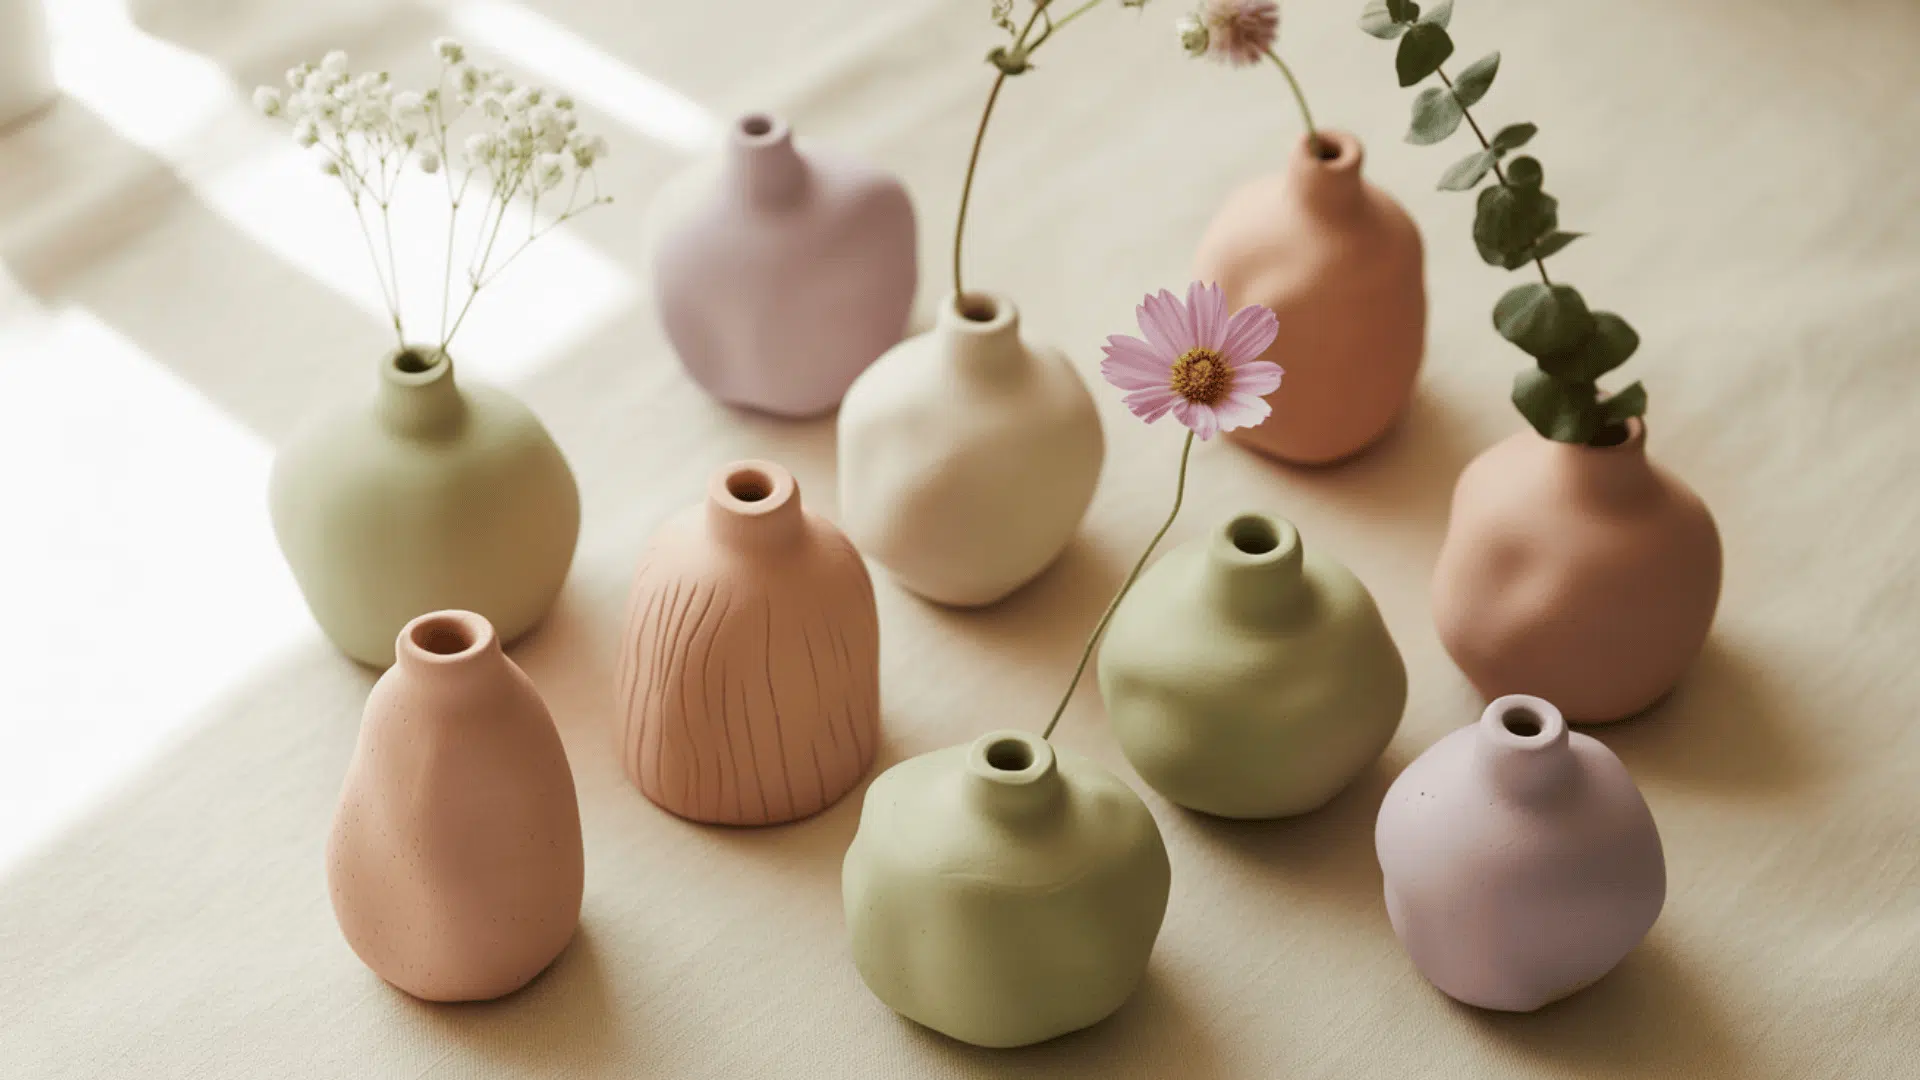
Small bud vases hold single stems or small flower arrangements. They add charm to windowsills and shelves.
Start with a ball of clay about the size of your fist. Press your thumb down the center to create the opening. Keep pressing and shaping until you have a hollow vessel.
Shape the outside with your hands. You can make it round, tall, curved, or asymmetrical. Smooth the surface with wet fingers.
Make sure the bottom is flat so the vase stands upright. The walls should be thick enough to hold water without leaking. Let it dry completely.
Seal the inside with waterproof sealer or glaze. This prevents water from seeping through the clay. Paint the outside if desired. These vases work perfectly for single flowers or small bouquets.
12. Clay Vase with Raised Patterns
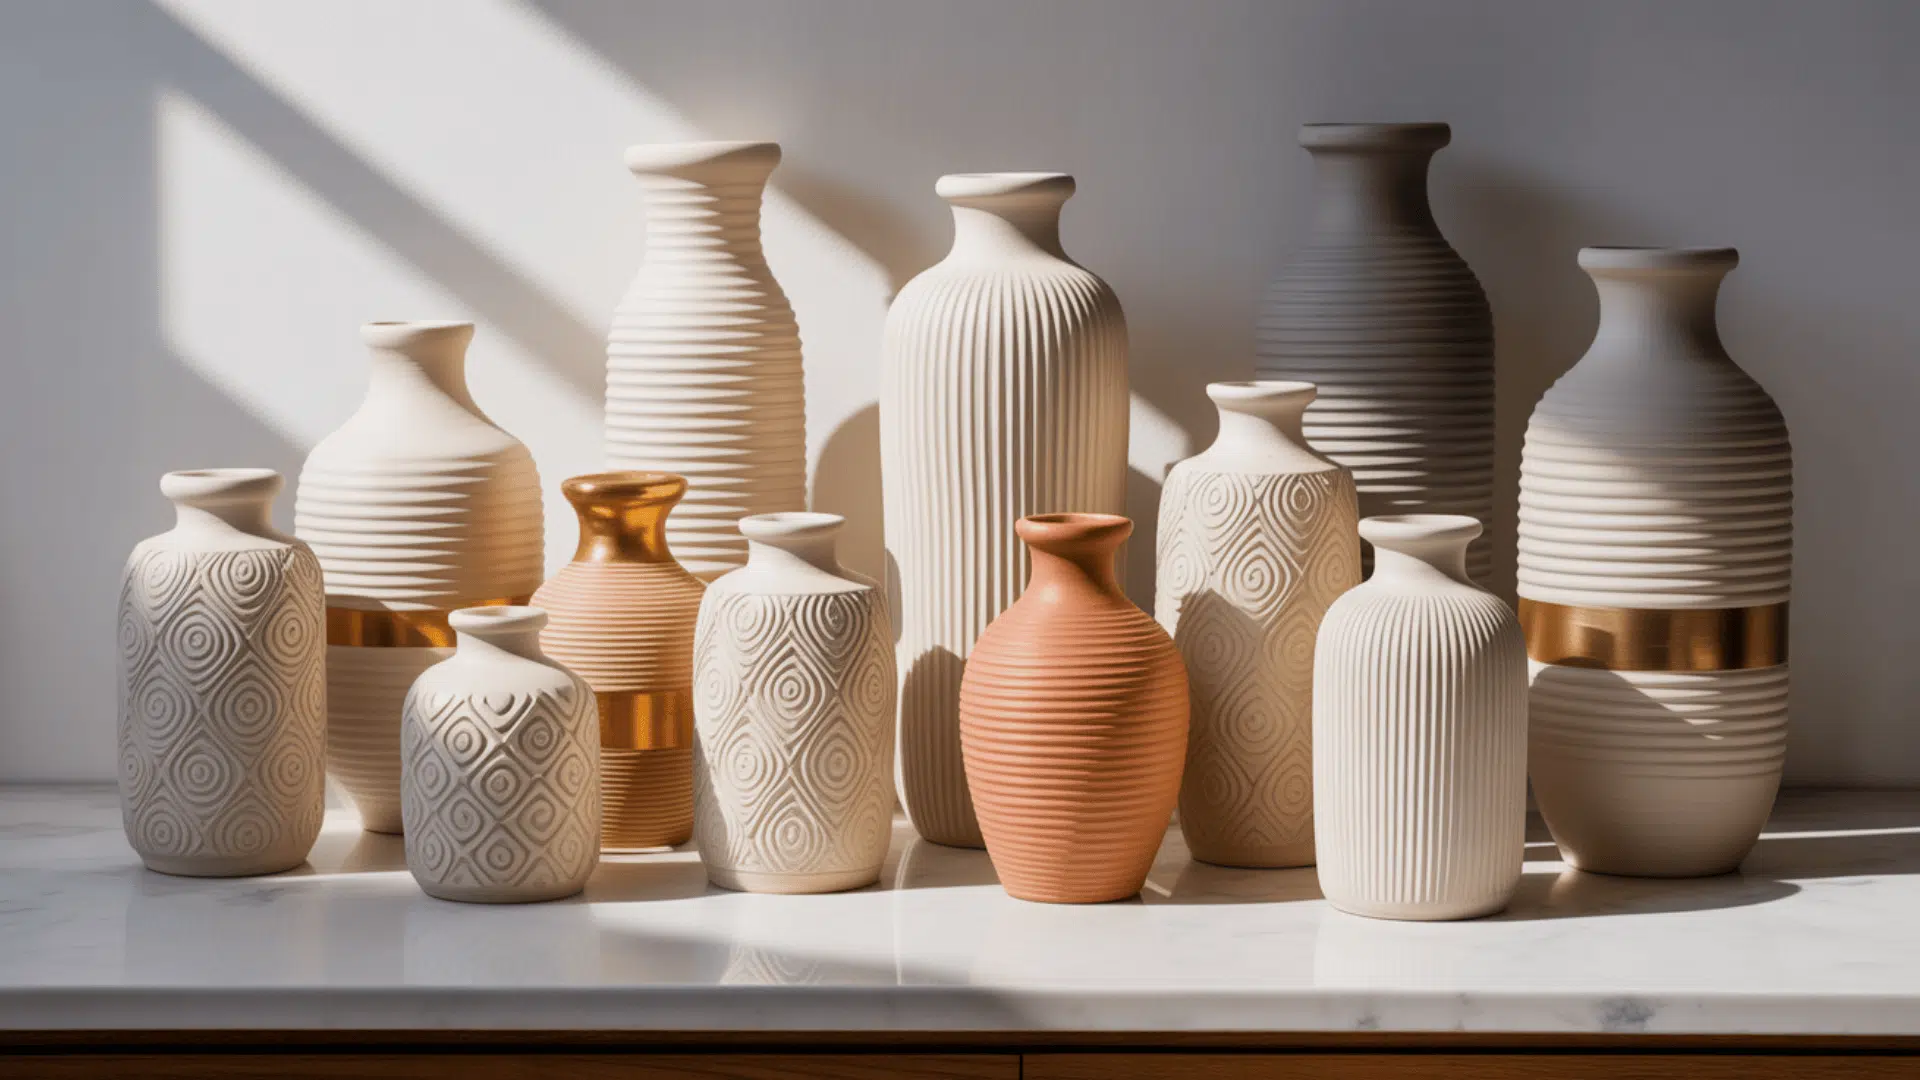
Add dimension to your vases with raised designs. This technique creates texture and visual interest.
Form your basic vase shape first. Let it firm up slightly, but keep it workable. Roll thin coils or small balls of clay separately.
Press these pieces onto the vase surface in patterns. Try vertical lines, spirals, dots, or geometric shapes. Make sure each piece is firmly attached.
Smooth the edges where pieces connect to the base. This helps them stay attached during drying. Let the entire vase dry slowly to prevent cracking.
Paint the raised patterns in contrasting colors. You can also paint just the raised parts with metallic paint. Seal the entire vase for protection.
13. Hanging Planters
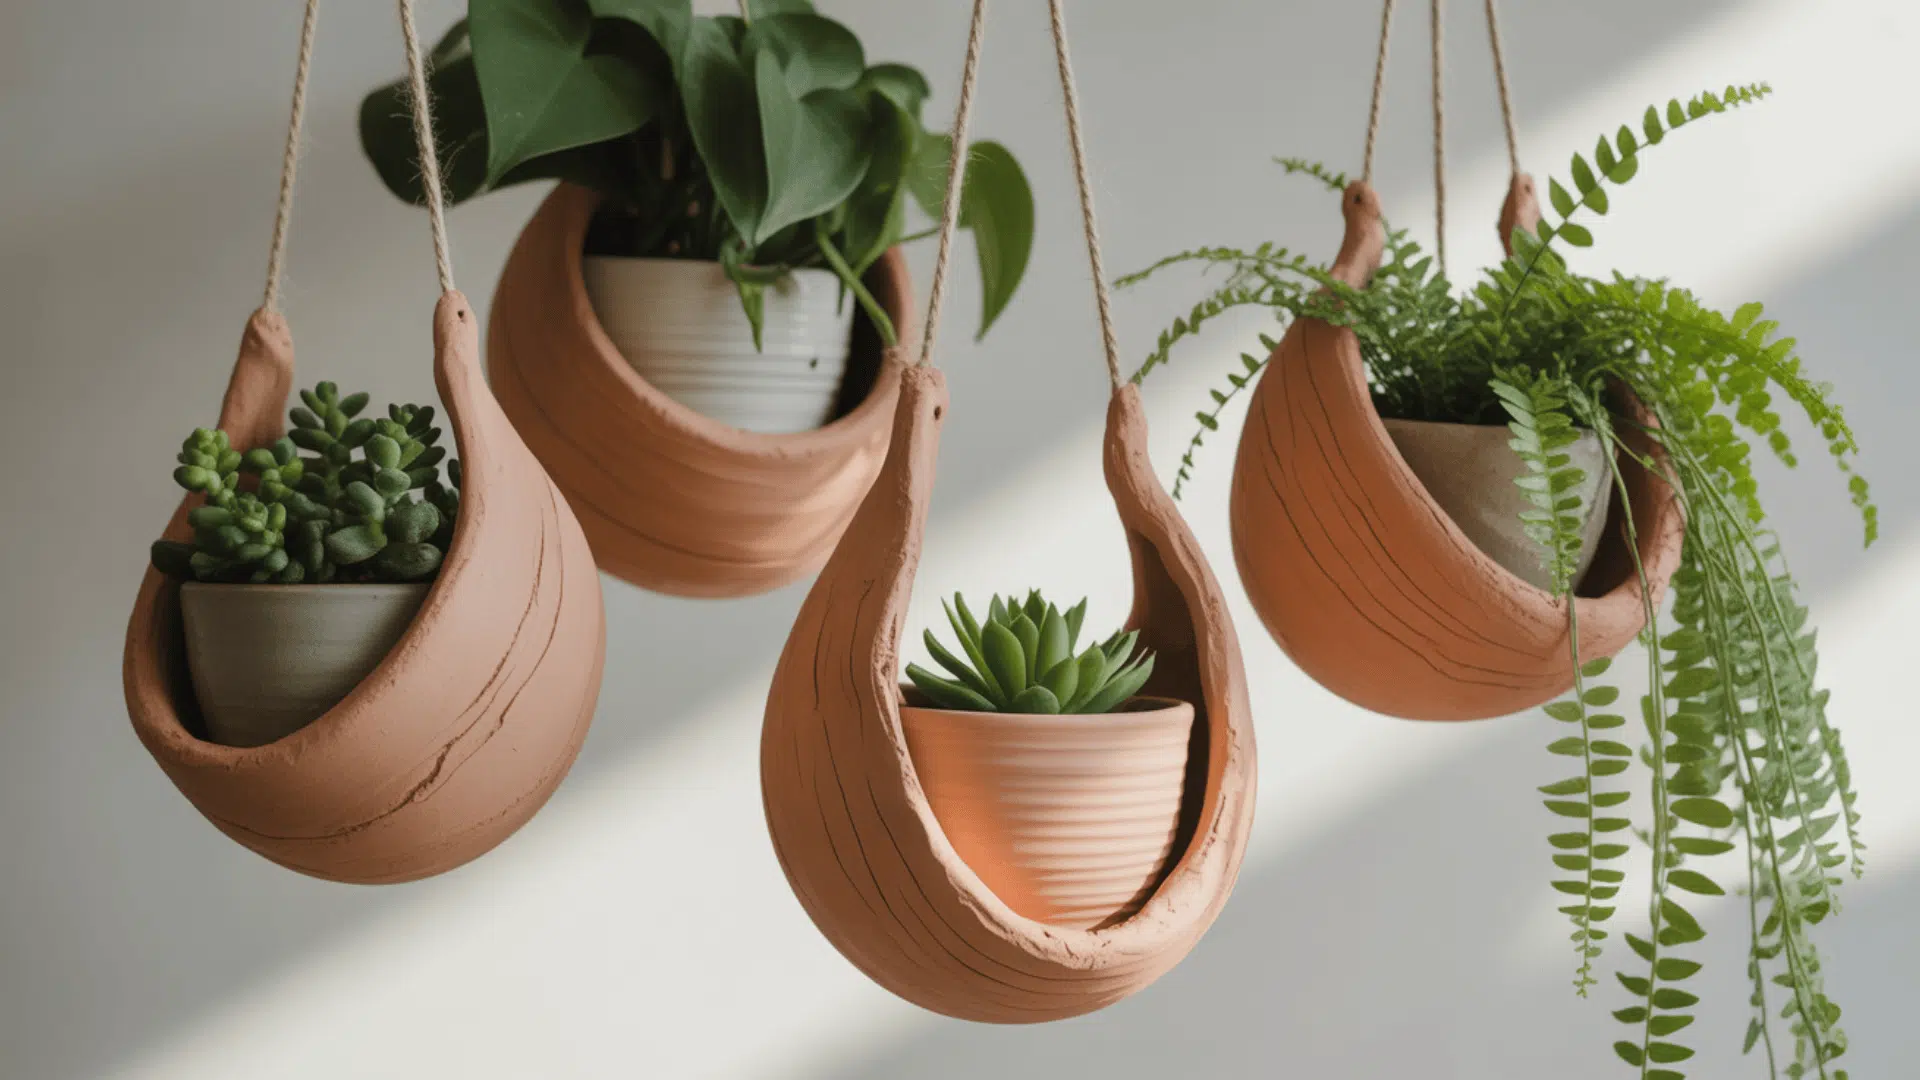
Hanging planters save space and create visual interest at different heights. They’re perfect for trailing plants.
Roll out a slab of clay about one-quarter inch thick. Cut a large circle. Drape it over a small bowl to create a curved shape.
Trim the edges to make them even. Create three or four evenly spaced holes around the rim. These holes are for the hanging cord.
Let the clay dry in the draped position. Once dry, thread a strong cord through the holes. Tie the cords together at the top to create a hanger.
Add a small potted plant inside. Make sure the planter can support the weight. Hang from ceiling hooks or wall brackets. These look great with ferns or pothos plants.
14. Indoor Succulent Pots
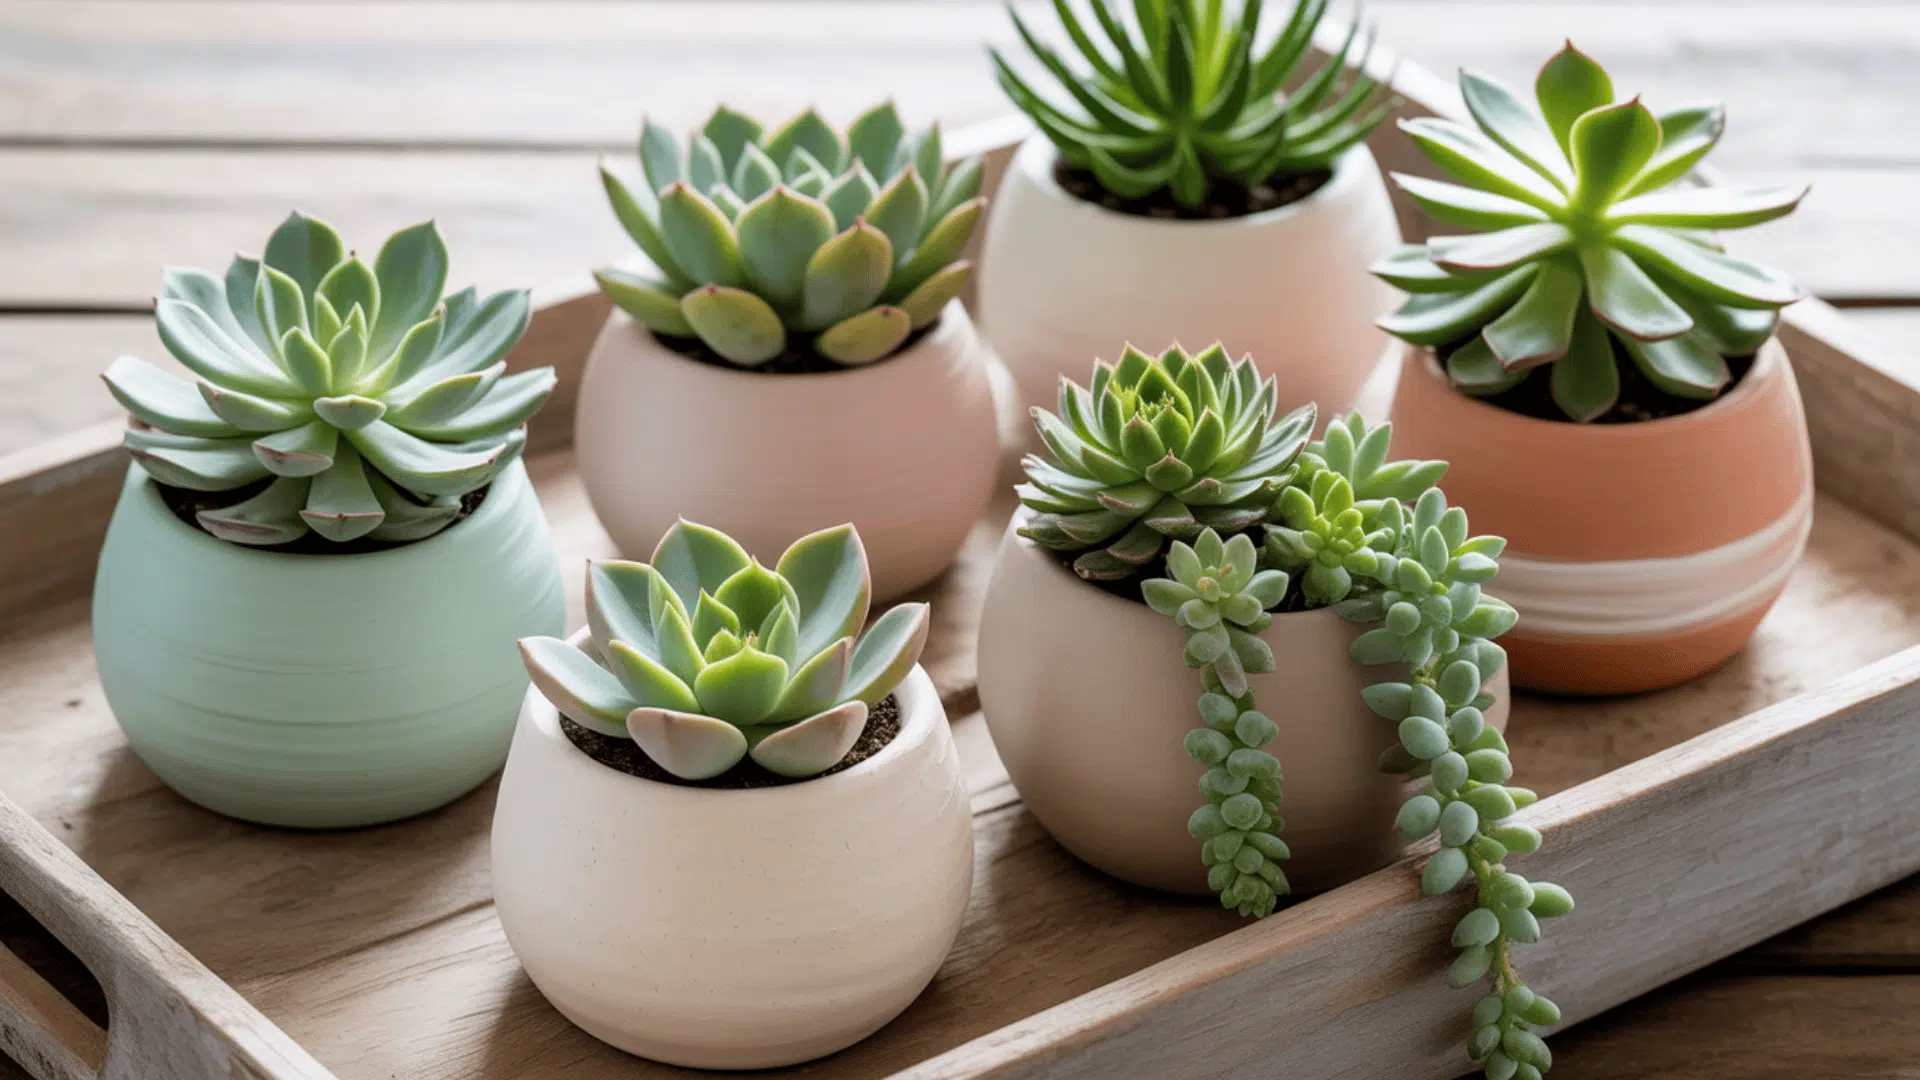
Small clay pots are ideal for succulent collections. You can make several matching pots in one afternoon.
Form small bowls using the pinch pot method. Keep them shallow since succulents have small root systems. Make each pot about two to three inches wide.
Smooth all surfaces with wet fingers. Create a small drainage hole in the bottom using a straw or pencil. This prevents root rot.
Let the pots dry completely. You can leave them natural or paint them in soft pastels. Succulents look great in white, gray, or terra cotta colored pots.
Fill with cactus soil and plant your succulents. Group several pots together on a tray or shelf. The varied heights and textures create an appealing display.
15. Minimalist Candle Holders
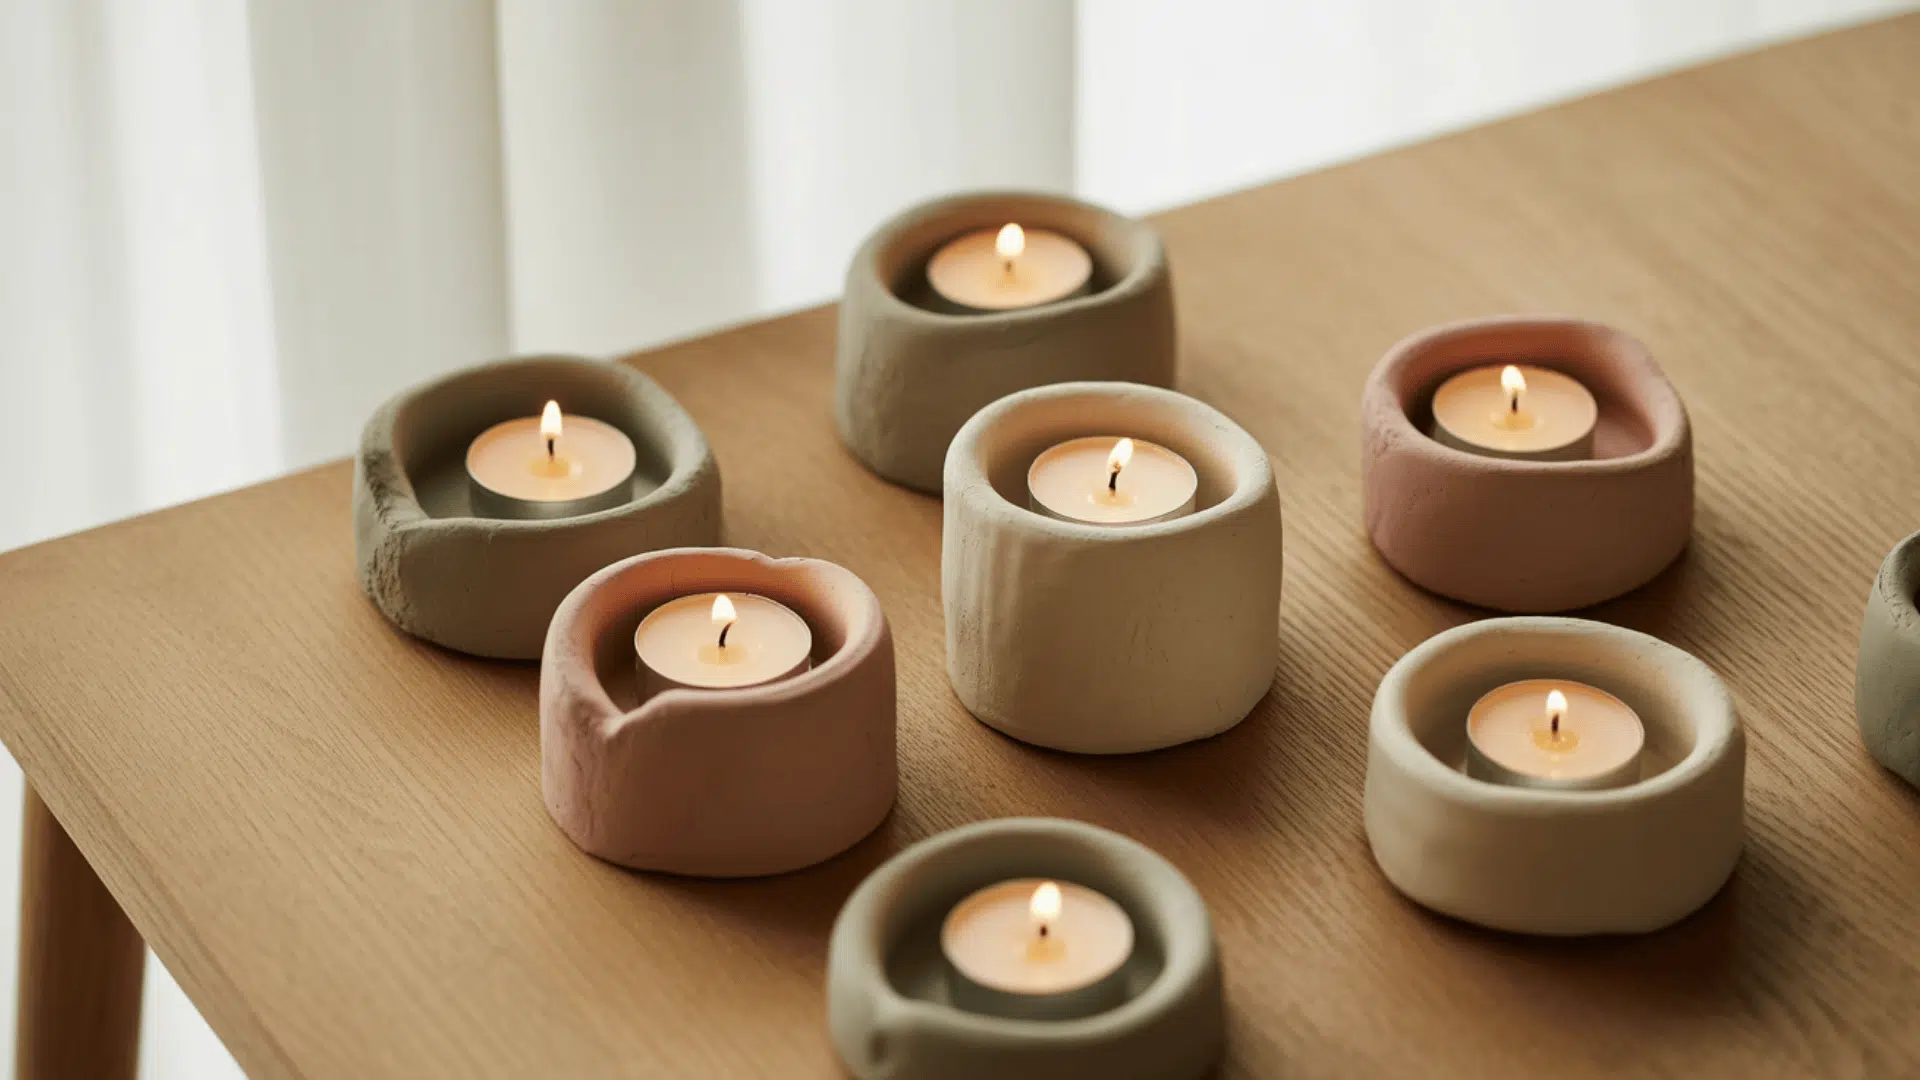
Simple candle holders bring warmth to any room. The minimalist design works with any decor style.
Roll a thick cylinder of clay about three inches tall. Press a tea light candle into the top to create an indentation. Remove the candle.
Smooth the outside of the cylinder. You can leave it round or flatten the sides for a geometric look. Make sure the base is flat.
Let the holder dry completely. Sand any rough edges. Leave it natural for a modern look or paint it in matte colors.
Place a tea light in the indentation. The clay holds heat well, so the candle burns evenly. Make several in different heights for a grouped display.
16. Textured Clay Candlestick Holders
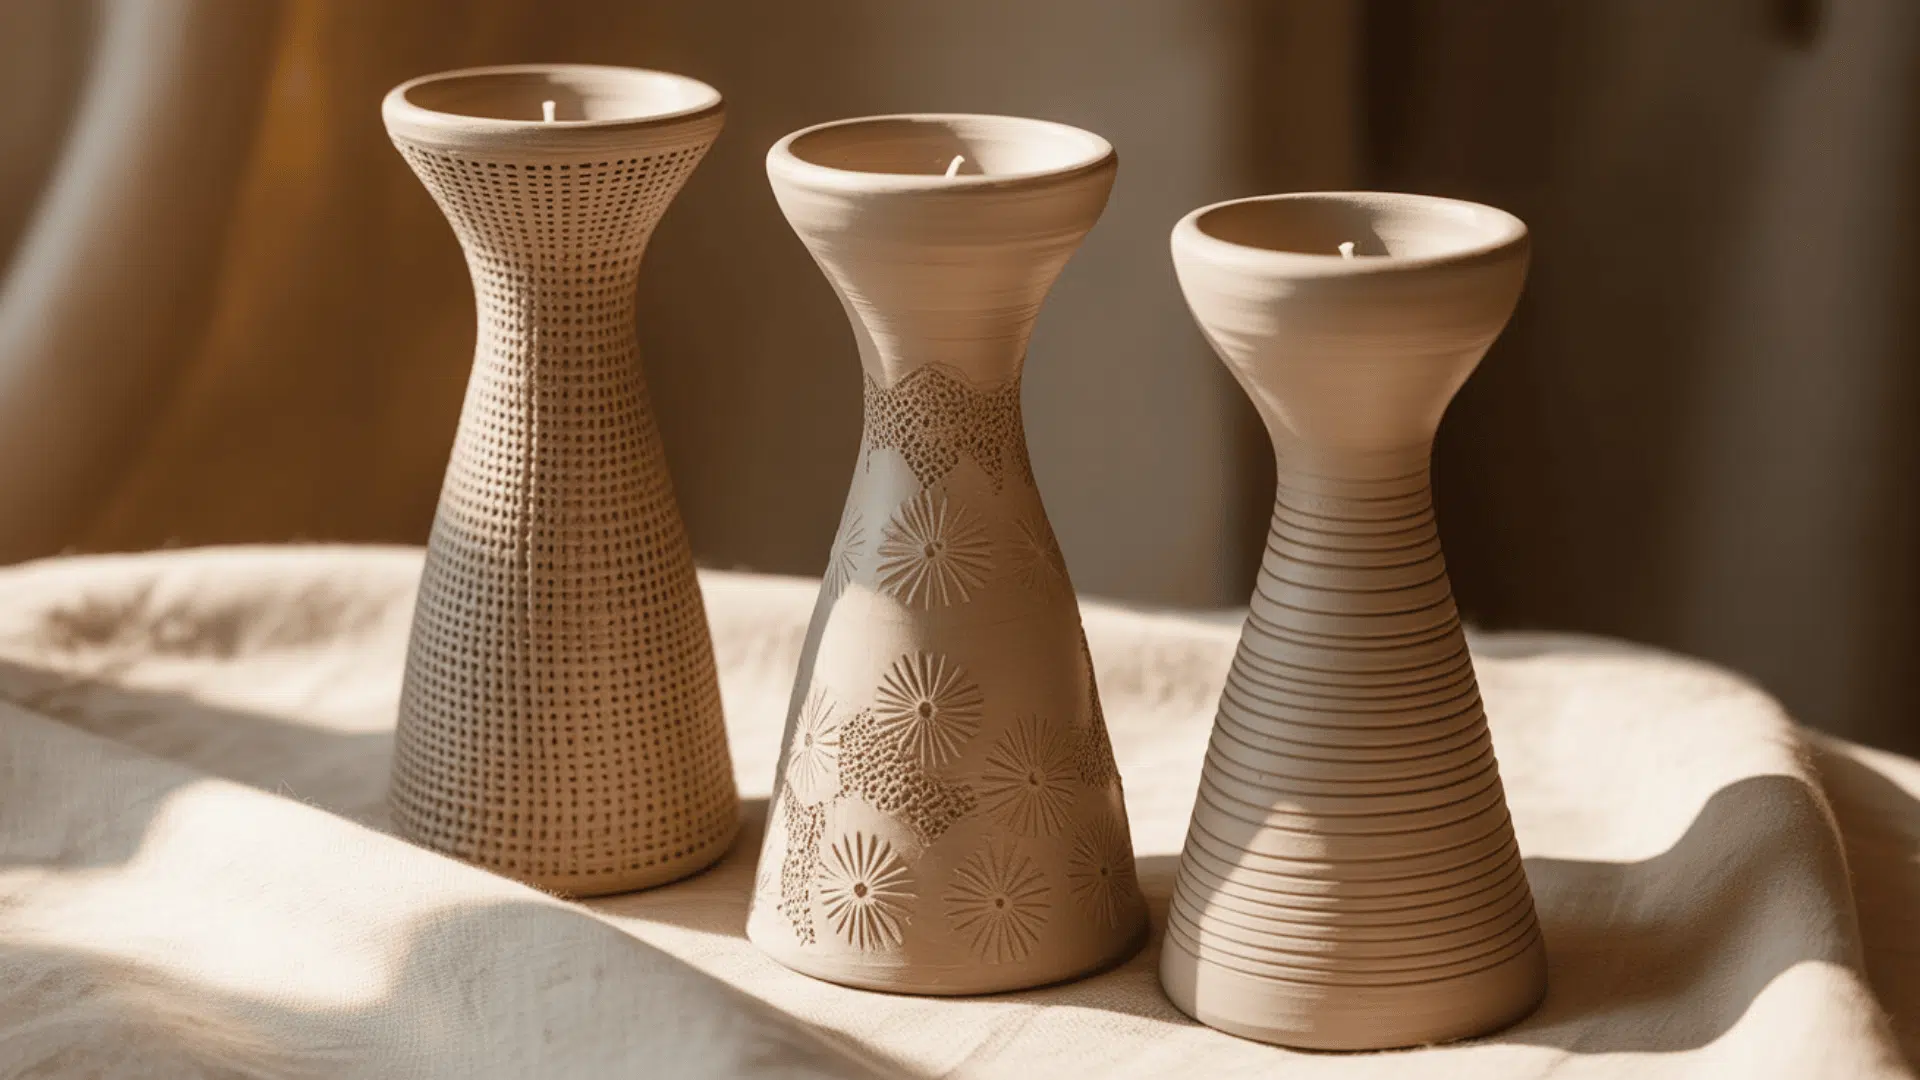
Tall candlestick holders make a statement on dining tables or mantels. Adding texture gives them character.
Roll a thick cylinder of clay for the base. Make it wider at the bottom for stability. Stack smaller cylinders on top to create height.
Press texture into the clay while it’s soft. Use burlap, lace, or corrugated cardboard. You can also carve lines or patterns with a knife.
Create a hole at the top that fits a taper candle. Test with an actual candle to get the right size. Smooth the inside of the hole.
Let the holder dry standing upright. Paint if desired or leave natural. The texture catches light and creates interesting shadows. These work beautifully for dinner parties or everyday decor.
17. Nature-Inspired Magnets
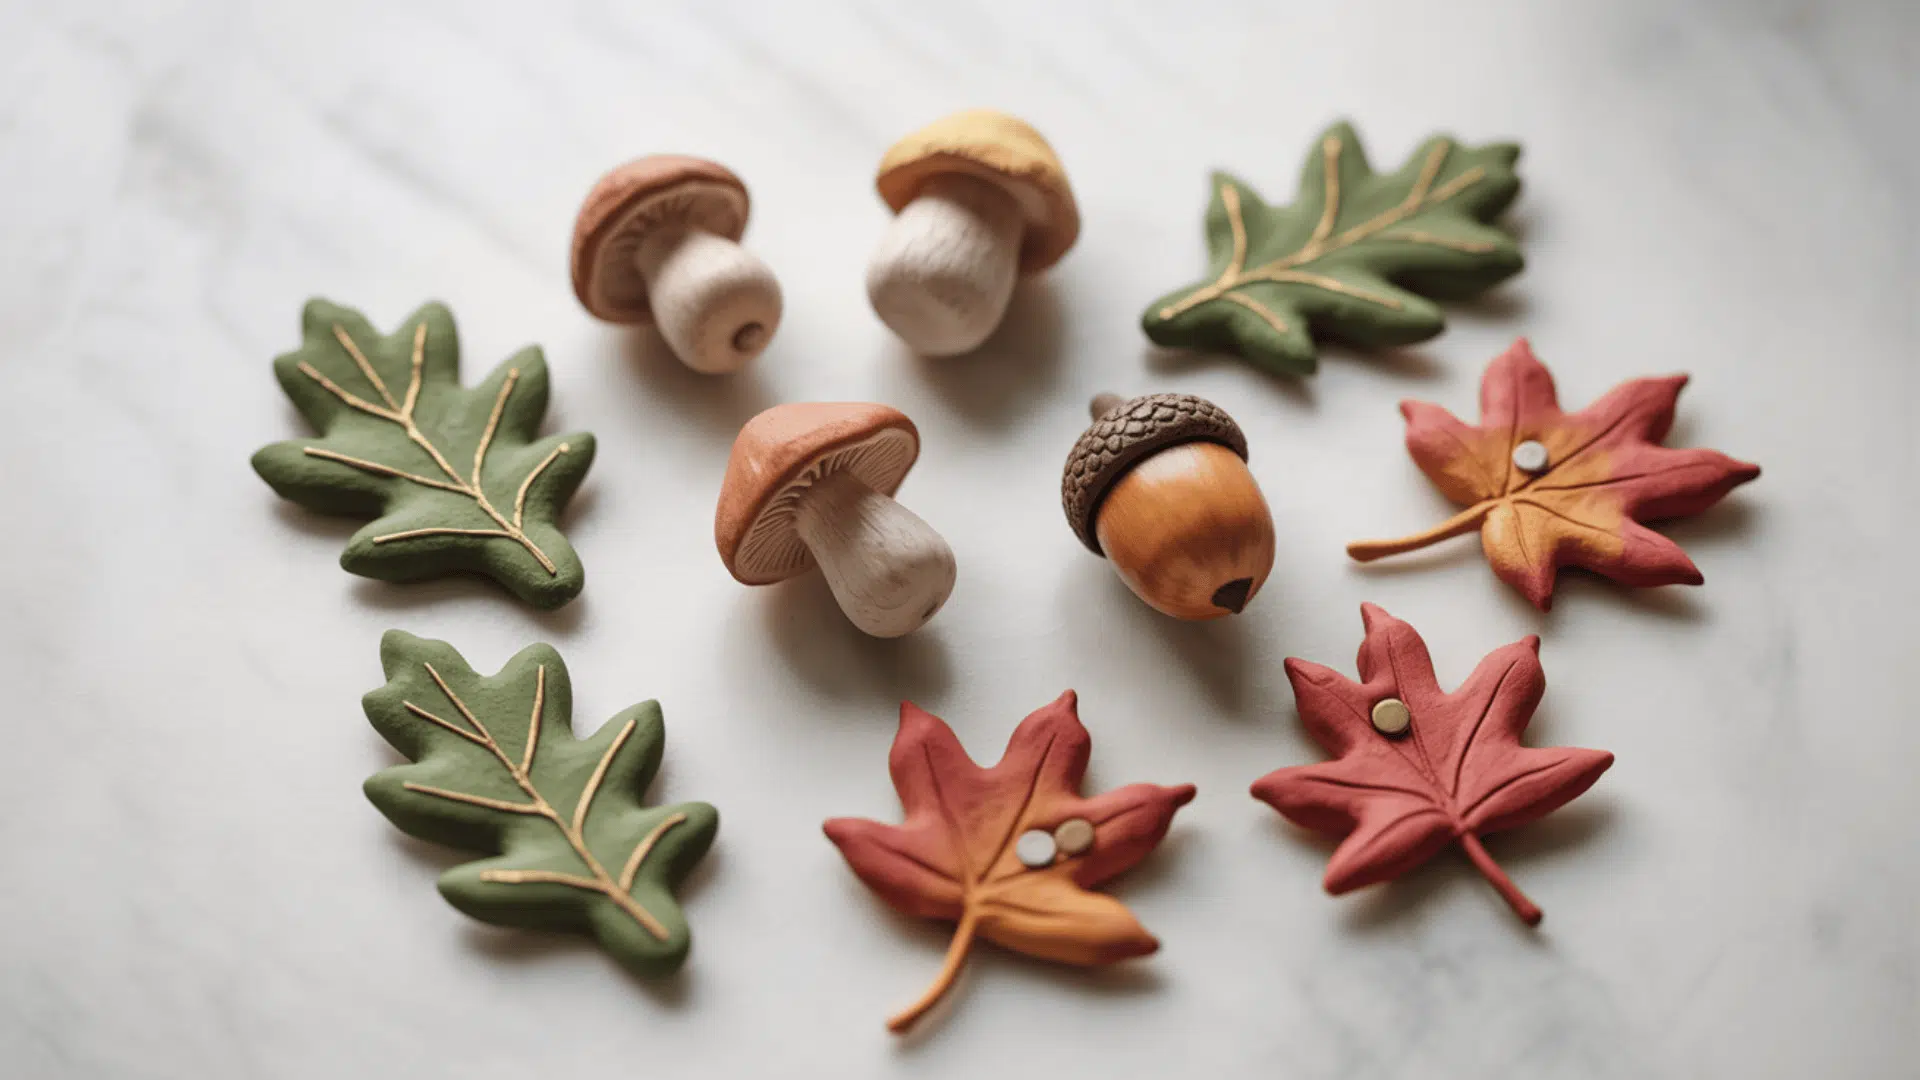
Clay magnets add personality to your fridge or magnetic board. Nature shapes are easy to create and always look charming.
Roll clay to one-quarter inch thickness. Cut out leaf shapes, flowers, mushrooms, or acorns. Keep them small, about one to two inches each.
Add details with a toothpick or knife. Draw leaf veins, flower petals, or mushroom gills. These small details make a big difference.
Let the shapes dry flat. Paint them in natural colors like greens, browns, and reds. You can also use bright, whimsical colors.
Glue small magnets to the back of each piece. Use strong craft glue or hot glue. Wait for the glue to dry before using. These magnets hold up notes, photos, and shopping lists.
18. Whimsical Character Magnets
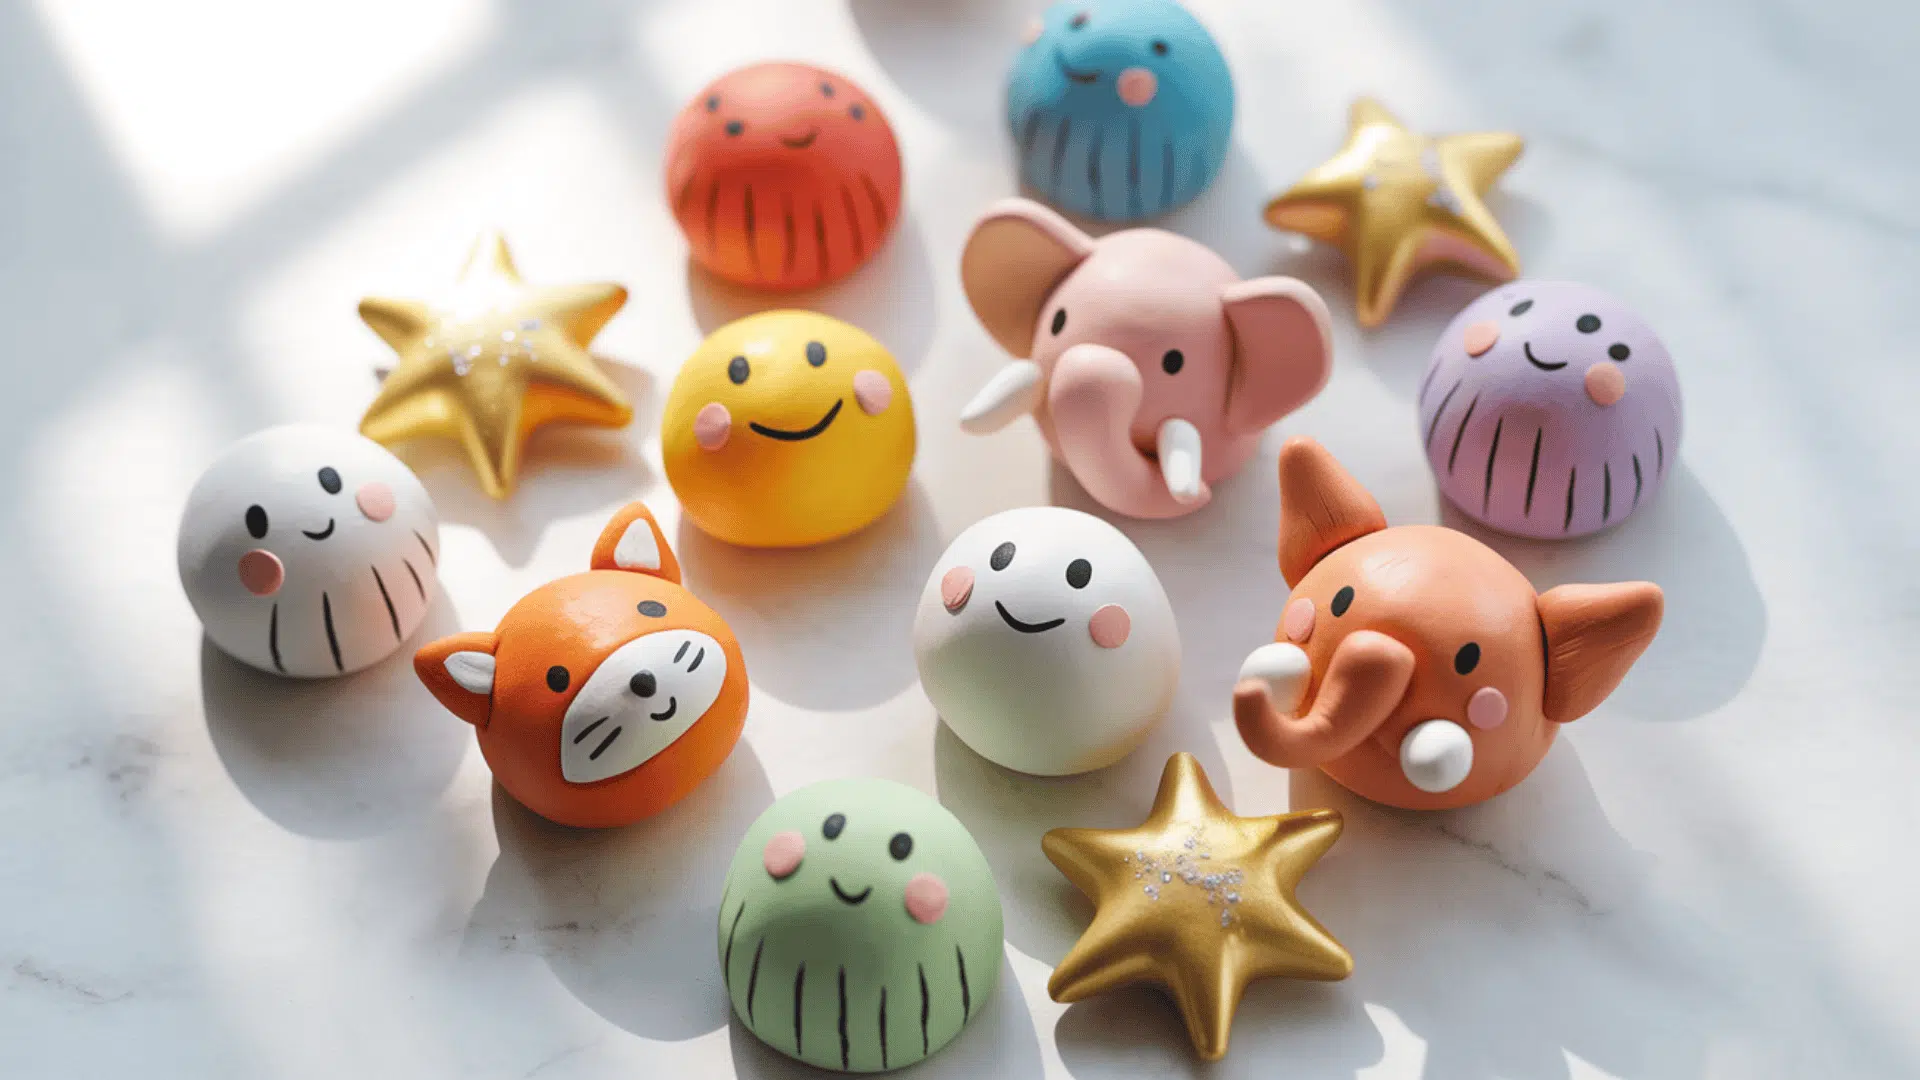
Create fun character magnets that make people smile. These work great as gifts or party favors.
Shape small clay pieces into simple characters. Try smiley faces, ghosts, stars, or hearts. Keep them flat, so they stick well to magnetic surfaces.
Add facial features with a toothpick. Make eyes, mouths, and other details. You can also add tiny accessories like hats or bows.
Let them dry completely. Paint each character with bright, happy colors. Use a fine brush for small details like eyes and smiles.
Attach magnets to the back. Make a whole set of different characters. Kids especially love these on their lockers or at home.
19. Personalized Dishes for Rings
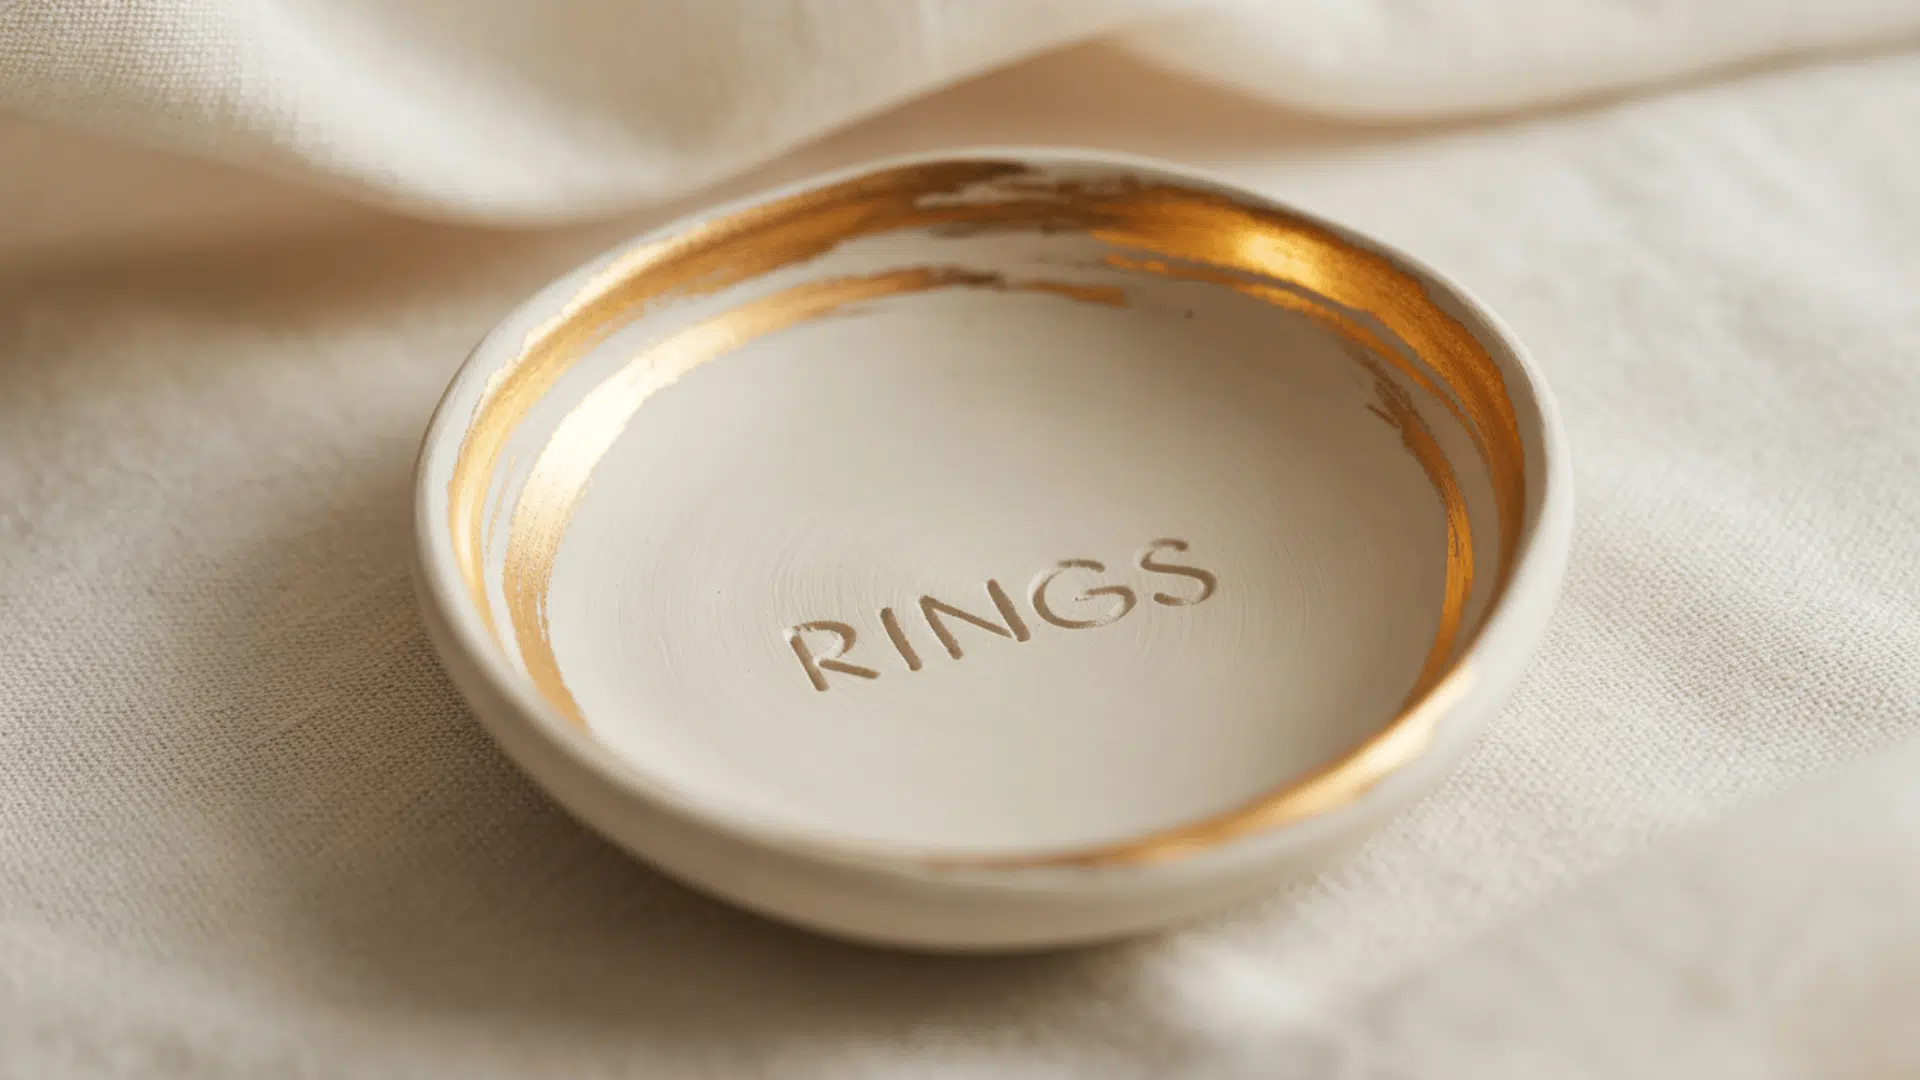
Small ring dishes keep jewelry organized and easy to find. They sit perfectly on nightstands or bathroom counters.
Roll the clay into a ball and flatten it into a shallow dish. Make it about three inches wide. Press your thumb gently in the center to create a dip.
Smooth the edges with wet fingers. You can shape the rim into a circle, oval, or heart. Keep the sides low so rings are easy to grab.
Add a personal touch by stamping initials or a short word like “rings” or “treasures.” Let the dish dry completely.
Paint in your favorite colors or leave it natural. Add gold or silver accents on the rim. Seal with clear coating. These make thoughtful gifts for friends or bridesmaids.
20. Decorative Dishes for Small Items
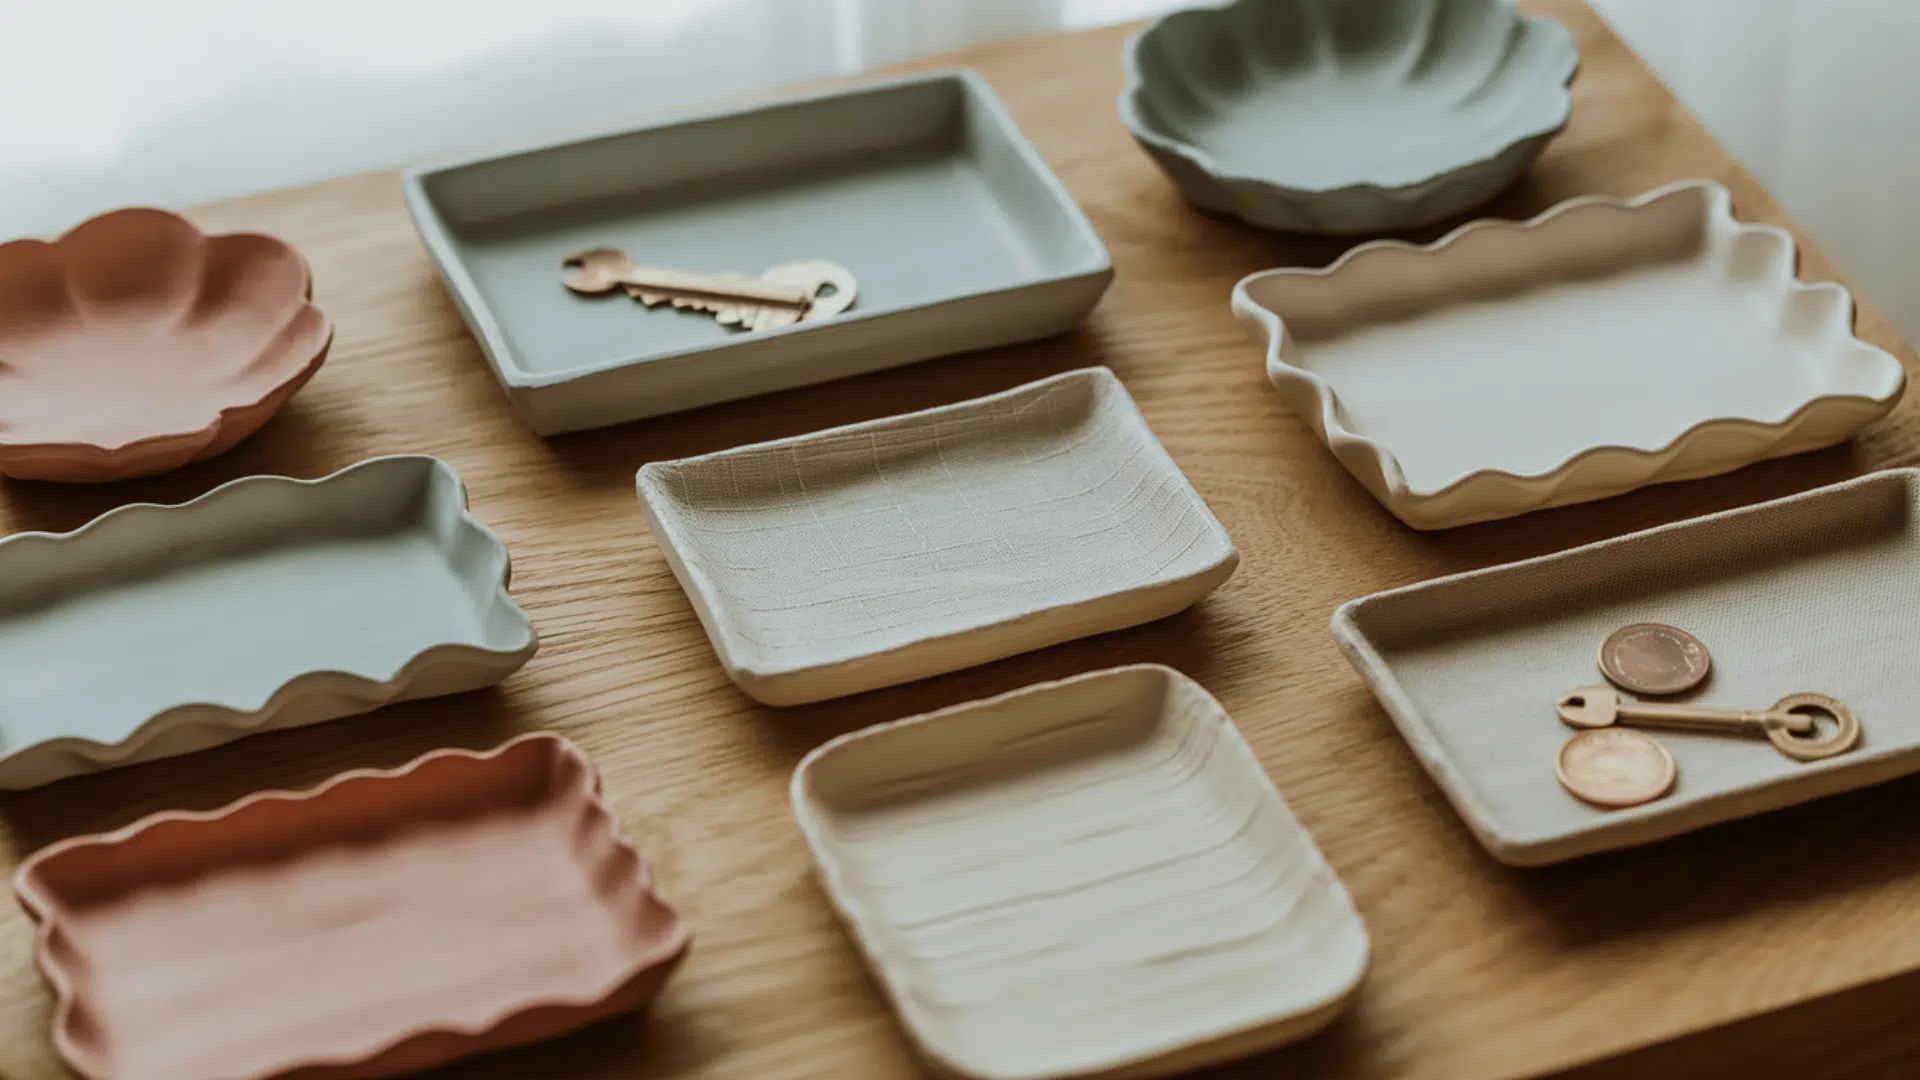
Catch-all dishes hold keys, coins, paperclips, and other tiny items. They help keep spaces tidy.
Form a larger dish than the ring holder. Make it about four to five inches across. Keep it shallow so items are visible and accessible.
Shape the edges however you like. Try scalloped edges, squared corners, or organic wavy shapes. Get creative with the design.
Add texture or patterns to the bottom. Press stamps, fabric, or found objects into the clay. This creates visual interest even when the dish is full.
Let it dry flat to prevent warping. Paint in colors that match your desk or entryway. These dishes work great near the front door for keys and mail.
21. Small Animal Figurines
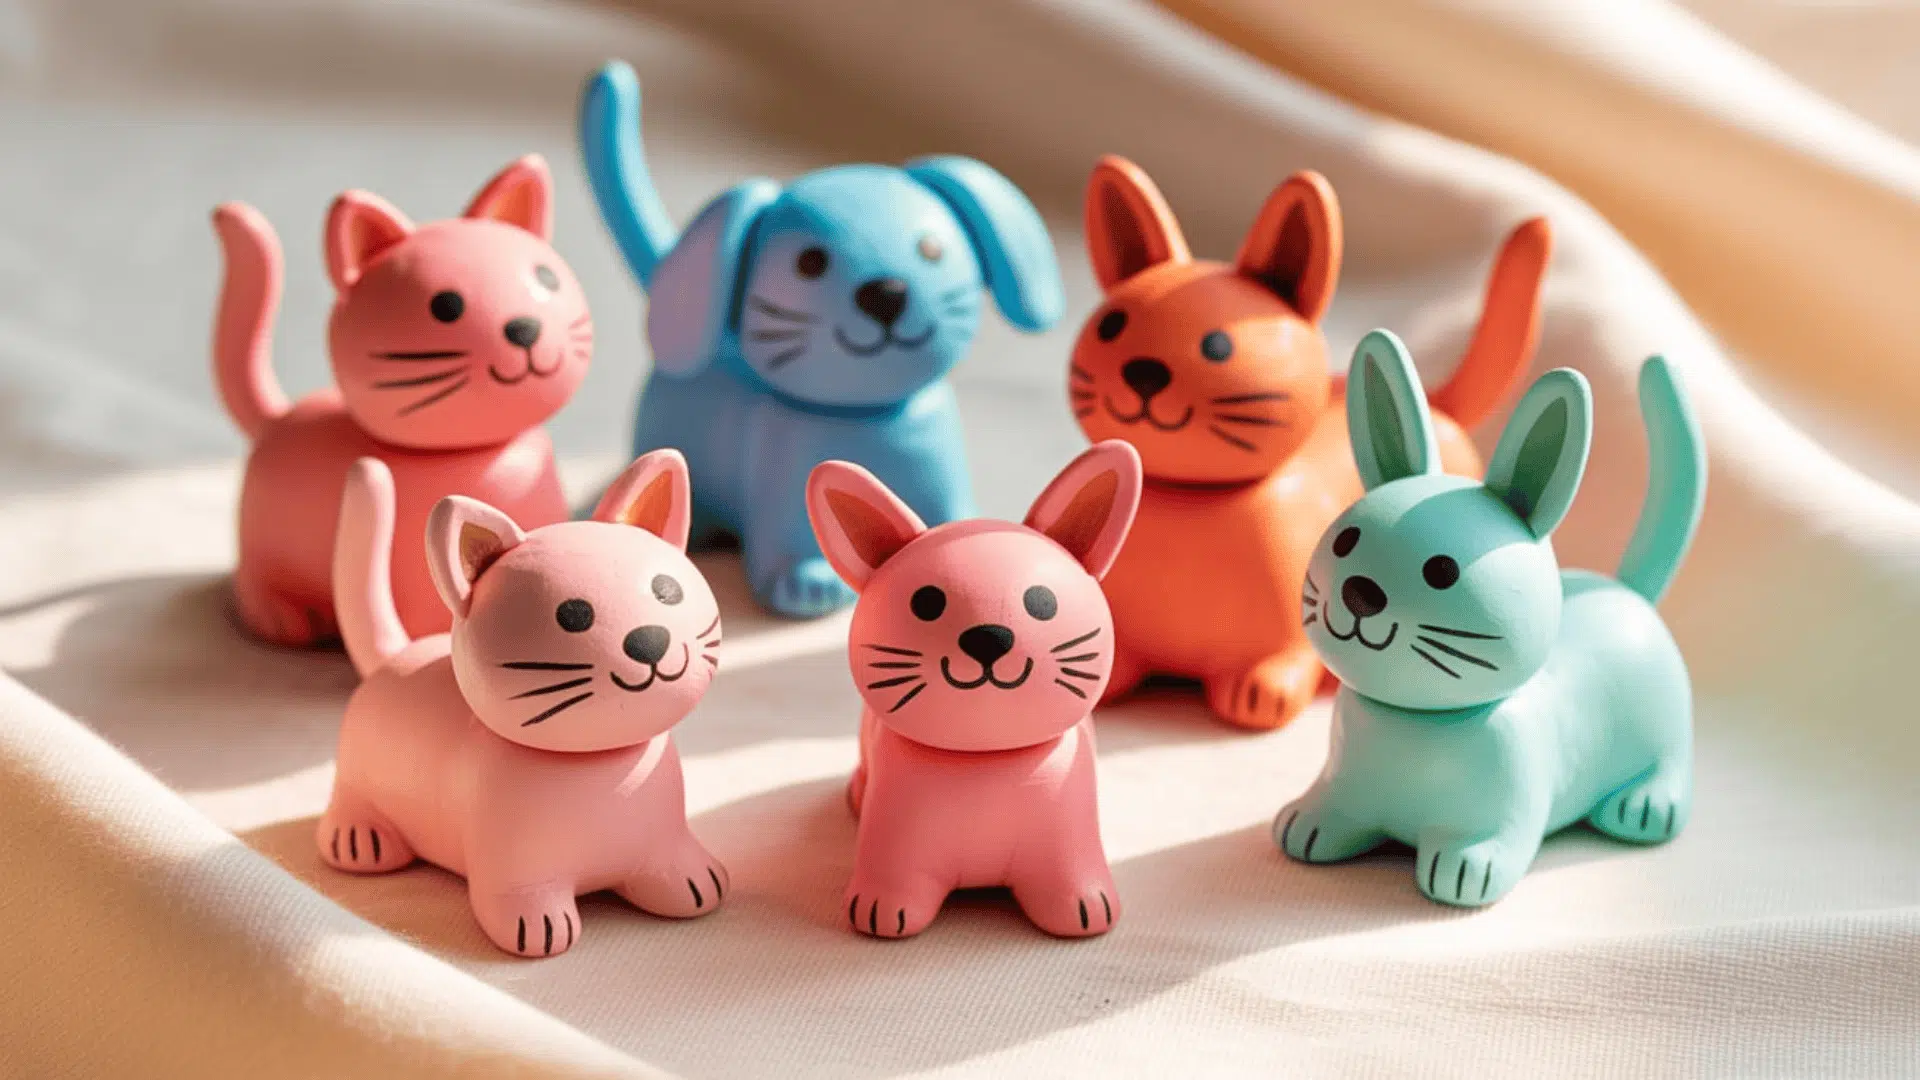
Clay animal figures make charming decorations or gifts for animal lovers. They’re fun to sculpt and personalize.
Start with basic shapes for the body. Use a larger ball for the body and smaller balls for the head and limbs. Press pieces together firmly.
Add details like ears, tails, and paws using tiny clay bits. Smooth the connections with wet fingers. Use a toothpick to add texture for fur or feathers.
Common animals to try include cats, dogs, rabbits, birds, and bears. Look at reference photos to get proportions right. Keep features simple for the best results.
Let your figures dry completely. Paint them in realistic colors or use bright, playful shades. Add details like eyes, noses, and patterns. These make great shelf decorations or cake toppers.
Conclusion
Air-dry clay offers endless possibilities for creative expression. You can make functional items like pots and coasters or decorative pieces like jewelry and wall art. Each clay project on this list requires minimal supplies and basic skills.
The best part about working with clay? You don’t need expensive equipment or special training. Just grab some clay, a few tools, and start creating. Your first attempts might not be perfect, but that’s part of the learning process.
These ideas are just the beginning. Once you master the basics, you can combine techniques and develop your own unique style. Clay crafting is relaxing, rewarding, and produces items you’ll actually use.
Ready to start your first clay project?
Pick one idea from this list and give it a try this weekend. Share your creations in the comments below. We’d love to see what you make!